~michelle
|
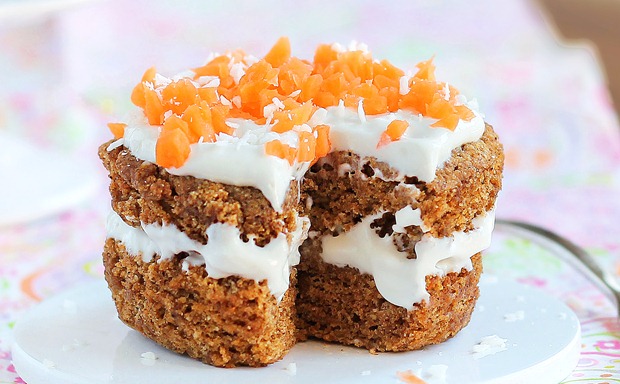
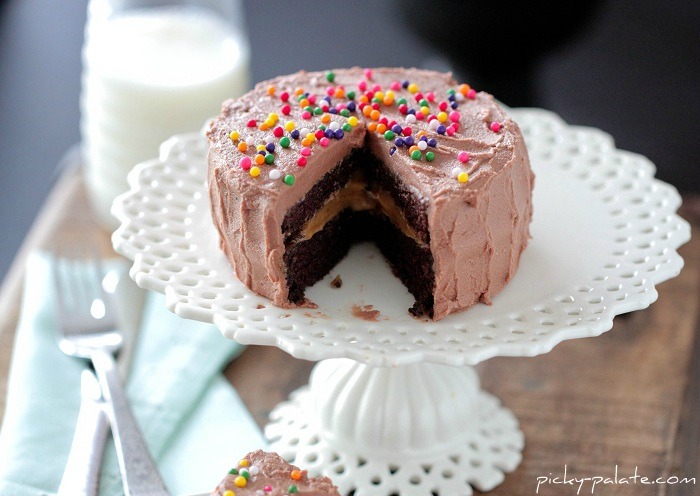
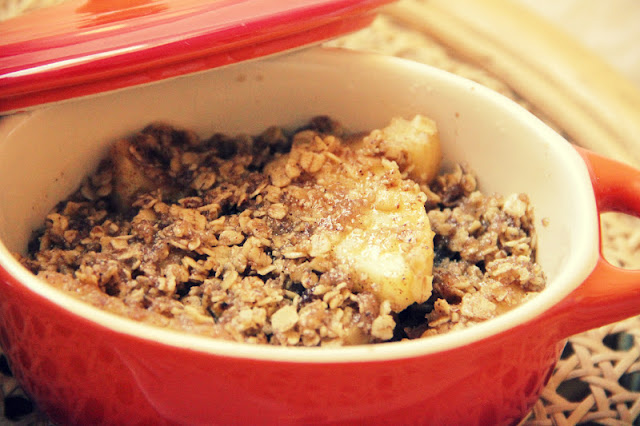
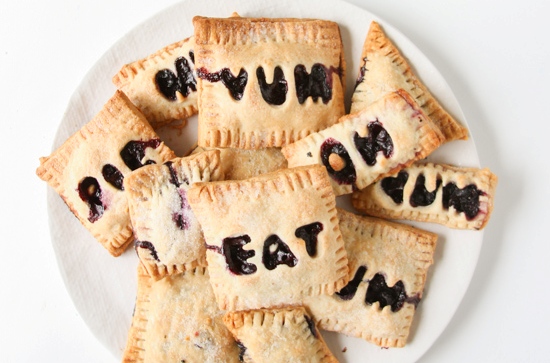
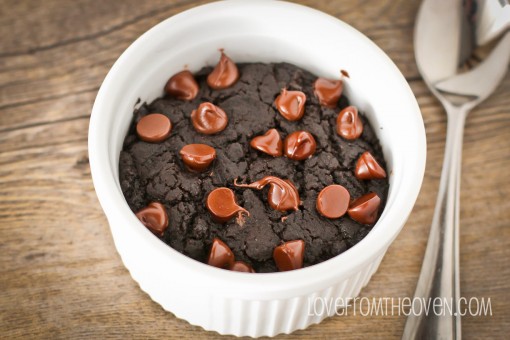
Most the recipes I've learned are intended for my family of 4 at home. At school, however, every meal lasts about half a week. When it comes to packed lunches, that worked out perfectly. But for desserts, it's not such a good idea. I seem to lack the discipline to portion it correctly and it somehow all disappears after an hour. Now I just need to restrict myself to these single-serving desserts (that look pretty awesome and just adorable). Smile c:
~michelle
0 Comments
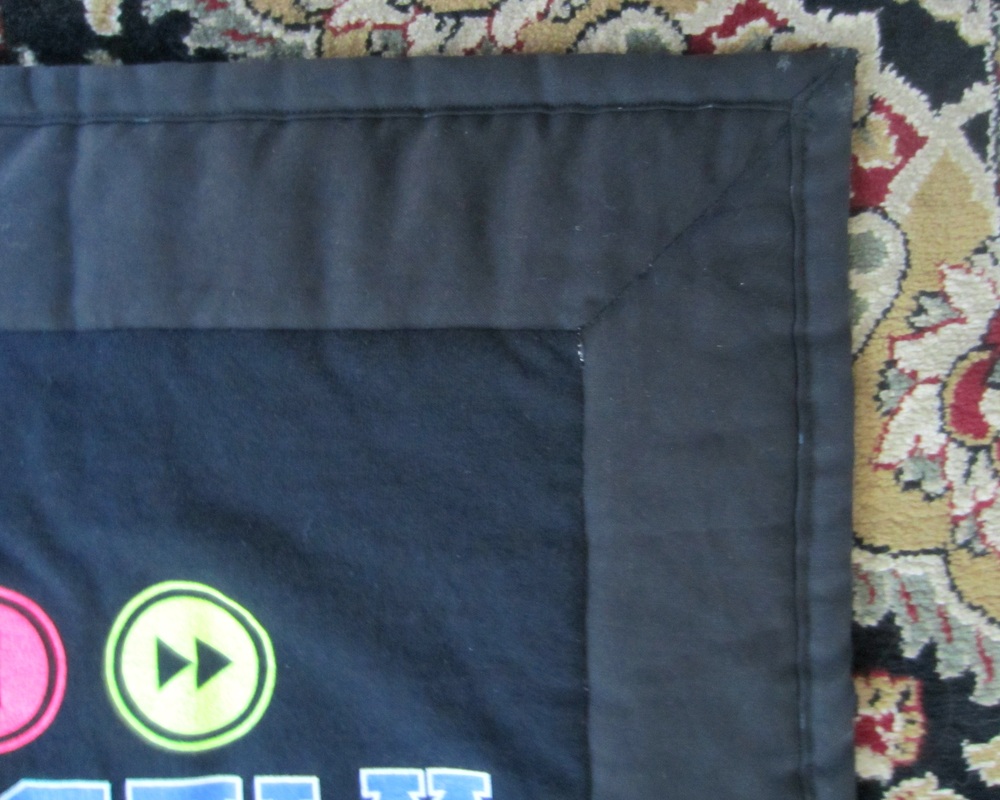
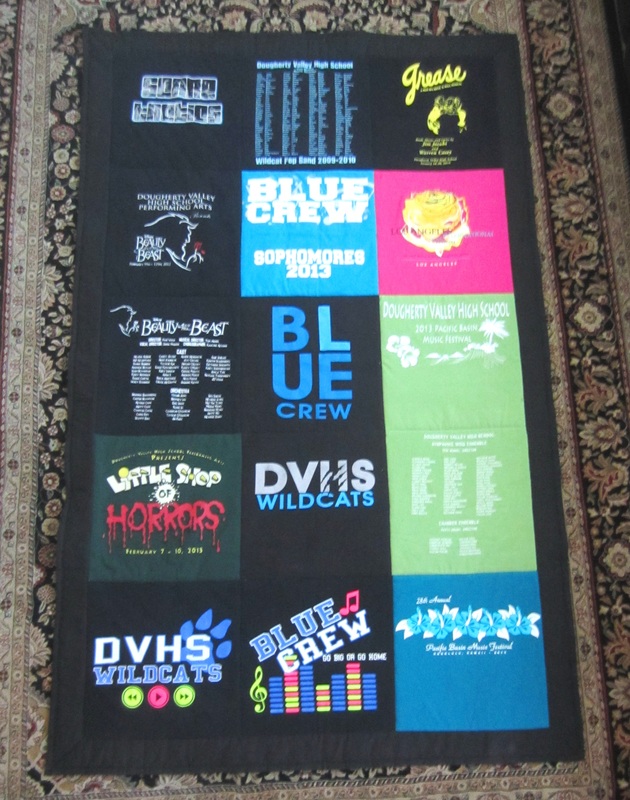
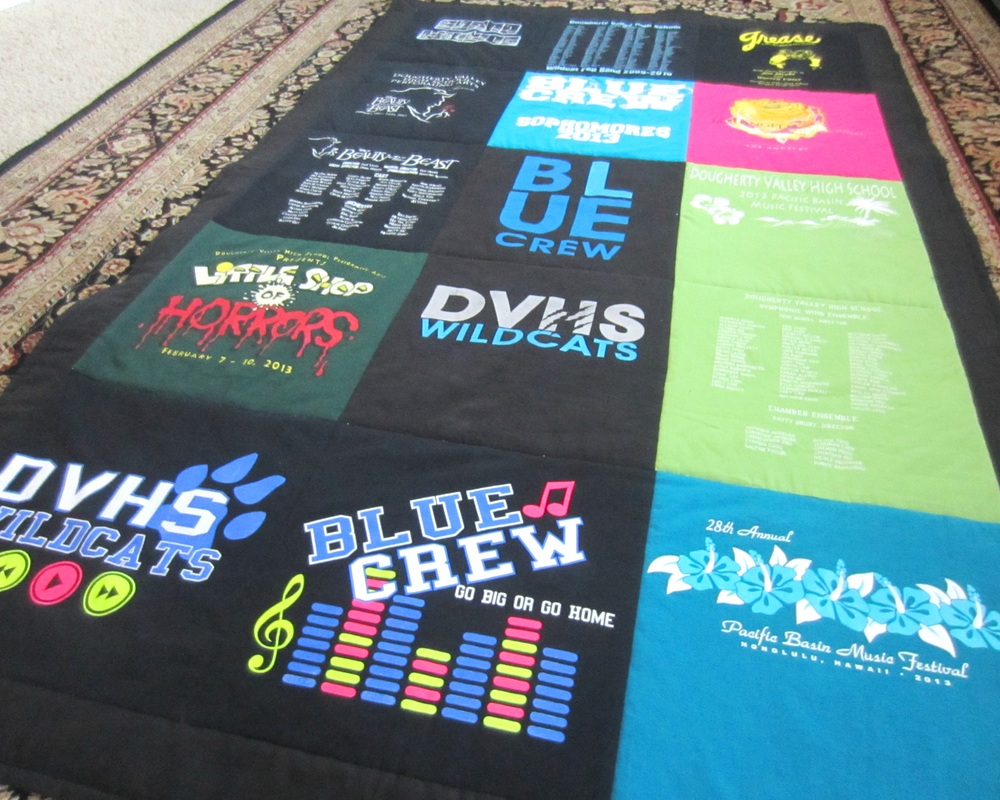
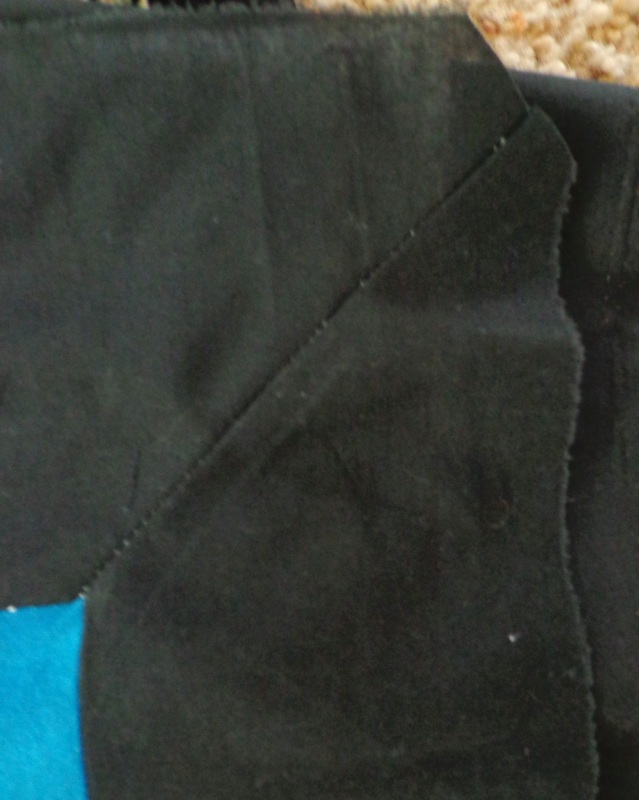
The last evening (day 4) was spent completing the binding. I had previously practiced binding in my pot holder DIY, but due to the immense size of the project, it took much longer than expected. My binding technique is also rather untraditional, but I like that the only folds I get in the binding are at the corners. For the binding, I used two strips 2.5" x 75" and two strips 2.5" x 45". Each strip was folded in half, and then a 0.25" hem was folded and ironed in on both sides. The folded binding was placed at the corresponding edge of the quilt and stitched as close to the edge as possible. At each corner, the extra length was cut off and folded into a 45 degree angle to match the existing stitch in the border. The folds were then reinforced with several stitches back and forth along the edge. And It's Done!Overall, I am extremely happy with the way the quilt turned out. For my first time quilting, the process was a lot more time consuming than I predicted, but easier than expected. Once I found the will to begin, breaking it up into several days helped make it manageable and not as intimidating.
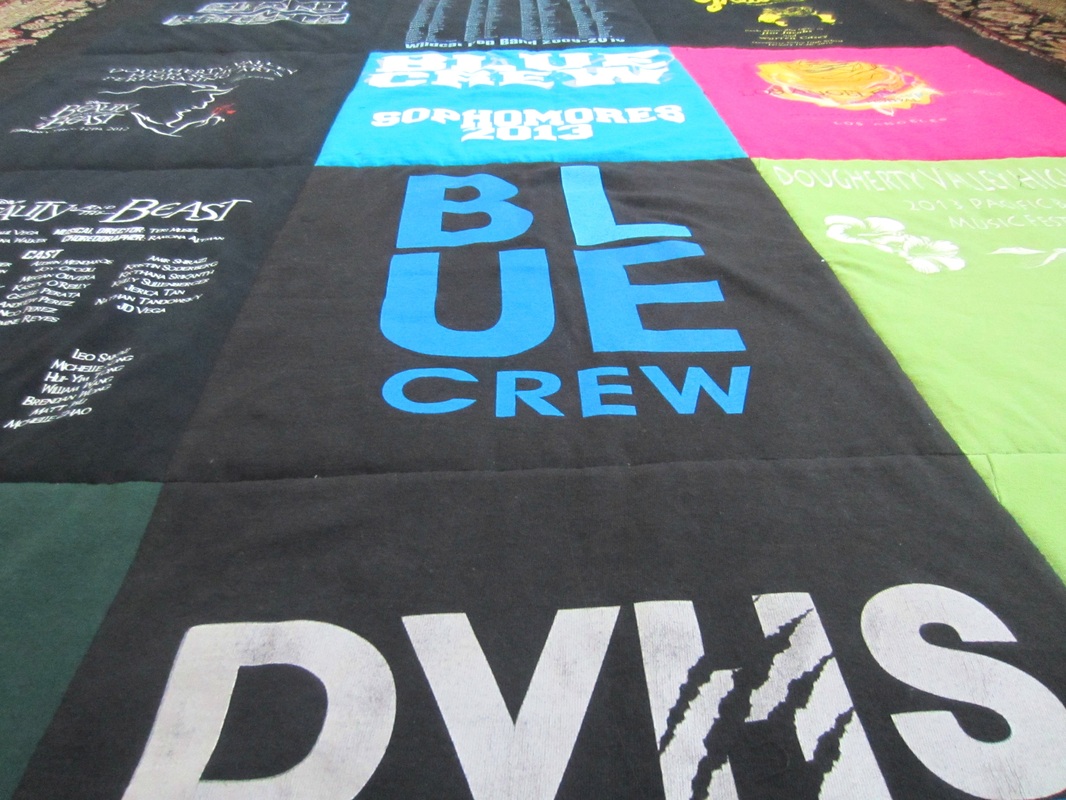
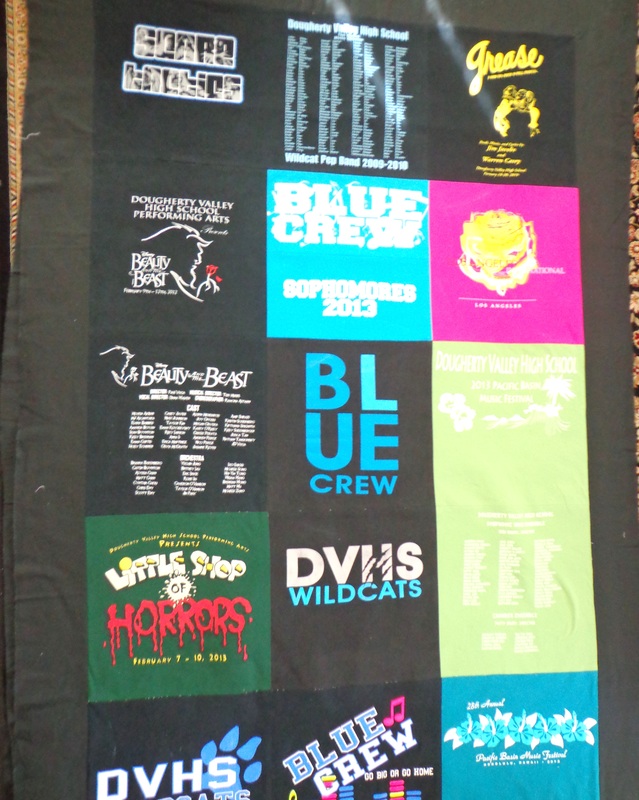
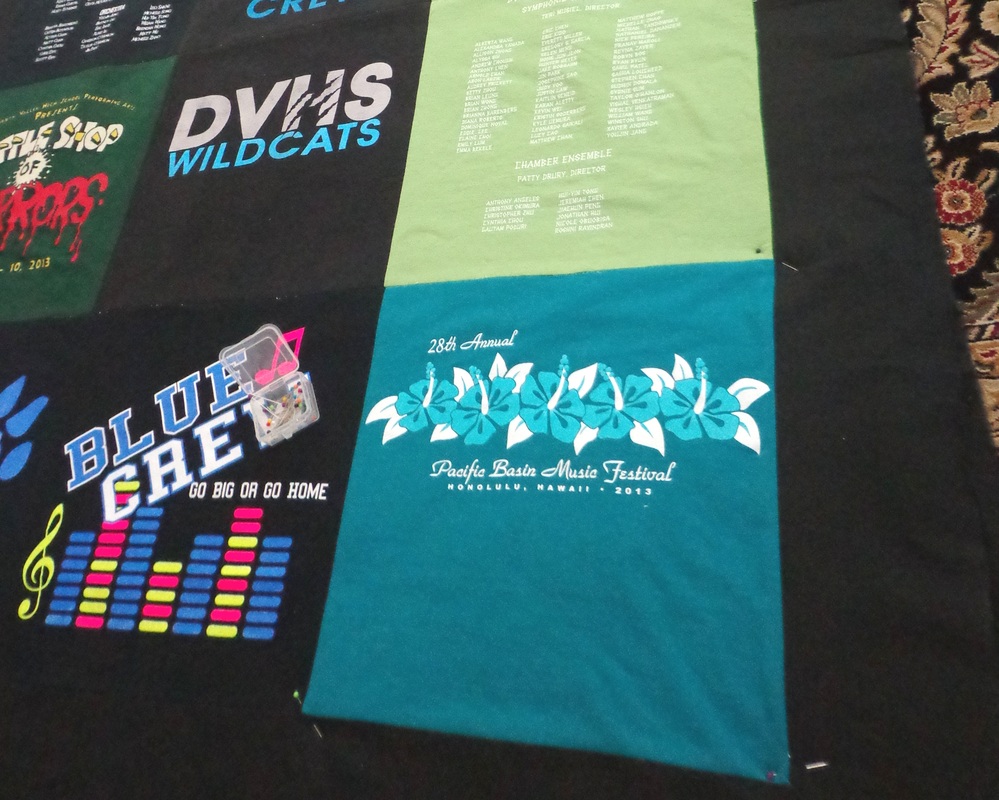
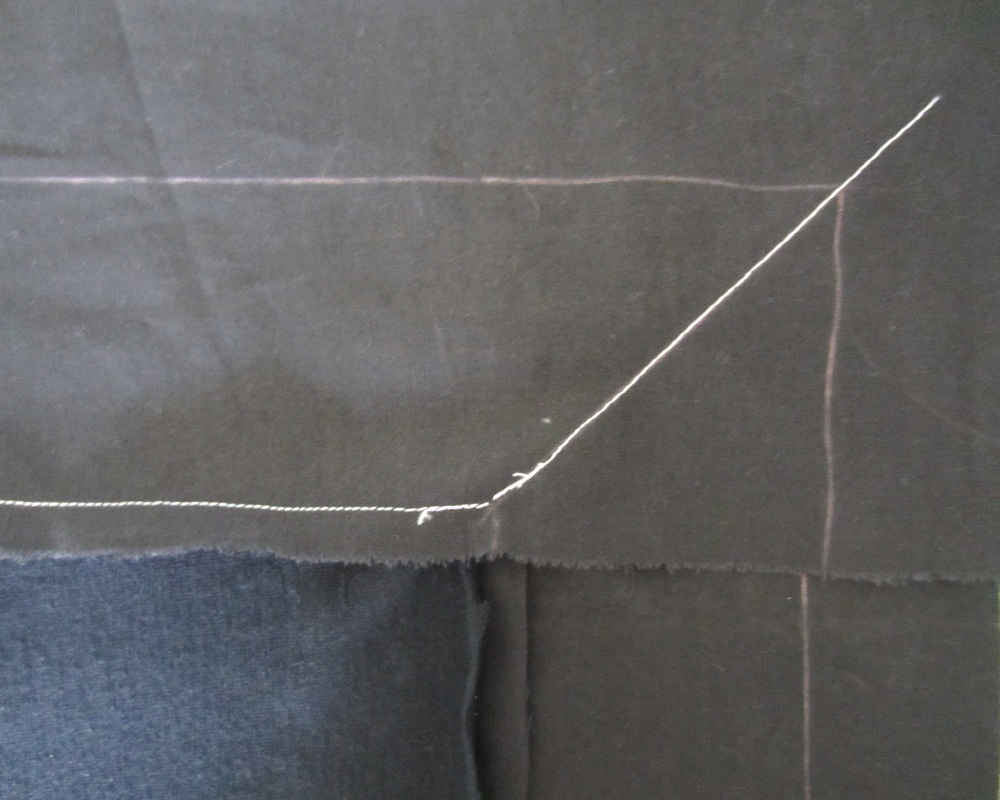
This quilt is a treasured one - it holds the best memories of my high school years. I did get quite nostalgic while working on the quilt, but I'm glad I was able to complete the quilt and wrap up my high school band memories before beginning some new ones with the Trojan Marching Band. Smile c: ~michelle Day 3 was also a full day (with intermittent recipe experimentation). This day felt the longest, and was definitely the most tiring - there are quite a few (unattractive) photos of me lying exhausted across the half-finished quilt. Since I don't have a table surface large enough to fit most of my quilt on, I moved to my living room floor to be able to spread out. Ironing, however, was very precarious, and I would NOT recommend ironing directly on top of a rug. Day 3 started off completing the border attachment from the night before. The strips were stitched together at a 135 degree angle, and the excess triangles were cut off. The completed front was layered on top of the batting and back fabric (also cut to approximately the same size). In addition to ironing (and activating the adhesion of the batting), I pinned the layers together just to ensure that there would be no random fabric bubbles. Then, the tiring part - I went back over and stitched the layers together at all the borders of each shirt (and between the shirts and border). Once all the layers were (finally!) stitched together, a 3" border was measured from the edge of the t-shirts and the quilt was cut to the final size. The corners were left as right angles. Smile c:
~michelle |
Michelle ZhaoA Geek with a Dream is my personal collection of inspiration. There are DIY project ideas, recipes, beauty and fashion tips, personal photographs, and random thoughts. Enjoy and always remember to smile c: Categories
All
Archives
April 2015
|
