A Geek with a Dream
  • My Blog
  • DIY Projects
  • Food & Recipes
  • Home Decor
  • Wishlists
  • Inspiration

DIY: Quilting Day 2

9/17/2014

0 Comments

 
Day 2 was most of a full Saturday, about 8-9 hours. 
Picture
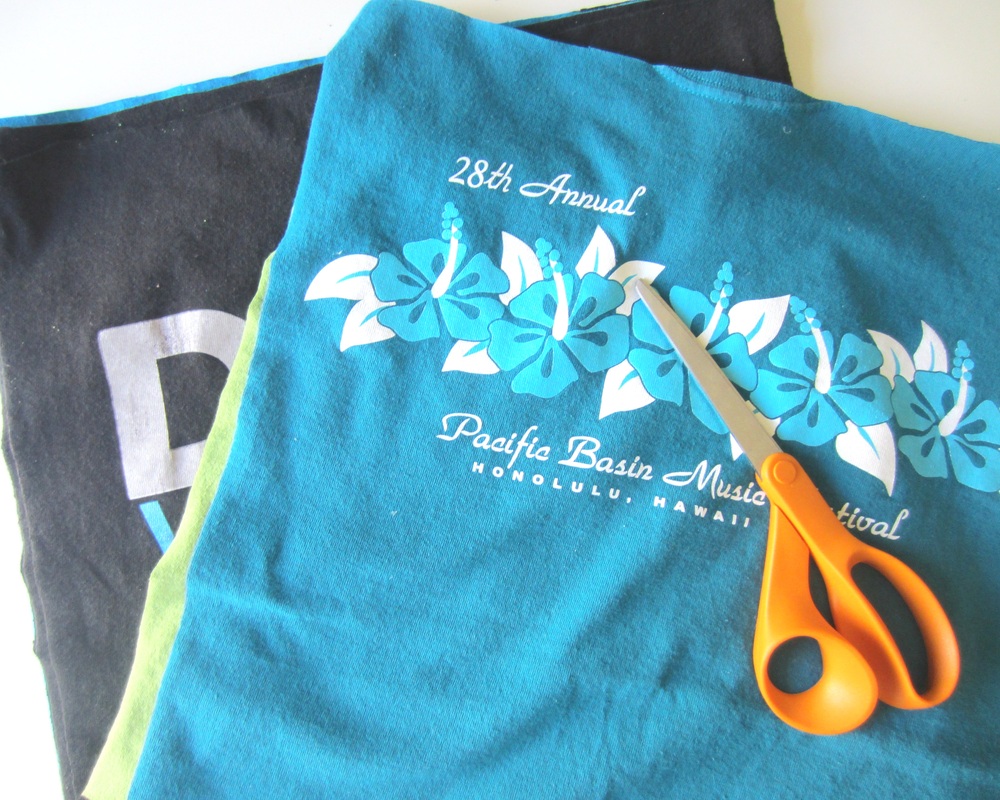
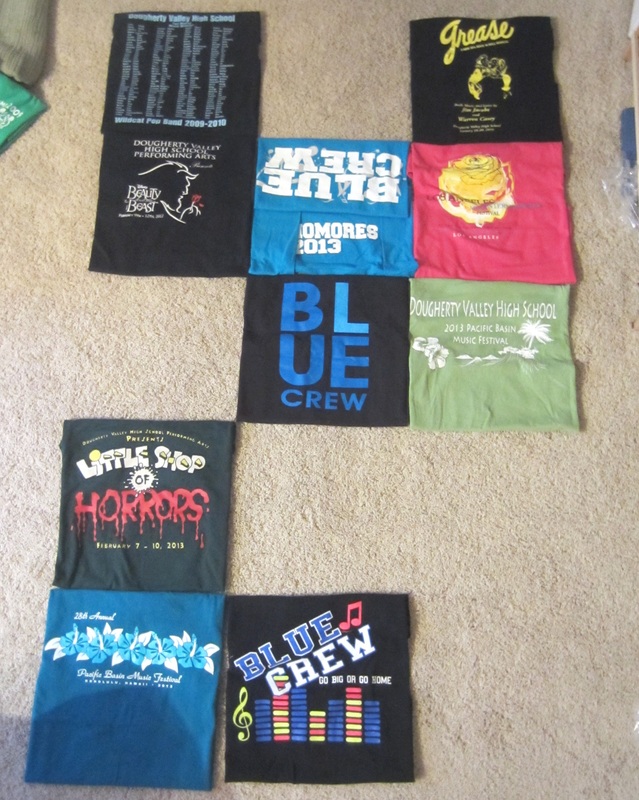
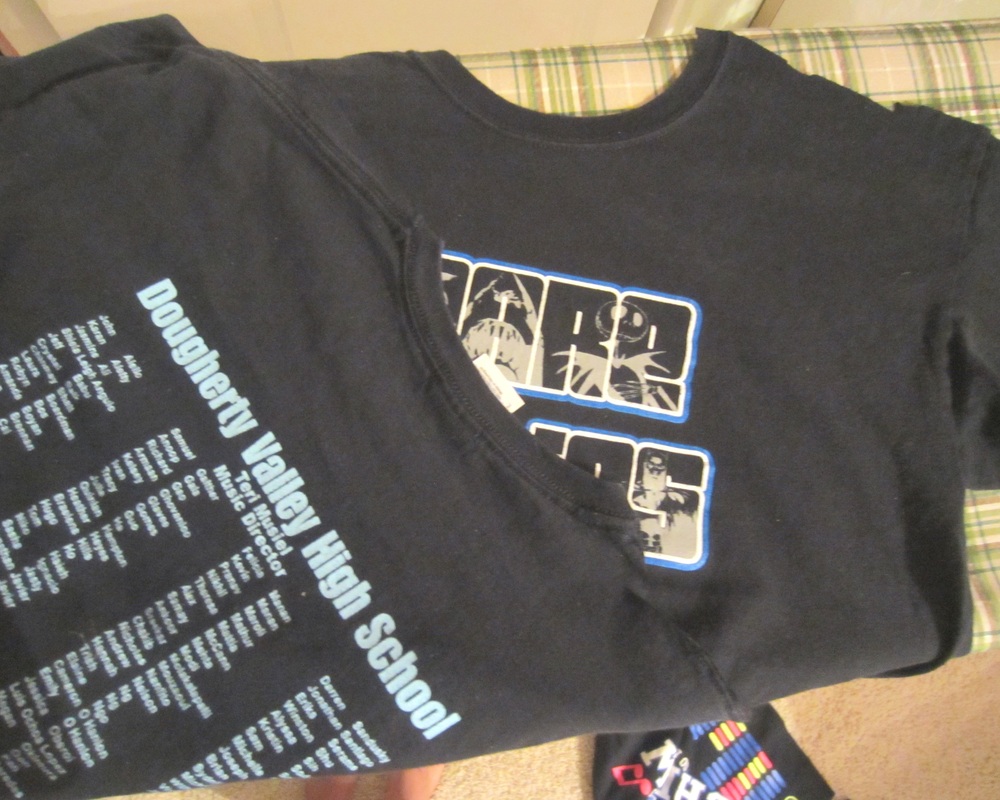
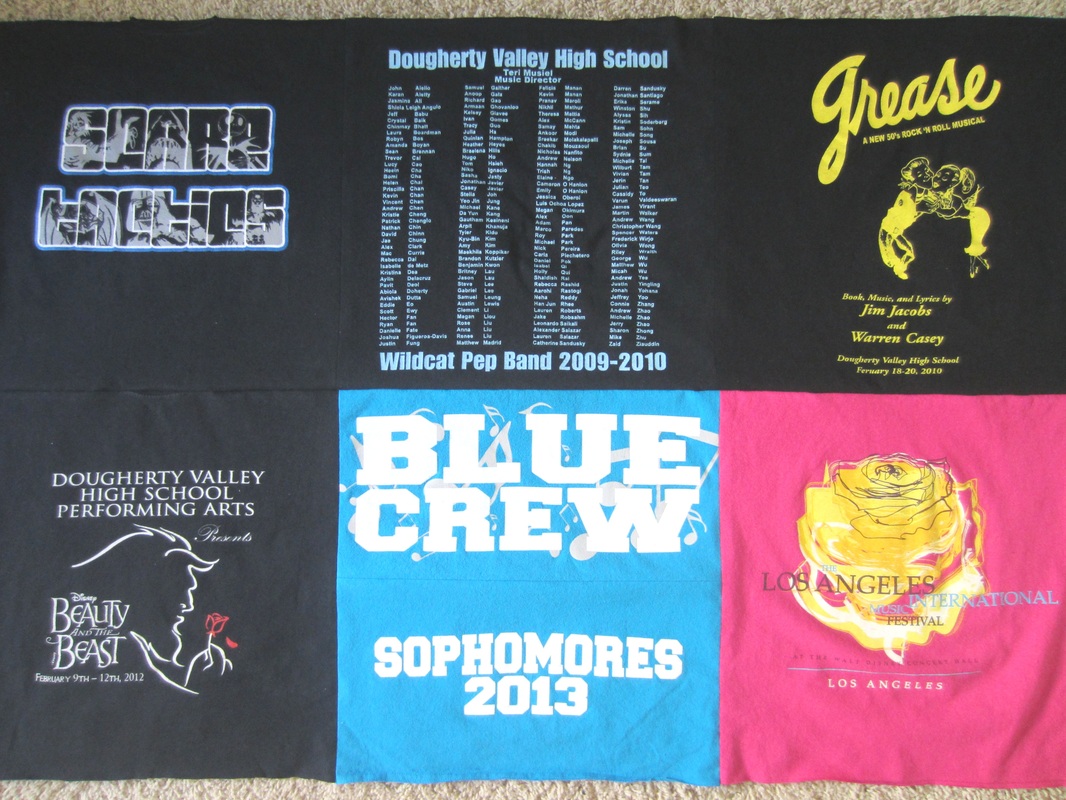
I finished off cutting the t-shirts into 15" x 15" squares and ironed flat.
Picture
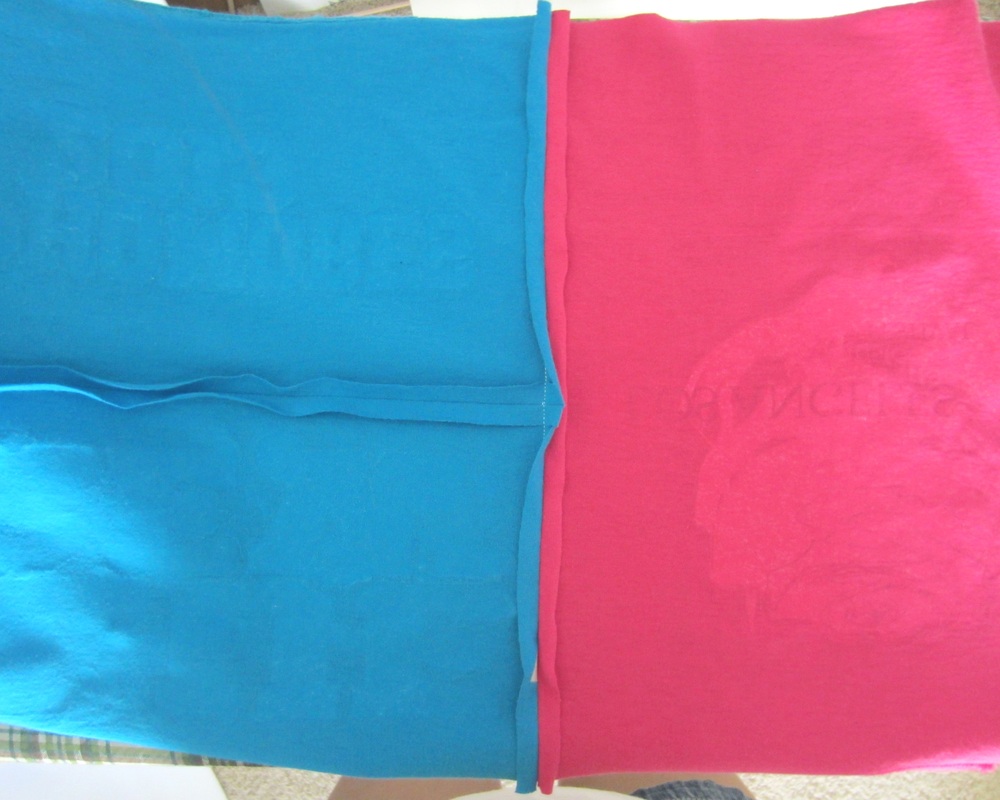
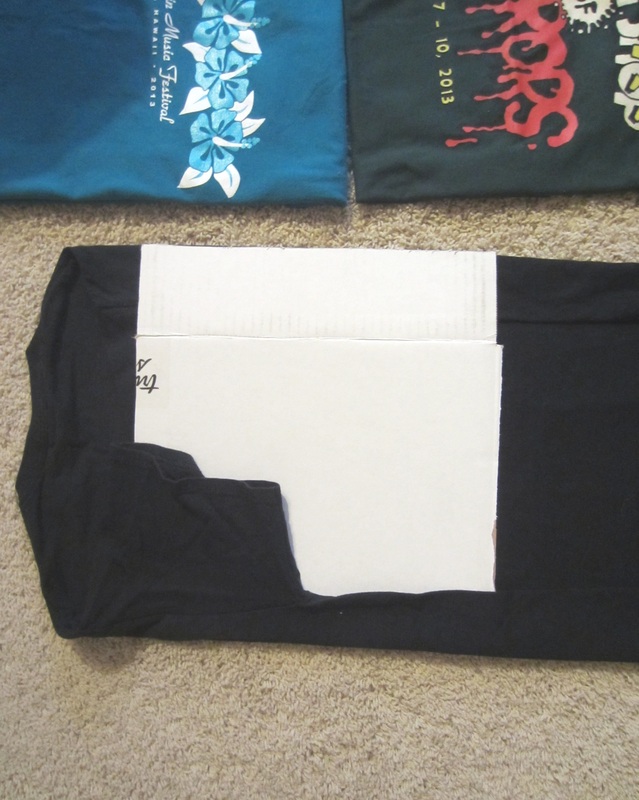
Leaving a 0.5" seam, I stitched three shirts together in rows based on my planned order. With smaller pieces (cut 8" x 15"), they were stitched together first before added to the rows. All seams were pressed open.
Picture
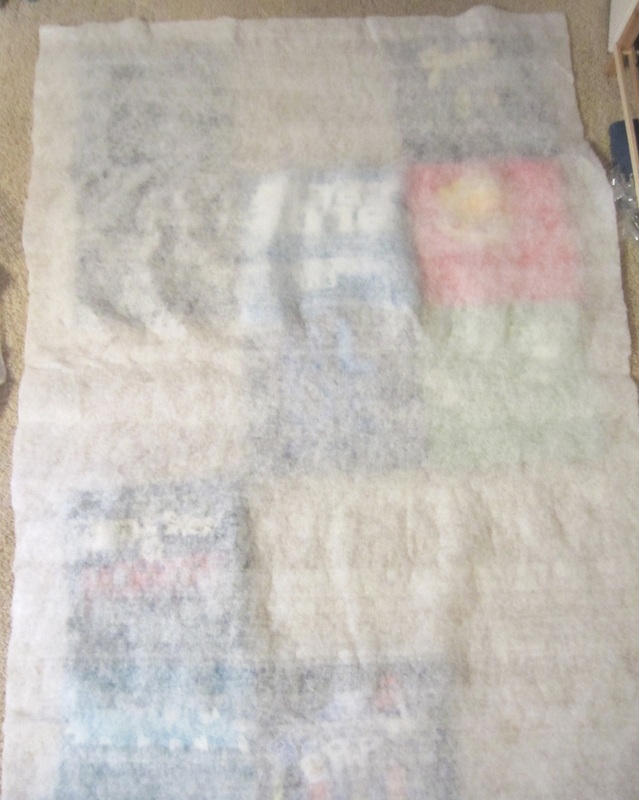
The rows were then stitched together, also leaving a 0.5" seam, until all the shirts were joined to form a 40" x 72" piece.
Picture
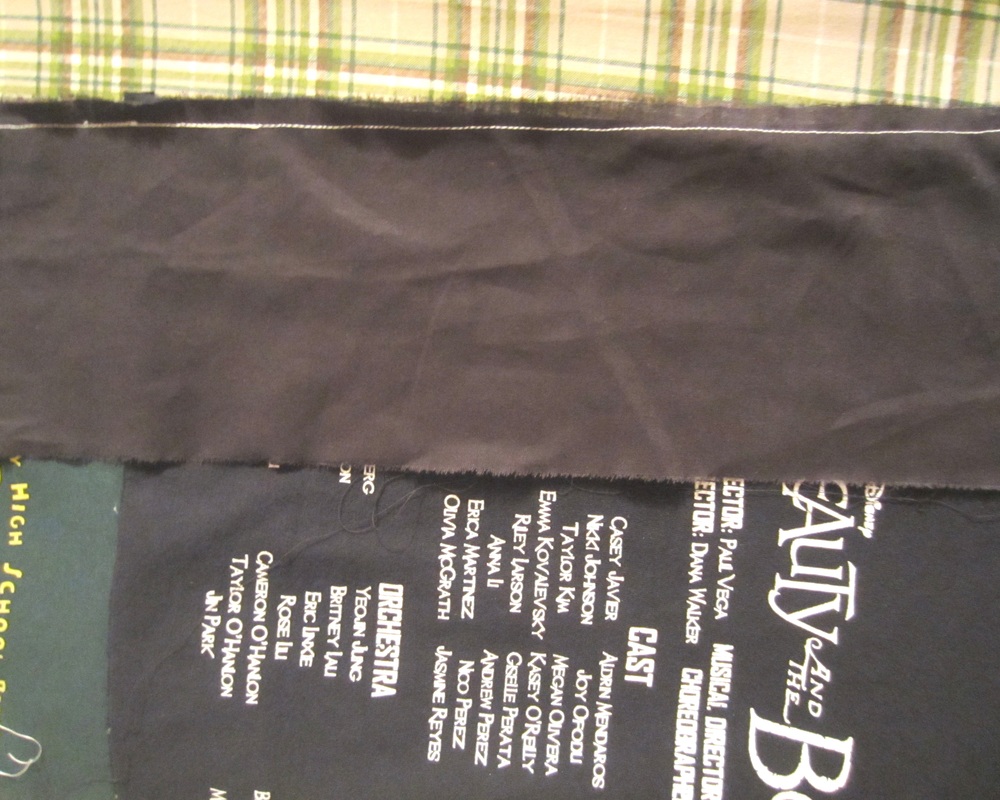
Two strips of approx. 4" x 75" and two strips of approx. 4" x 43" were cut from the backing black fabric (100% cotton), and stitched along the corresponding sides, leaving a 0.5" seam.
Smile c:
~michelle
0 Comments

DIY: Quilting Day 1

9/8/2014

0 Comments

 
As I mentioned before, I finally decided to tackle the (daunting) project of turning my numerous band t-shirts into a quilt! I previously posted a few references that I based the quilt on. 

The quilt took about 2 full days and 2 evenings to complete. As my very first quilt, it was definitely a large project, but one I really enjoyed - seeing the quilt complete made the hard work all worth it. 
Picture
Picture
Day 1 was an evening after work, so I spent no more than 2-3 hours on planning and cutting up the shirts. To start off, I folded the t-shirts into 14" x 14" pieces (using a piece of cardboard as a mold). I arranged them into the chronological order, leaving room for any shirt backs.
Picture
Picture
I used fusible batting to make it easier to stitch everything together at the end. I cut up a piece large enough to cover the shirts, with an extra 5" on each side. The black fabric used as backing was cut into the same size.
Picture
I began cutting up the shirts, first by separating the fronts and backs, and cutting the parts to be included in the quilt into 15" by 15" squares. This step took a good length time, and was completed the next morning.
Smile c:
~michelle
0 Comments

Recipe: Lasagna

9/1/2014

0 Comments

 
Picture
As I'm trying to learn new recipes, I've found that lasagna is a great one to start with. It's simple, straight-forward, and hard to get wrong. 

Serves: 3-4

Ingredients:

Picture
  • 5 sheets of lasagna pasta
  • 1/2 lb ground beef
  • 1/2 medium onion chopped
  • 2 cloves of garlic minced
  • 1 medium tomato chopped
  • 2 tbsp tomato paste
  • 1 cup ricotta cheese
  • 1/4 cup parmesan cheese
  • 1/4 cup mozzarella
  • 1 egg yolk
  • 1 tsp cayenne pepper
  • 1 tsp paprika
  • 1 tsp oregano
  • salt and pepper to taste

Let's Get Started!

Picture
1. Bring a large pot of water to a boil. Add a pinch of salt and the sheets of pasta into the boiling water. Cook as directed (8 minutes). Remove pasta onto a plate coated with olive oil and let cool.


Picture
3. In a large bowl, mix the parmesan, ricotta, diced mozzarella, egg yolk, salt, and pepper. 
Picture
5. Lay another layer of pasta, topping with a layer of the cheese mix. Continue layering until no more meat remains.
Picture
2. On medium heat, add some olive oil and the hamburger meat. In another pan, saute the chopped onions until they are soft. Stir and cook the meat until it is almost cooked, and add the onion, garlic, paprika, oregano, cayenne pepper, salt, and pepper. Cook for another 2-3 minutes and add the tomatoes and tomato paste. Cook for an additional 4-5 minutes and remove from heat. 
Picture
4. Coat a baking dish with a light layer of oil. Lay the first layer of pasta down, and add a generous layer of meat. 
Picture
6. Layering one last layer of pasta, top with the remaining cheese mix and sprinkle shredded parmesan and mozzarella. Bake at 350F for 20 minutes or until the top browns. 

And You're Done!

Picture
Picture
Smile c:
~michelle
0 Comments
Forward>>
    Follow on Bloglovin
    Picture

    Michelle Zhao

    A Geek with a Dream is my personal collection of inspiration. There are DIY project ideas, recipes, beauty and fashion tips, personal photographs, and random thoughts. Enjoy and always remember to smile c:

    Categories

    All
    Beauty
    Decor
    DIY
    Fashion
    Food
    Holidays
    Knitting
    Thoughts
    Traveling
    Wishlist

    Archives

    April 2015
    February 2015
    January 2015
    December 2014
    November 2014
    October 2014
    September 2014
    August 2014
    July 2014
    June 2014
    May 2014
    April 2014
    March 2014
    February 2014
    January 2014

Powered by Create your own unique website with customizable templates.