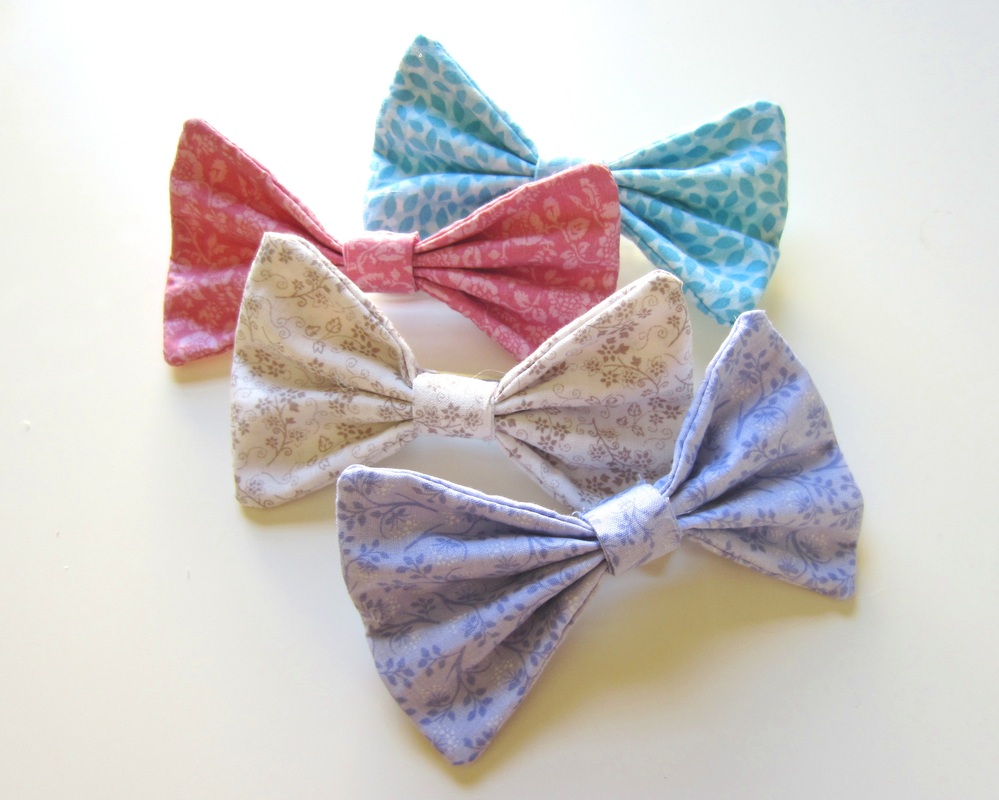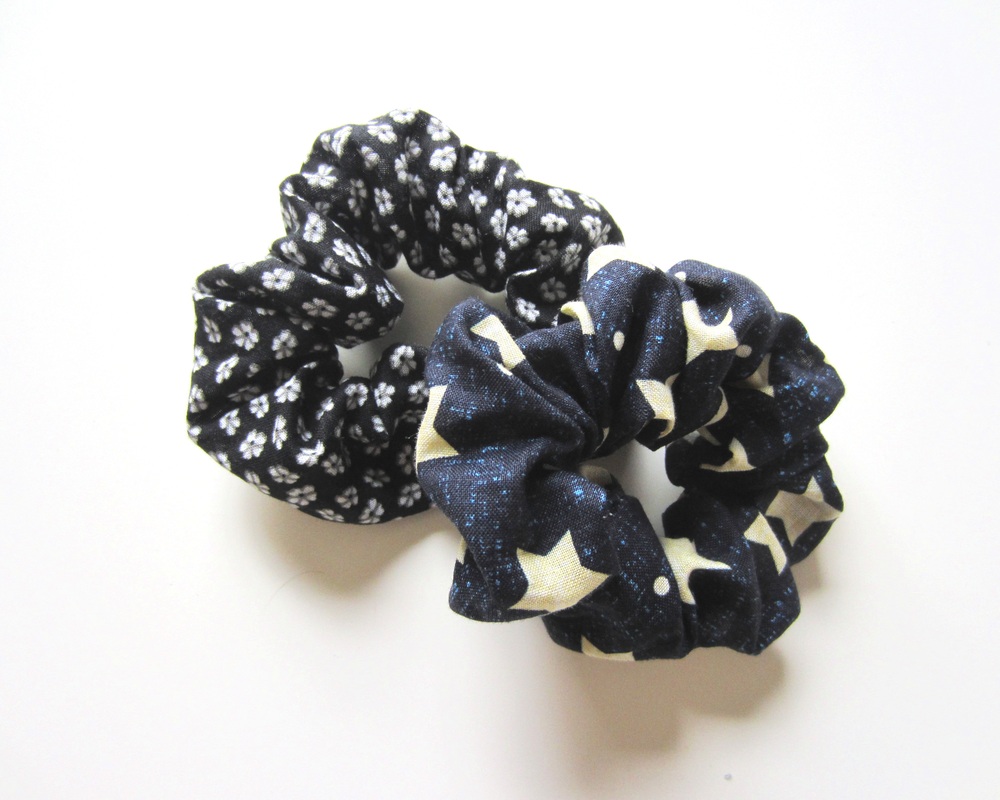
Scrunchies. I love them. They're useful, pretty, and just so convenient. I always have one in my bag, and probably another in my hair or on my wrist.
I personally really enjoy this DIY - each scrunchie takes no more than 15 minutes to make, but the final product looks store bought! The easiest part is that none of the measurements are exact, so it's a perfect way to get rid of some scrap fabric and elastic. My elastic (0.5" wide) was slightly fatter than I would have preferred, but the scrunchie turned out well, regardless.
I personally really enjoy this DIY - each scrunchie takes no more than 15 minutes to make, but the final product looks store bought! The easiest part is that none of the measurements are exact, so it's a perfect way to get rid of some scrap fabric and elastic. My elastic (0.5" wide) was slightly fatter than I would have preferred, but the scrunchie turned out well, regardless.
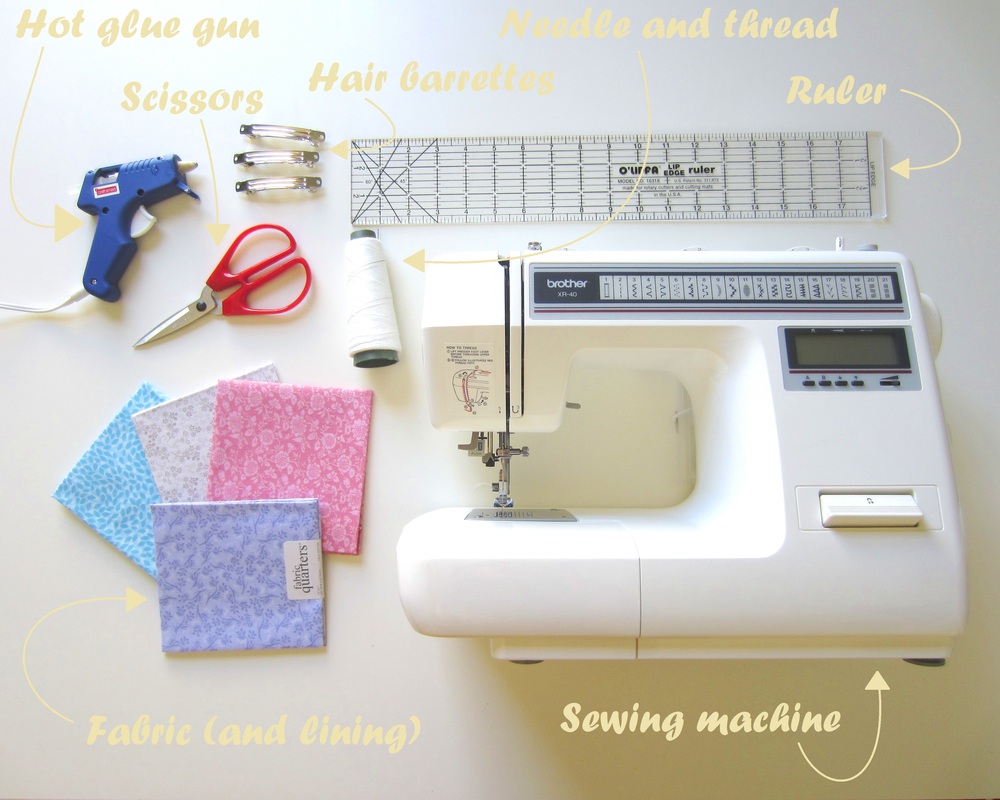
Materials:

Let's Get Started!
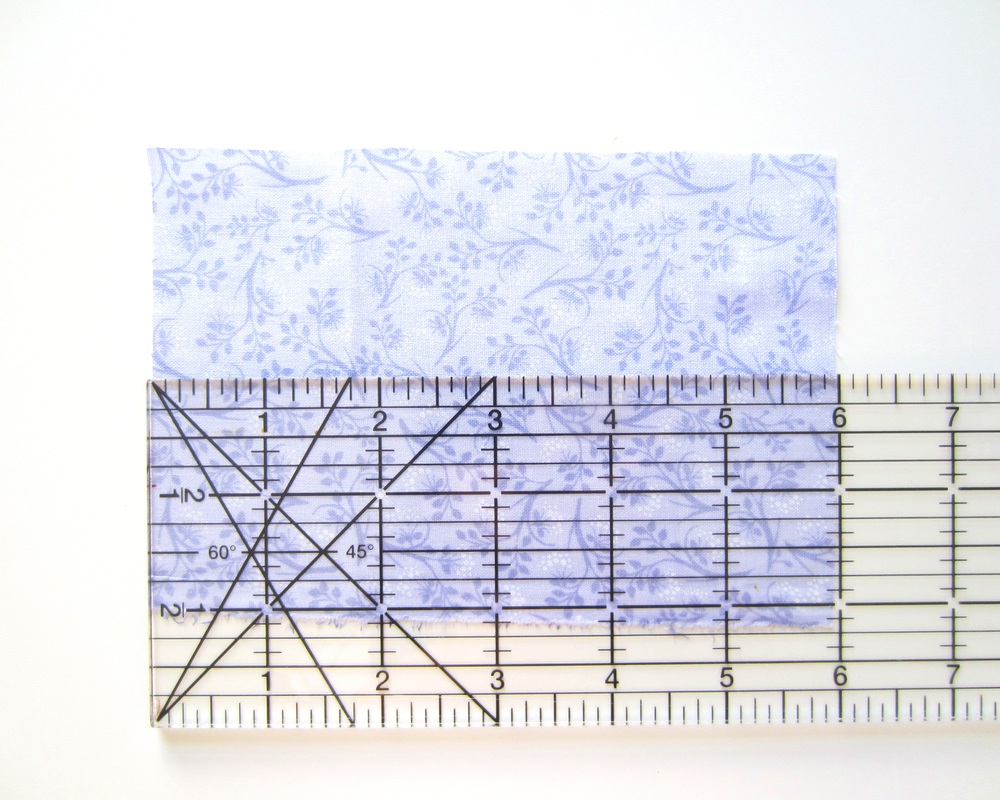
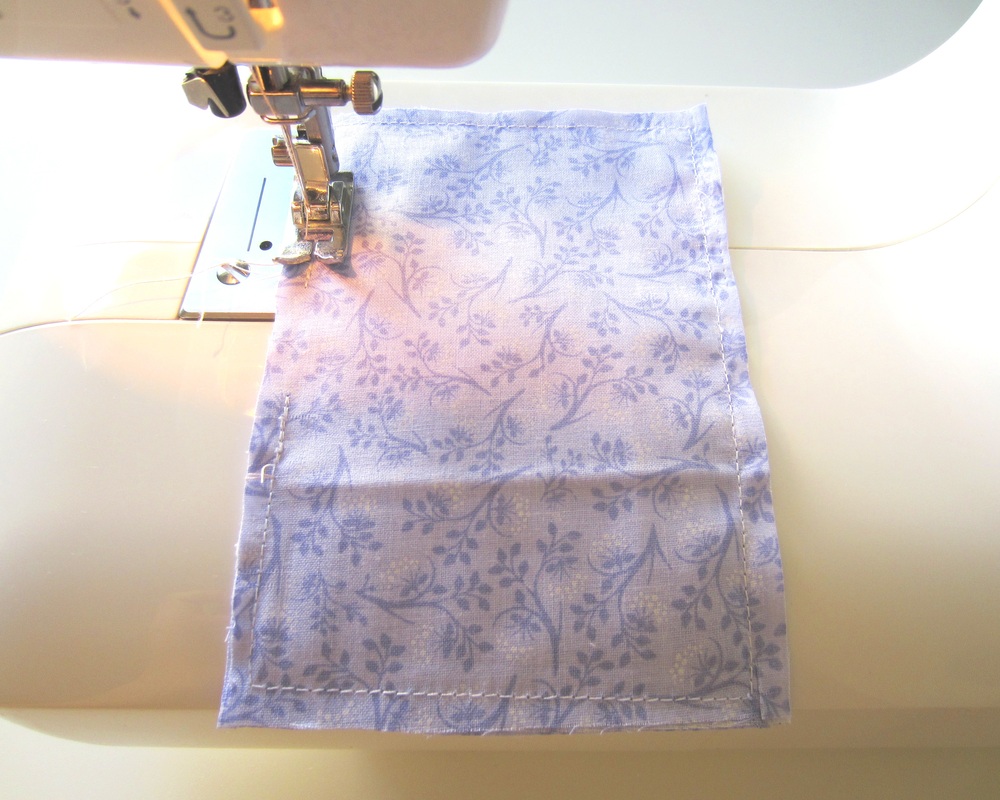
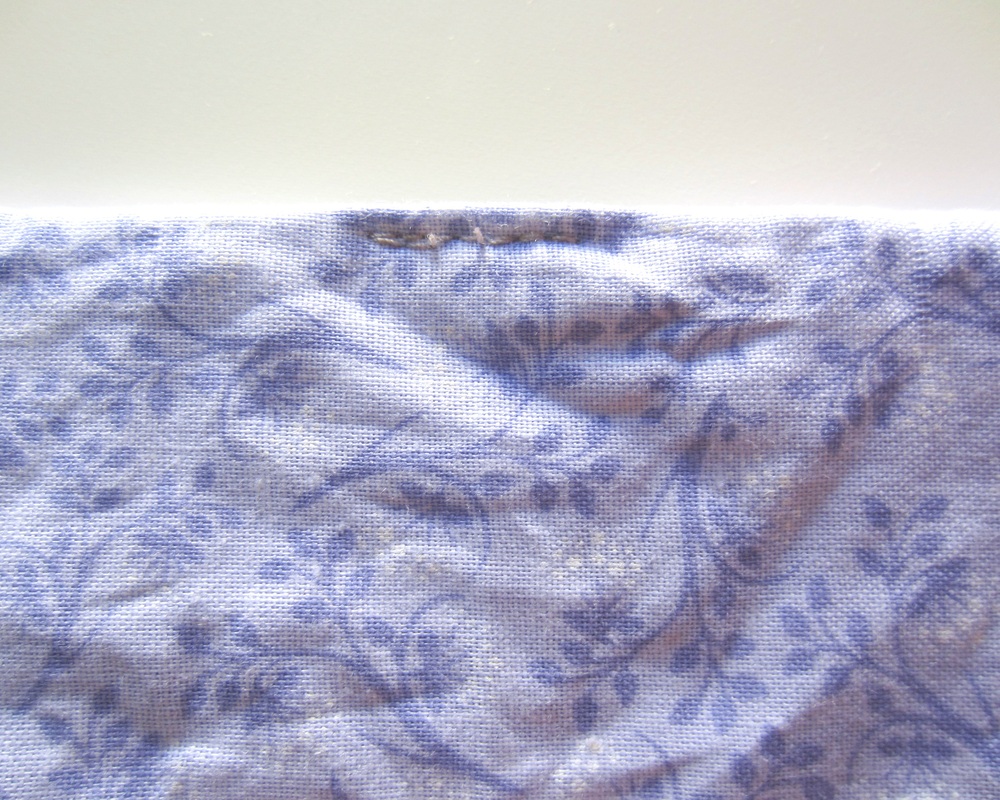
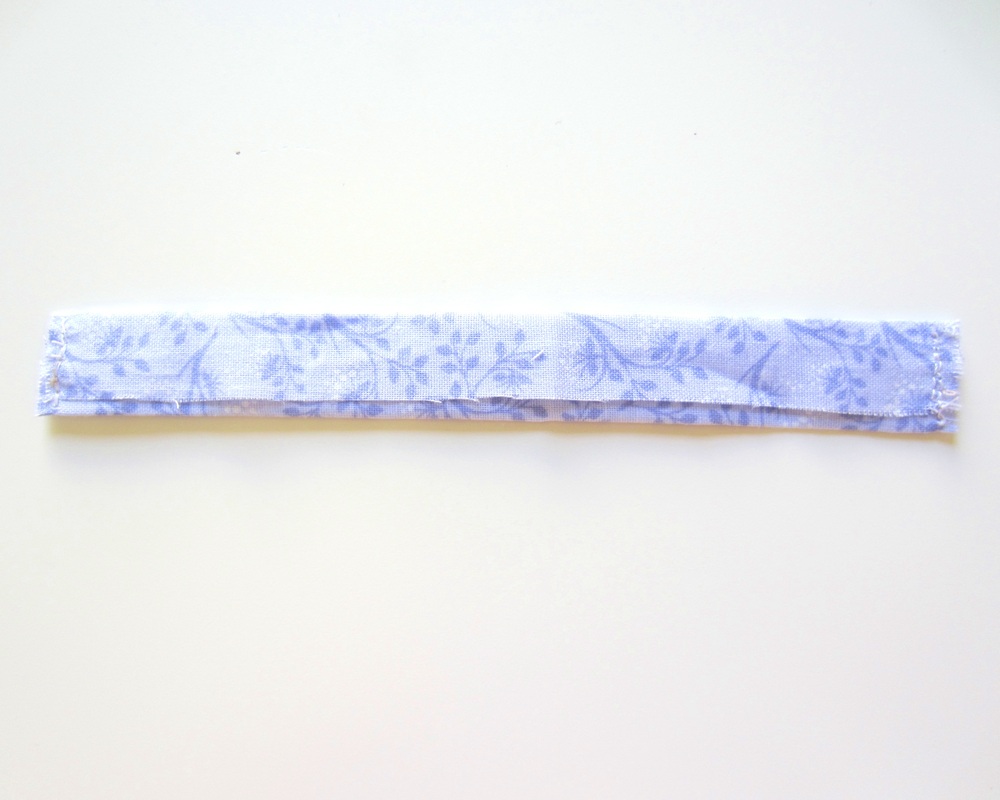
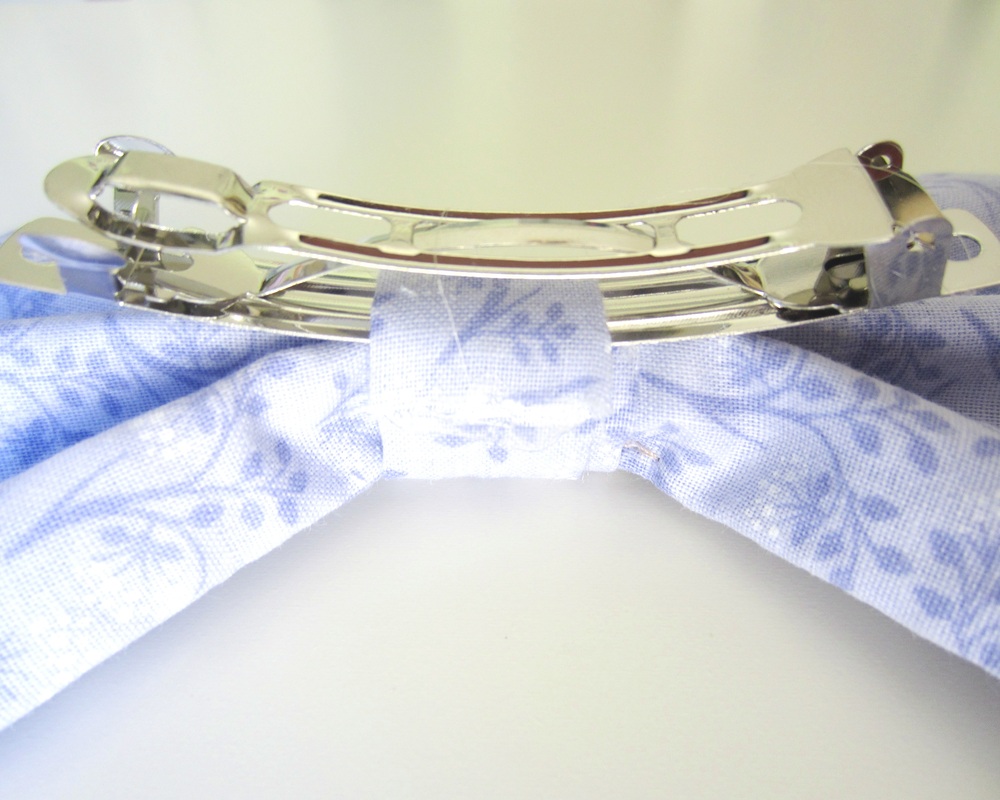
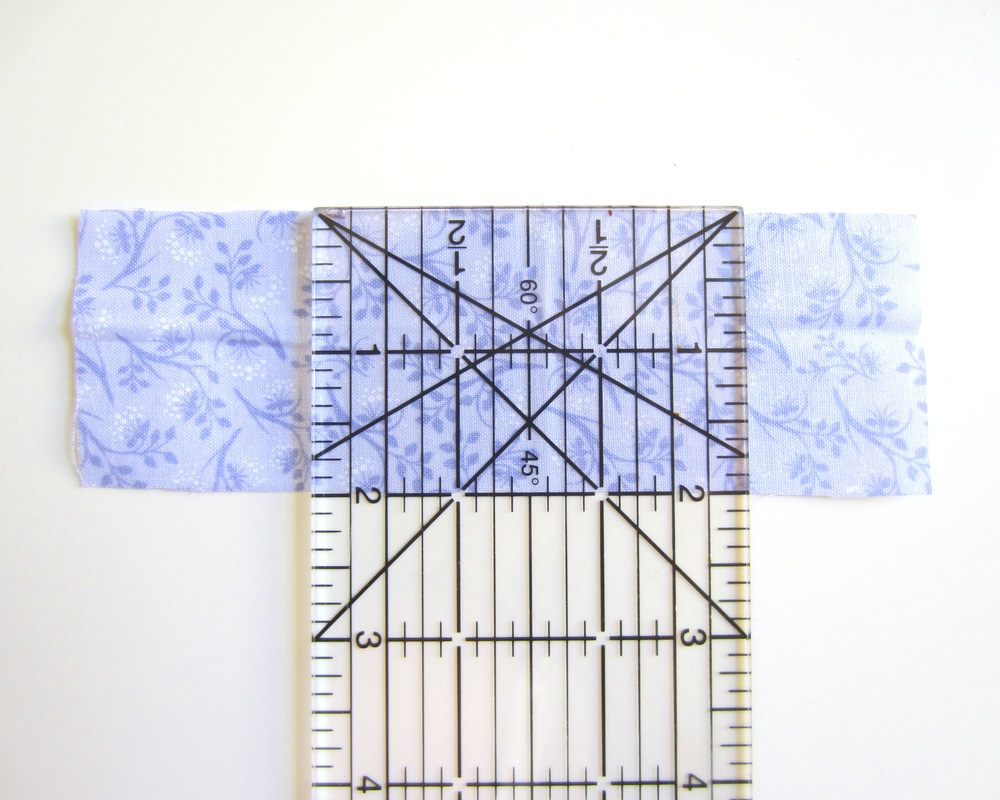
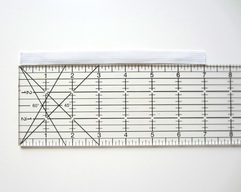 1. Cut a 7" piece of elastic. 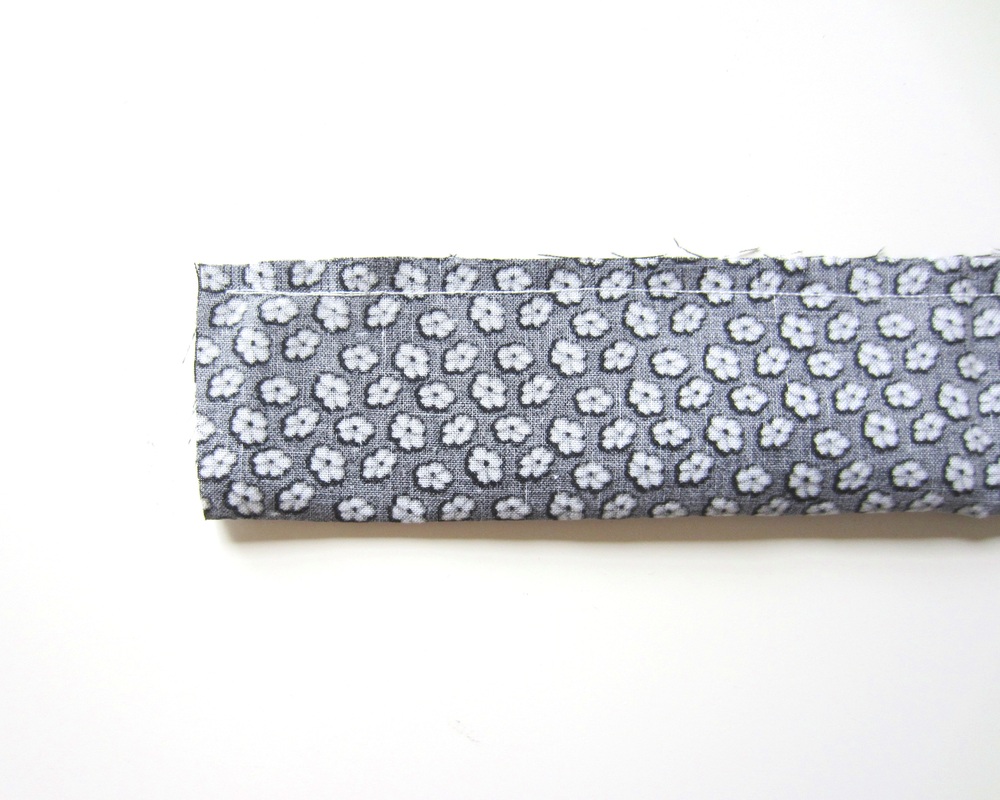 3. Folding lengthwise with correct sides facing in, stitch the edges together. 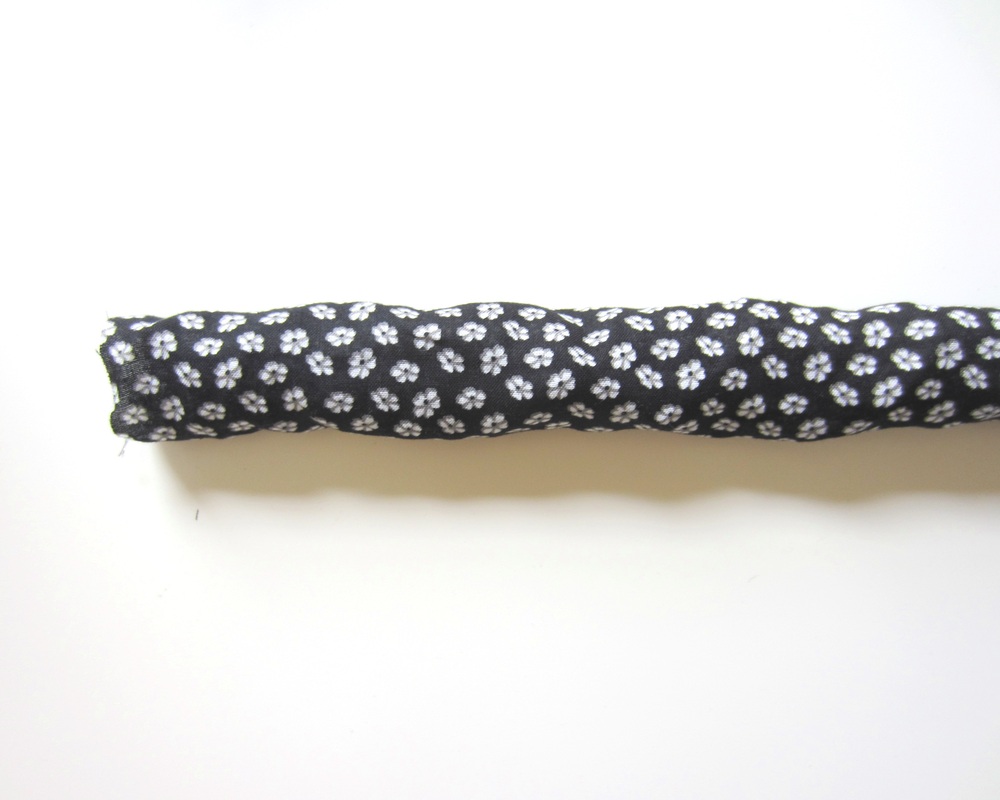 5. Ironing flat is optional - I prefer not as I like the volume it gives. 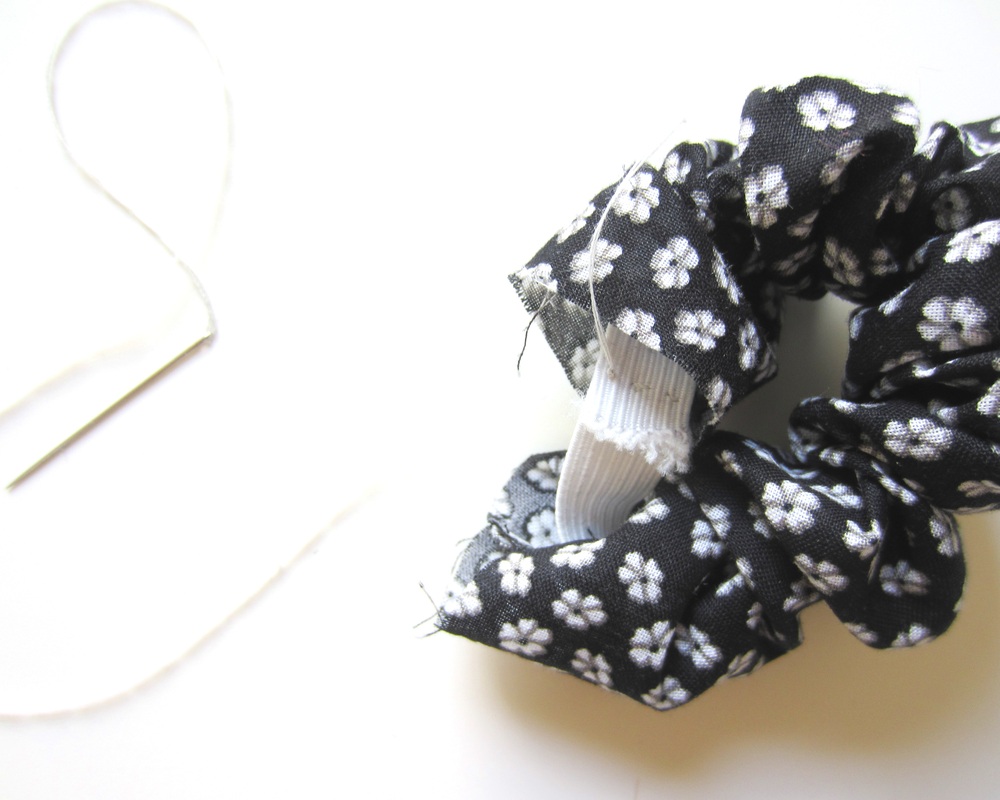 7. Since stitching the elastic together takes quite a bit of manipulation, briefly sewing together by hand will help make the process easier. 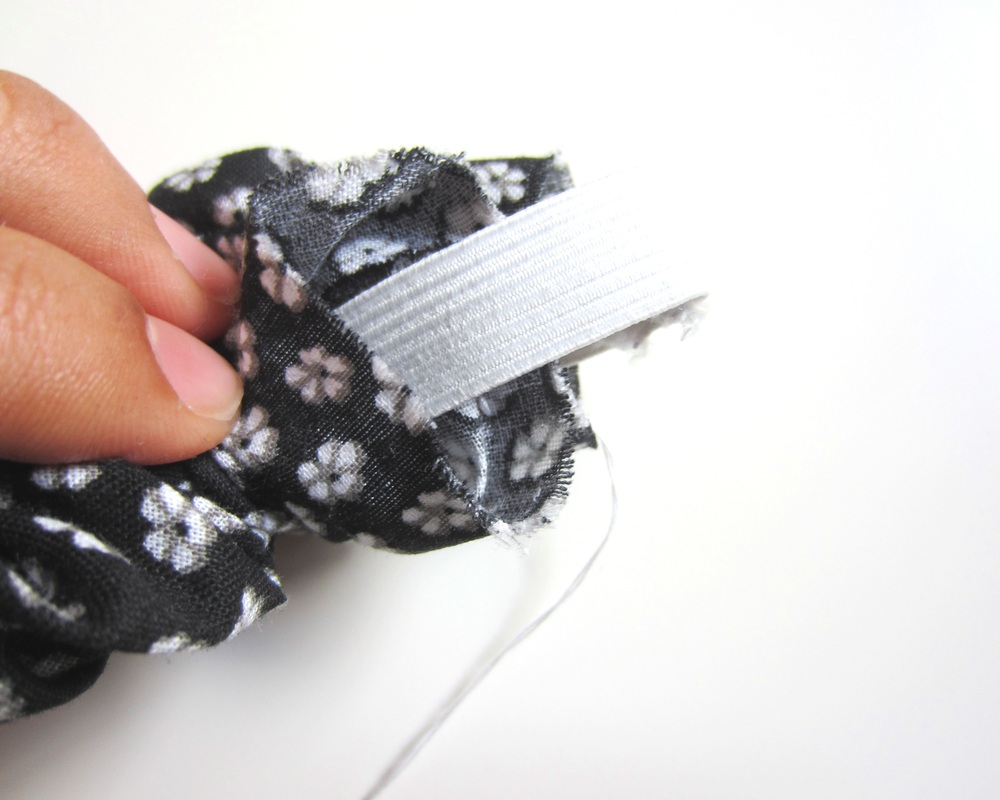 9. Pulling the elastic out so that it does not put pressure on the fabric, hand sew the fabric ends together, with the correct sides facing in. | 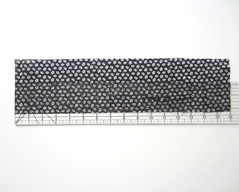 2. Cut a 16" x 4" piece of fabric. 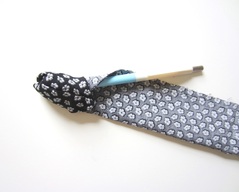 4. Use a pen (or straw) to help push the fabric through to turn right side out. 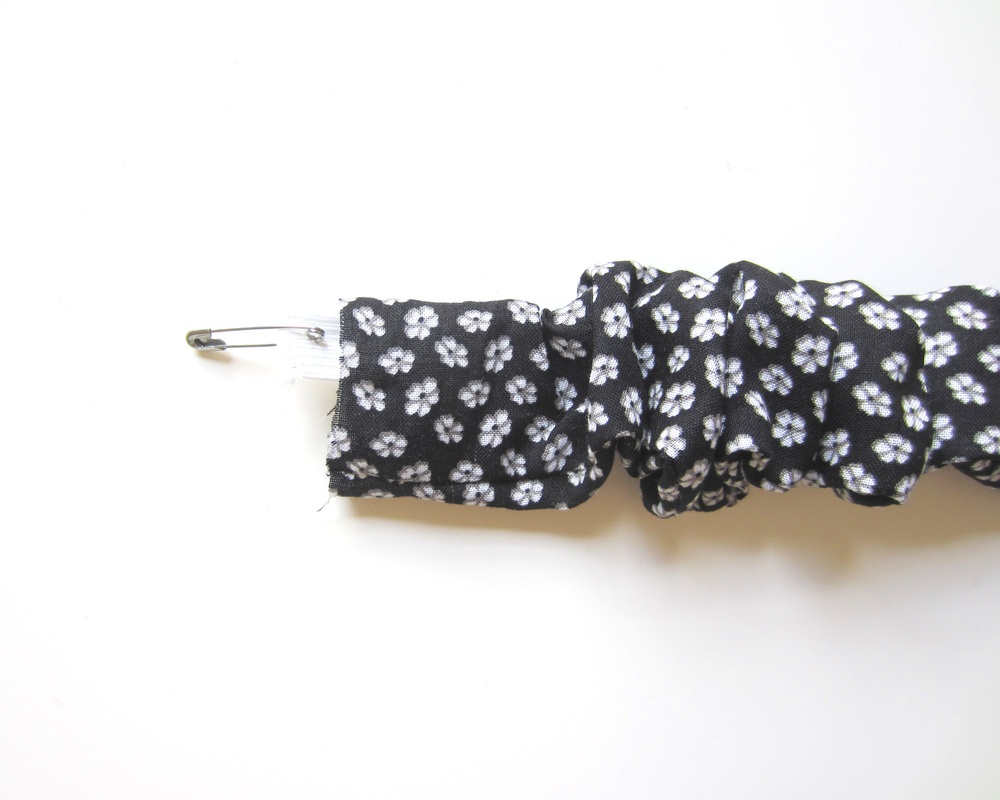 6. Attach the safety pin to one end of the elastic and feed through the fabric tube. 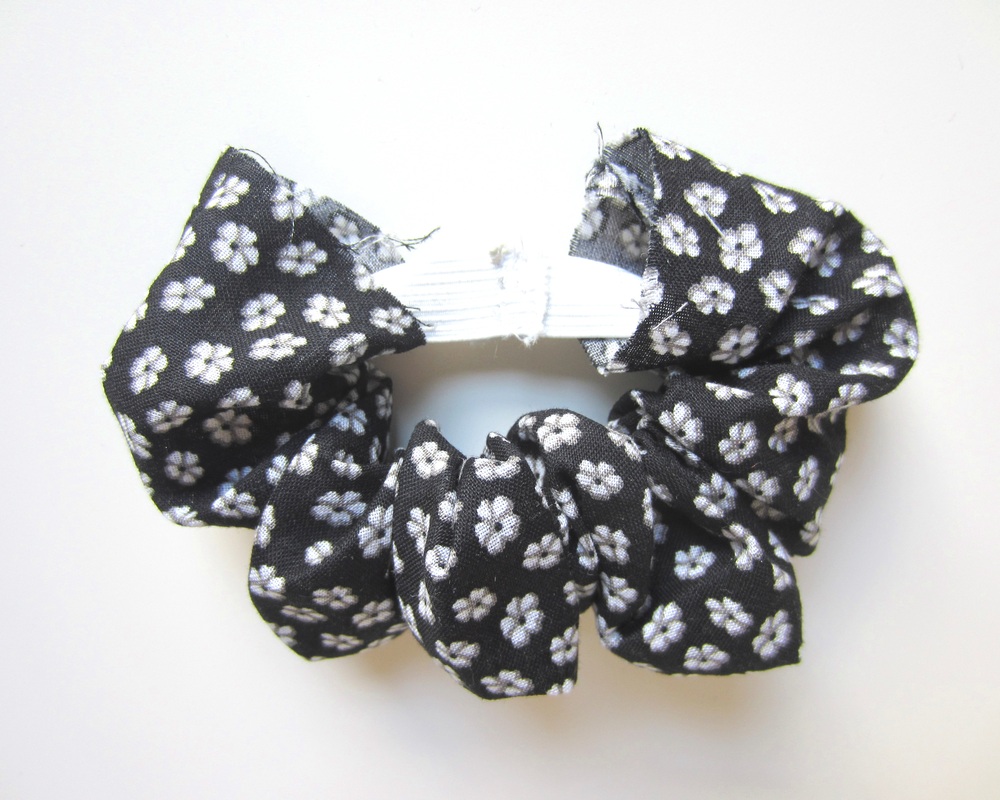 8 Using small stitches, go back and forth a few times to secure the elastic ends together. 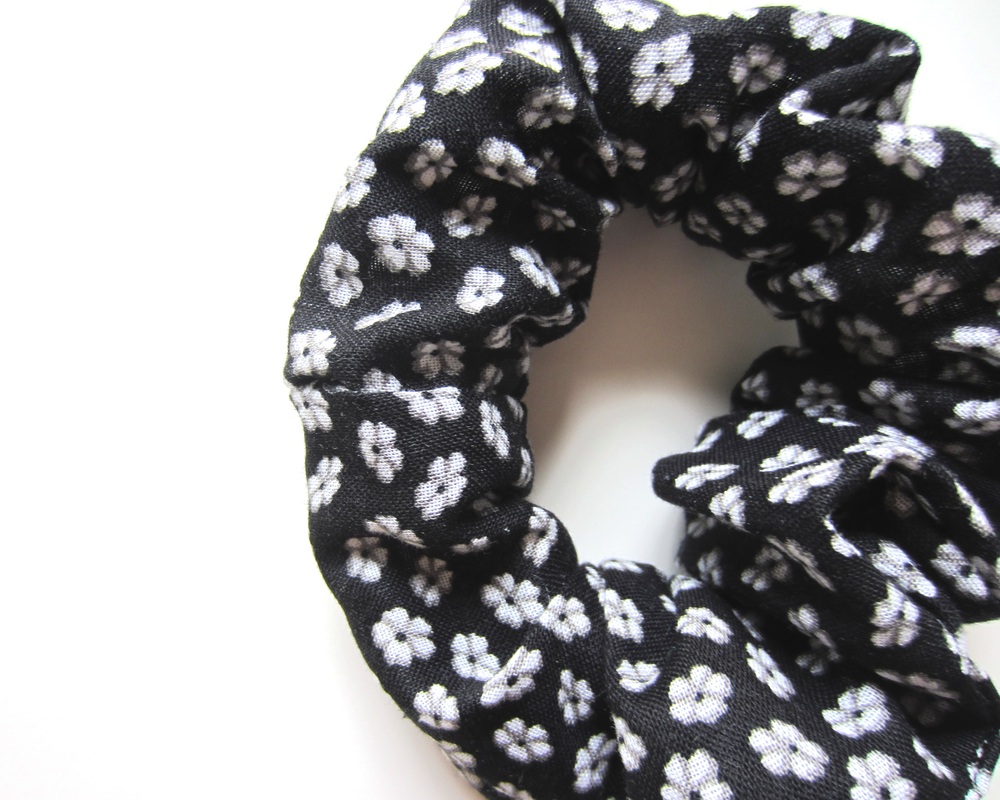 10. When it becomes hard to continue sewing flat, tuck the edges of the remaining free portions in and sew together. |
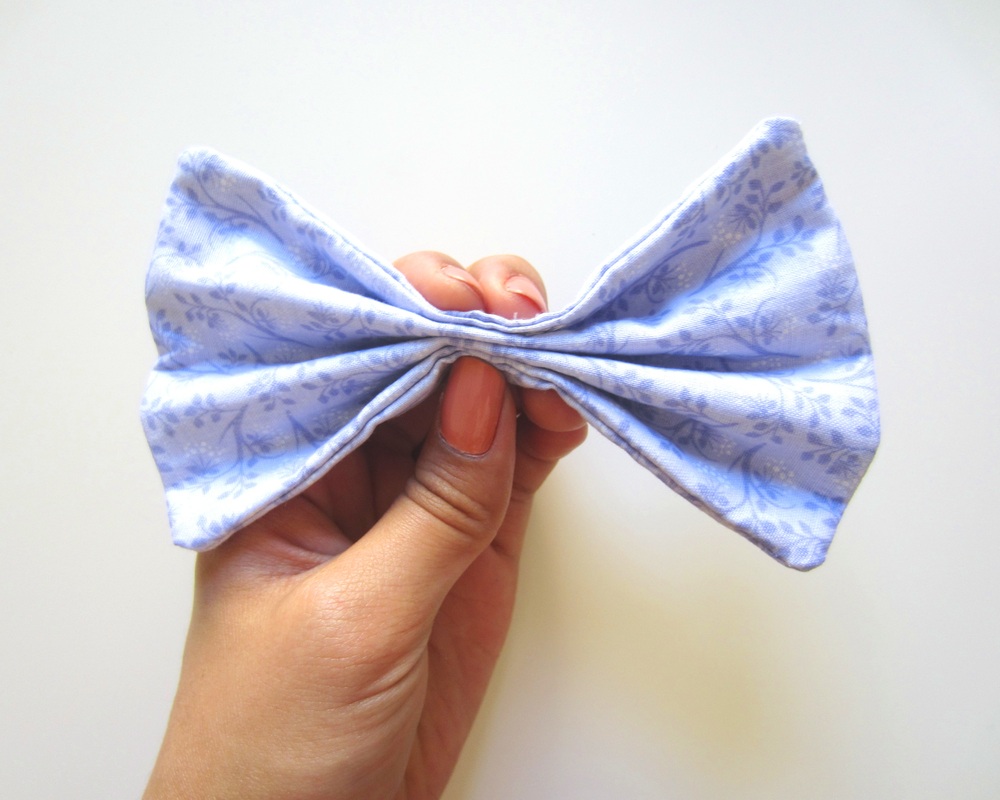
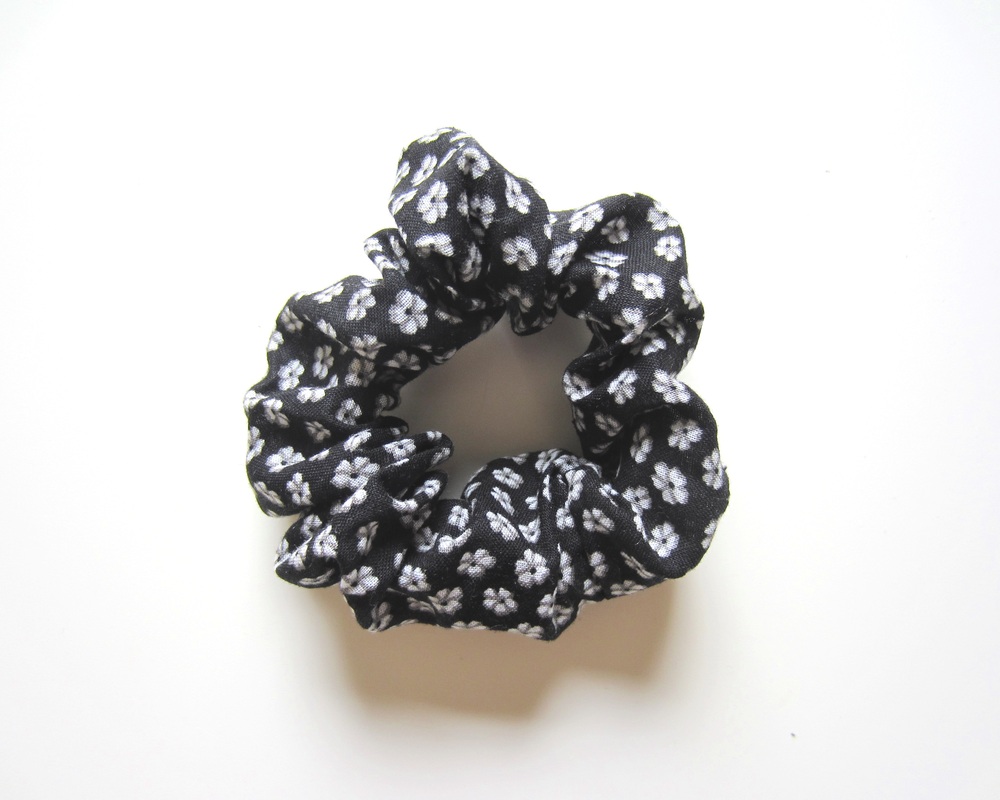
And You're Done!
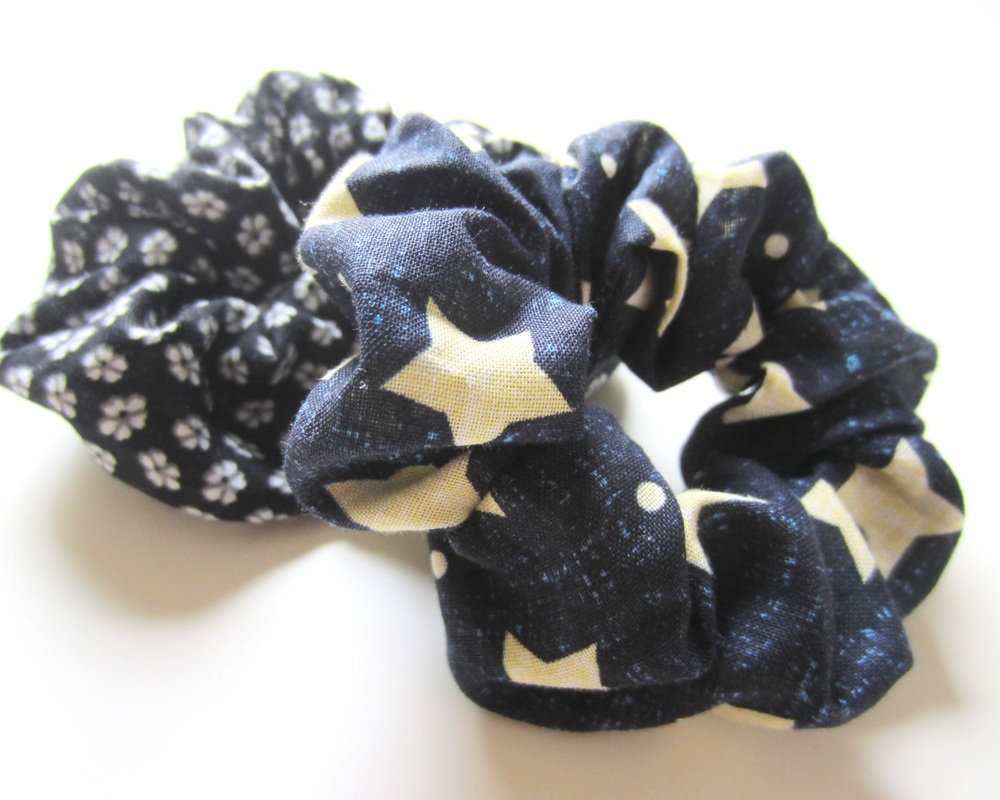
Smile c:
~michelle
~michelle