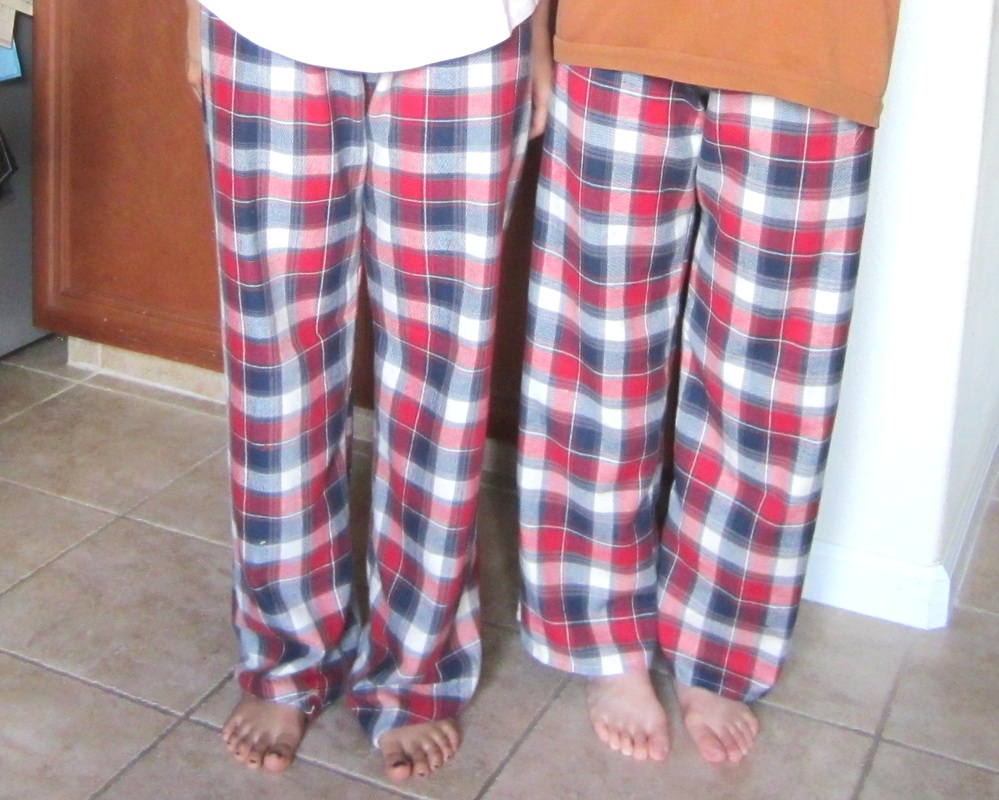
My bestie and I may be too old for "Best Friends Forever" jewelry, we're not too old for matching PJ pants. Pajama pants are probably one of the easiest pieces of clothing to DIY without a pattern - all you need is an existing pair of pajama pants (or regular pants) and some comfortable fabric.
Materials:
- 2 yards of fabric
- 1 yard of 1" (non-folding) elastic
- pair of (pajama) pants
- fabric scissors
- sewing machine
- sewing kit
Let's Get Started!

1. Folding the fabric in half (right side out), trace one leg of the pajama pants onto the fabric, with the straight side along the fold. Leave a 1" border all around the cut edges and a 2" border at the waist in the front (3" border in the back), ensuring that the waist area and bottom of pant leg are straight. 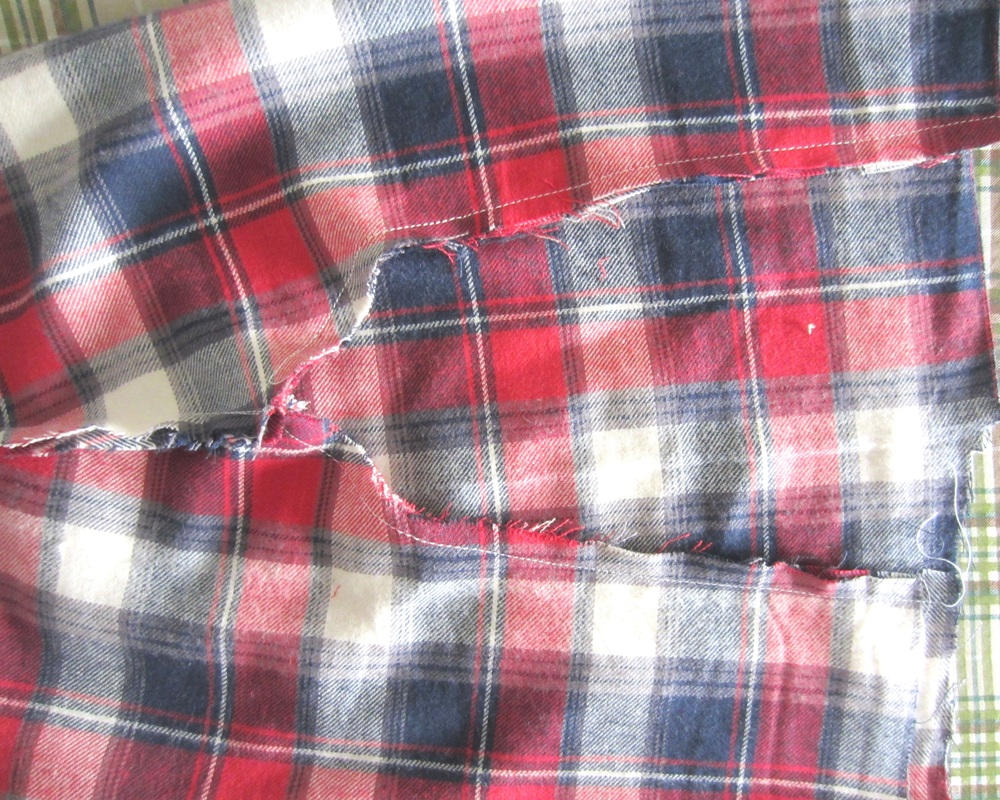
3. Repeat steps 1-2 with the other pant leg. Turning one leg inside out and placing inside the other, stitch the sides of the waist area together. Again, adjust as needed and reinforce with a zigzag stitch. 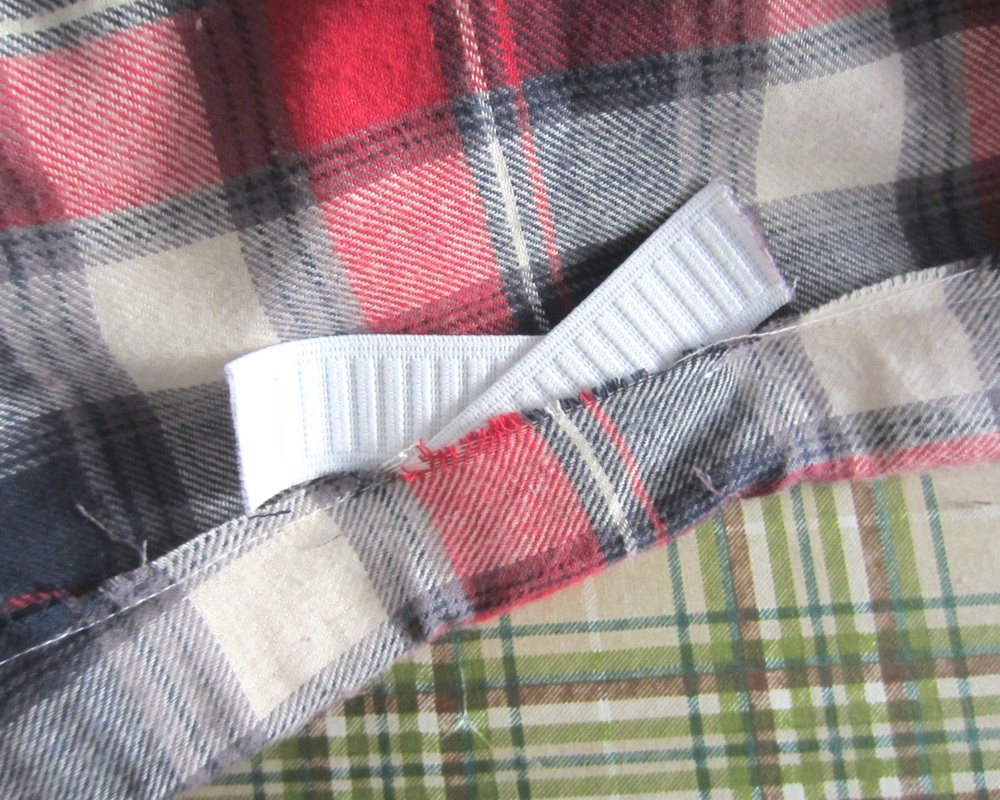
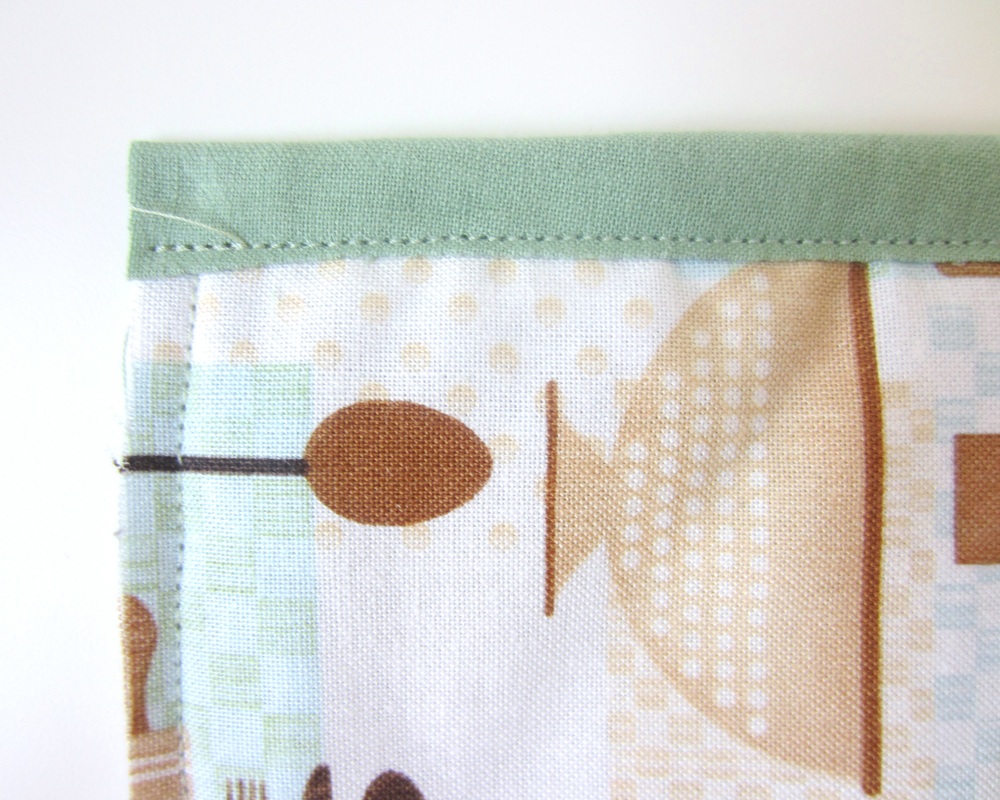
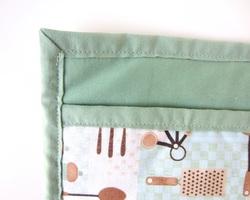
5. Folding 1.5" over on the waist, stitch around, leaving a 3" gap. Using a safety pin, feed the elastic through and stitch the elastic ends together. Close the gap and reinforce the stitches. | 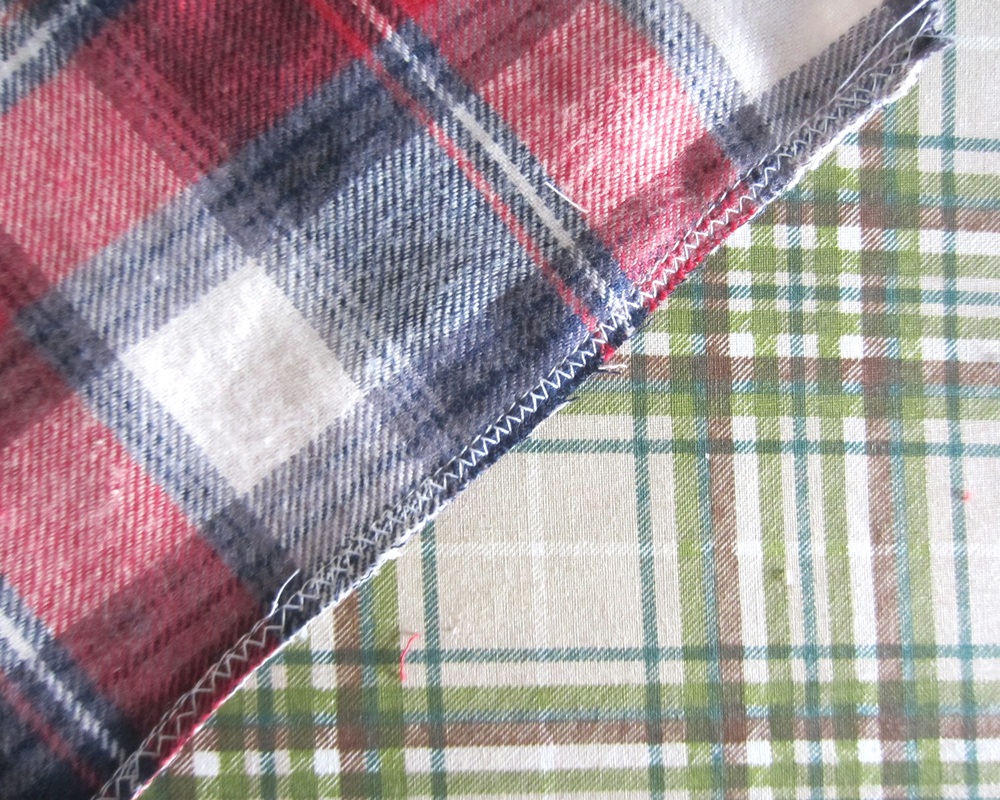
2. Stitch the pant legs together with a short stitch, leaving a 0.5" seam. Adjust the width at area as needed. Once the leg shape is as desired, cut the seam off close to the stitch, and reinforce with a zigzag stitch. 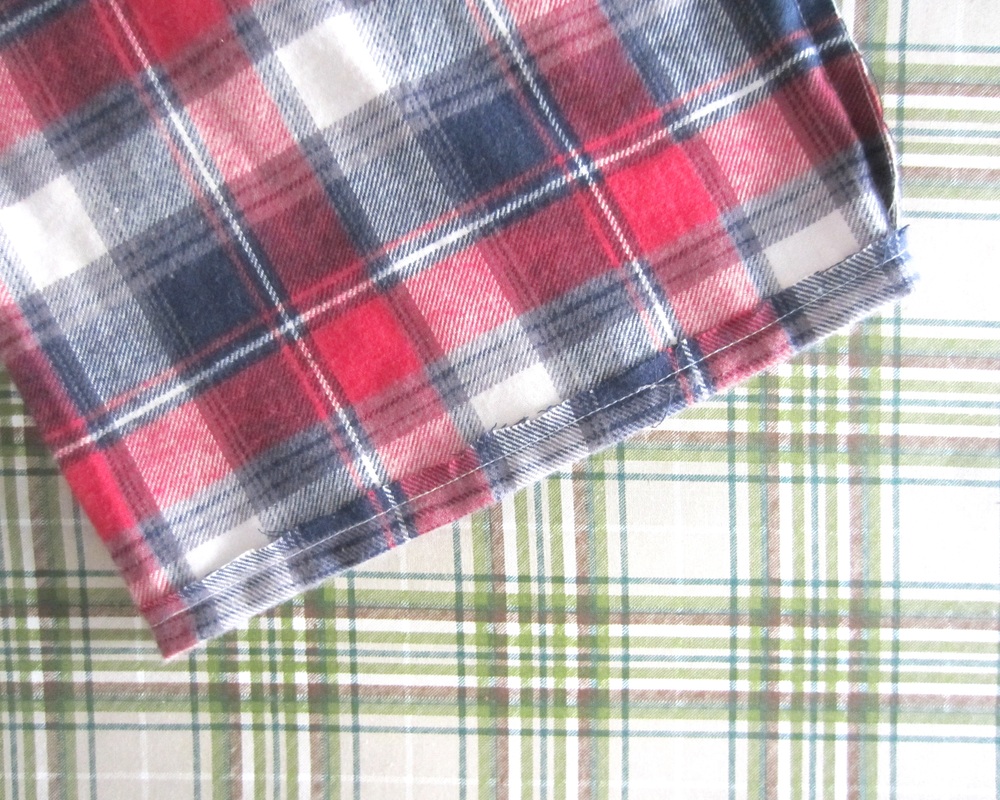
4. Hem both pant legs to the correct length and reinforce with a zigzag stitch. 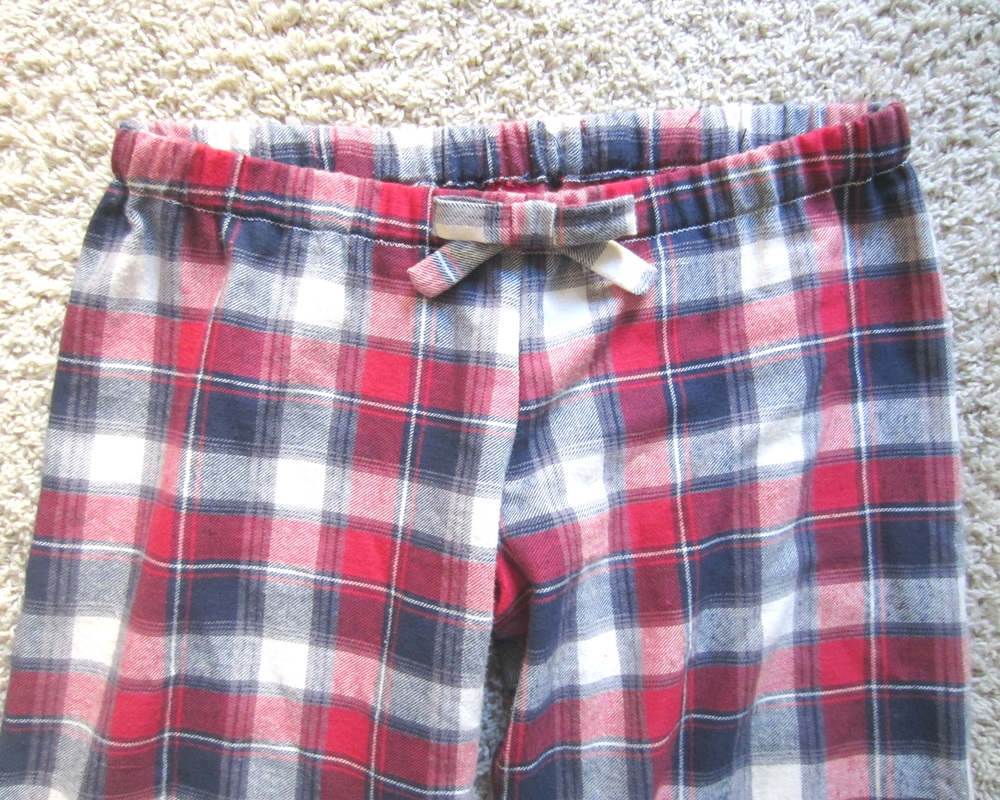
6. Adjust and reinforce any seams if necessary. I added a cute bow of the fabric scraps to the front of the waistband. |
And You're Done!
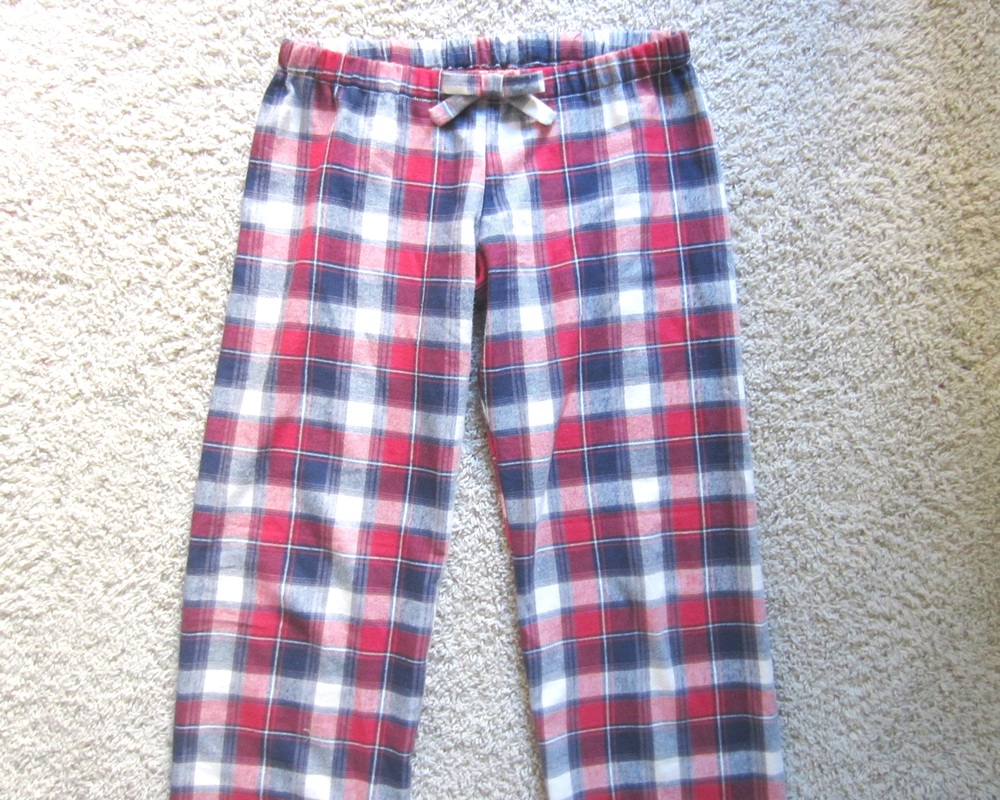
Smile c:
~michelle
~michelle