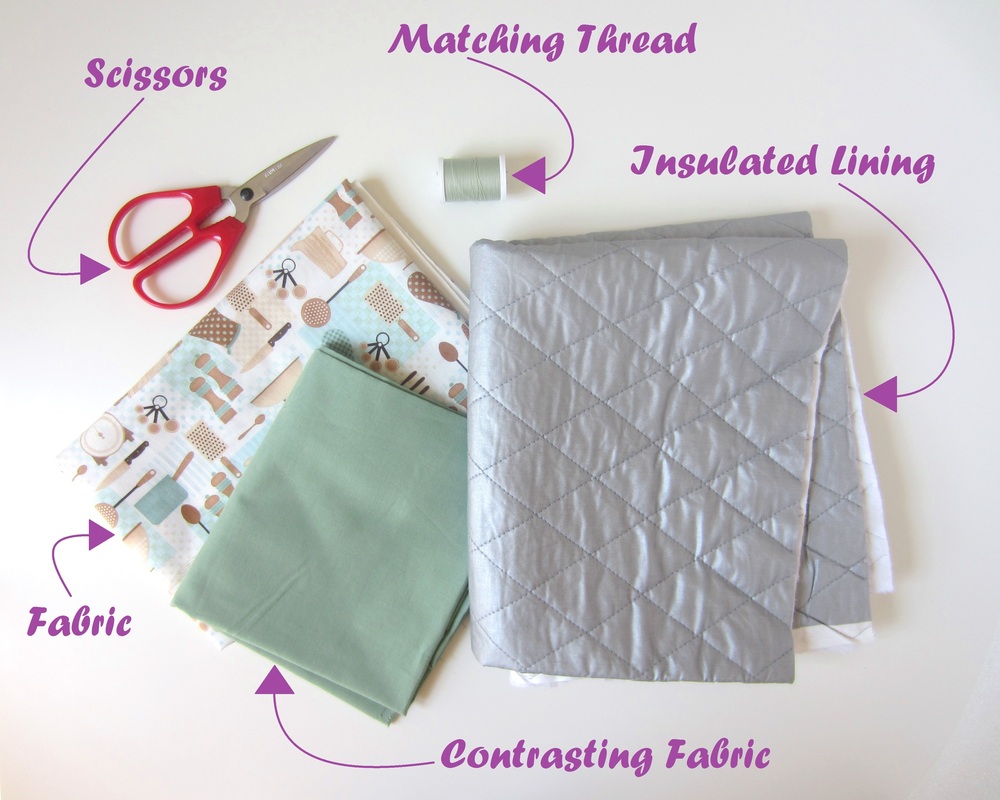
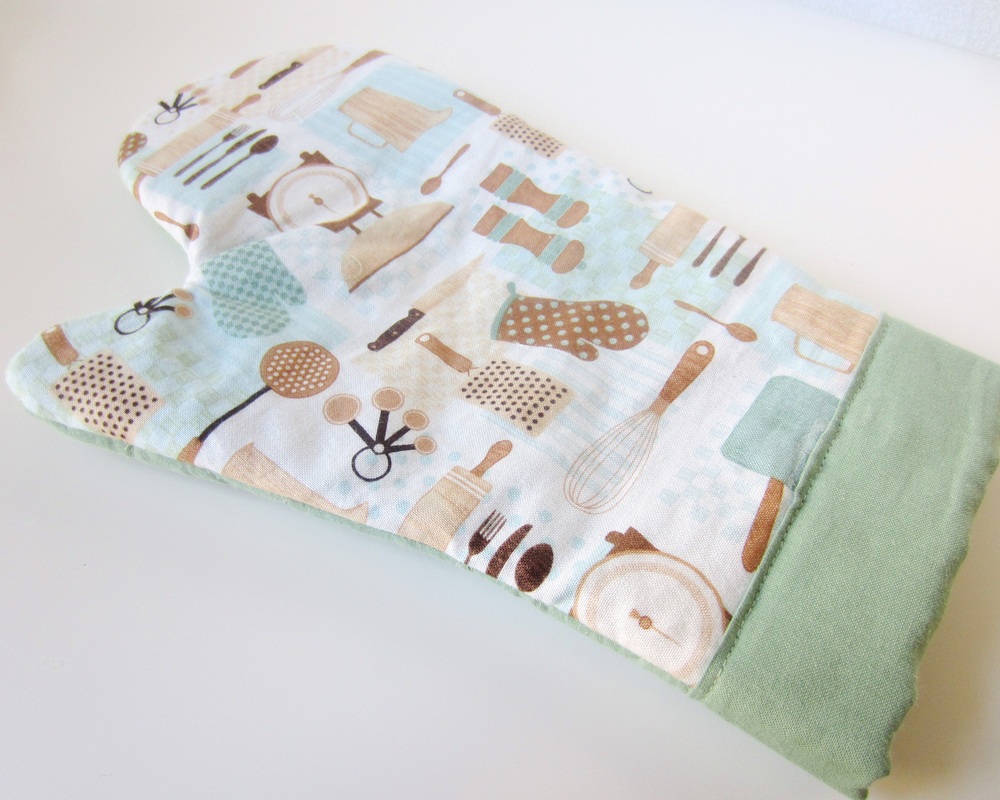
Materials:
Let's Get Started!
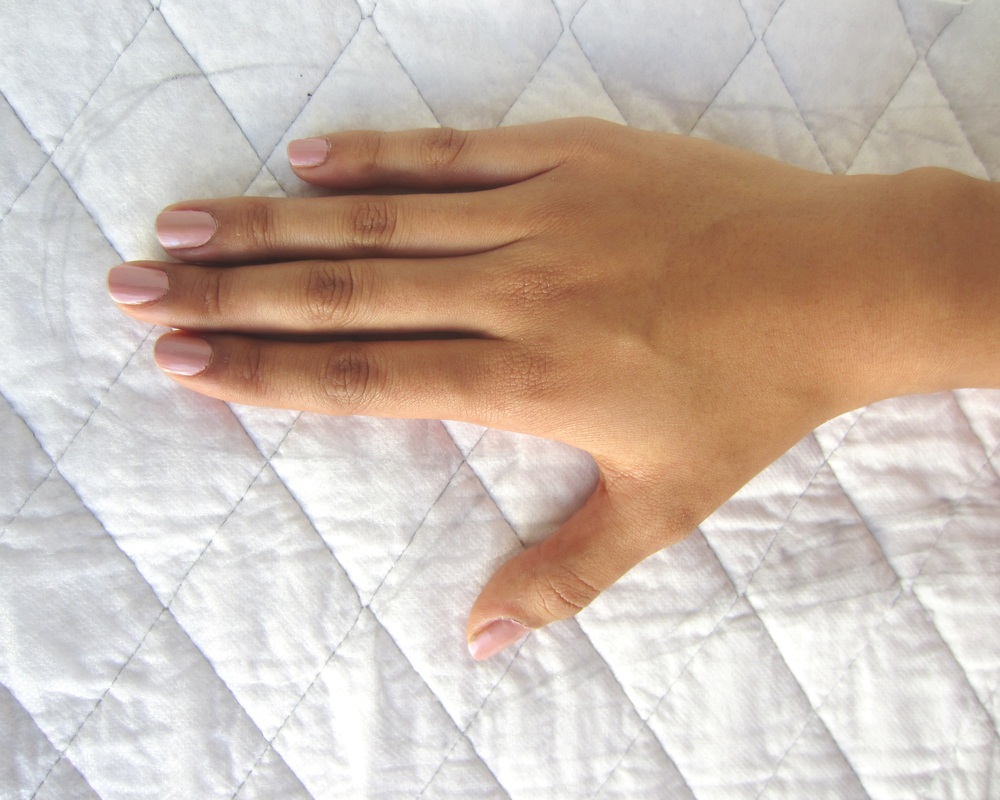
1. Trace a mitt shape around the hand, leaving plenty of room for seams, especially between the thumb and forefinger. The mitt should go straight down at the wrist. 
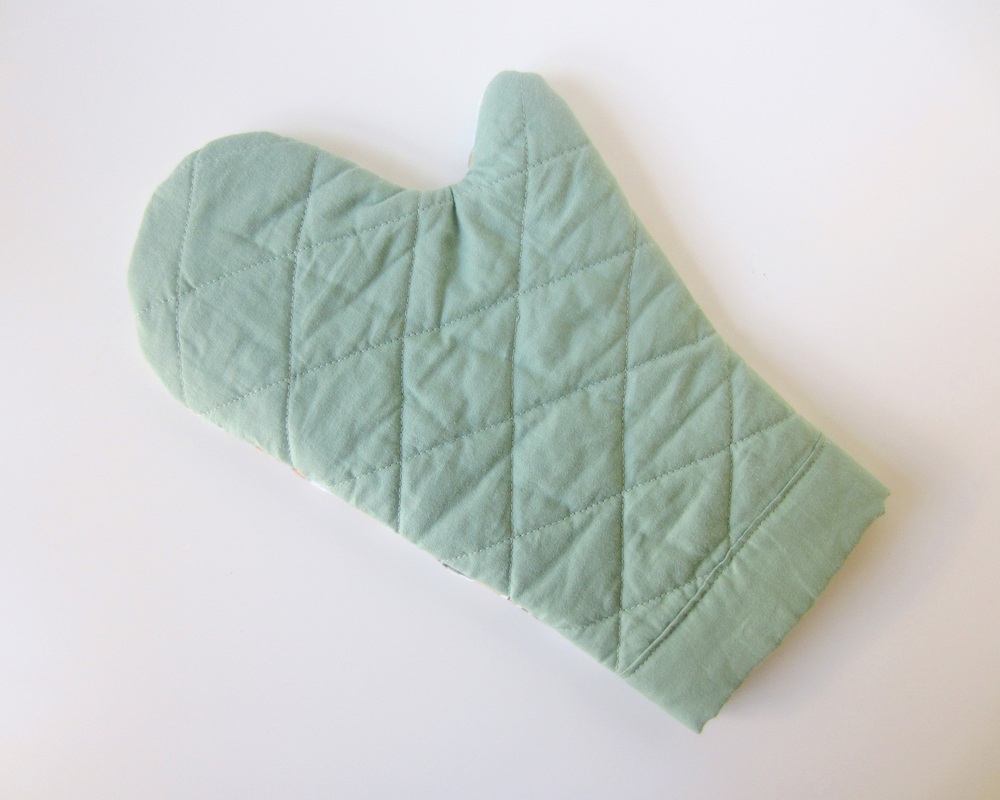
3. Placing the insulated lining with the silver facing down (thumb facing left), layer with contrasting fabric on top and bottom. Quilt 1" apart. 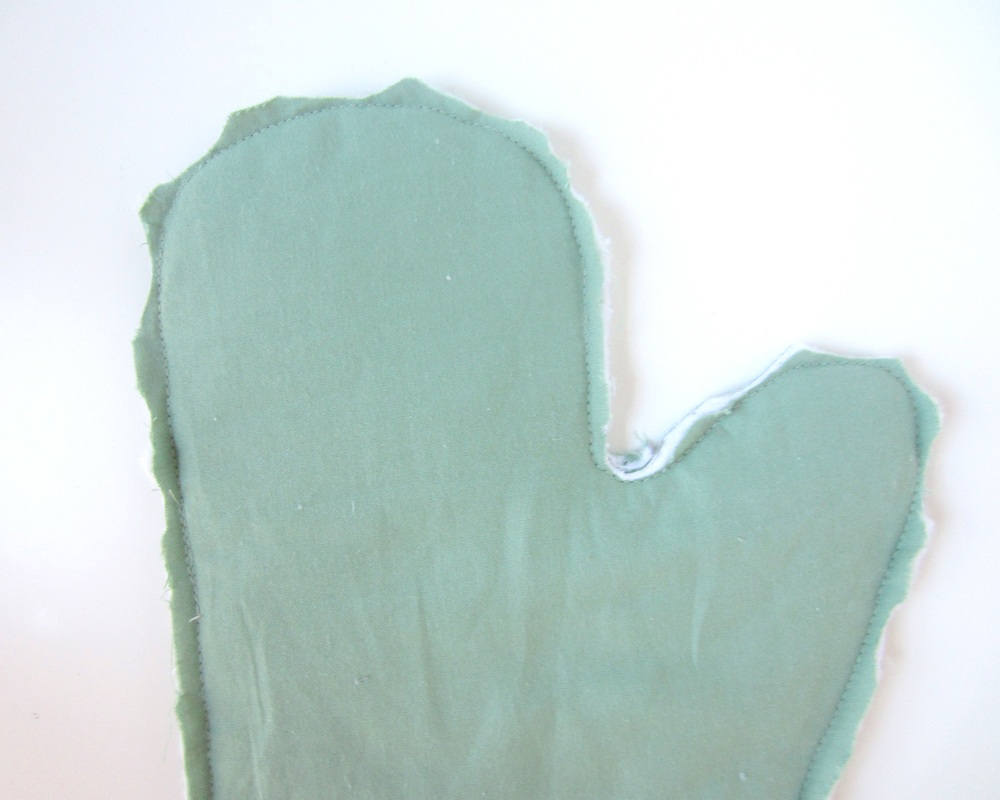
5. Stitch everything together with a 0.25" seam, leaving about 2" unstitched at the wrist. 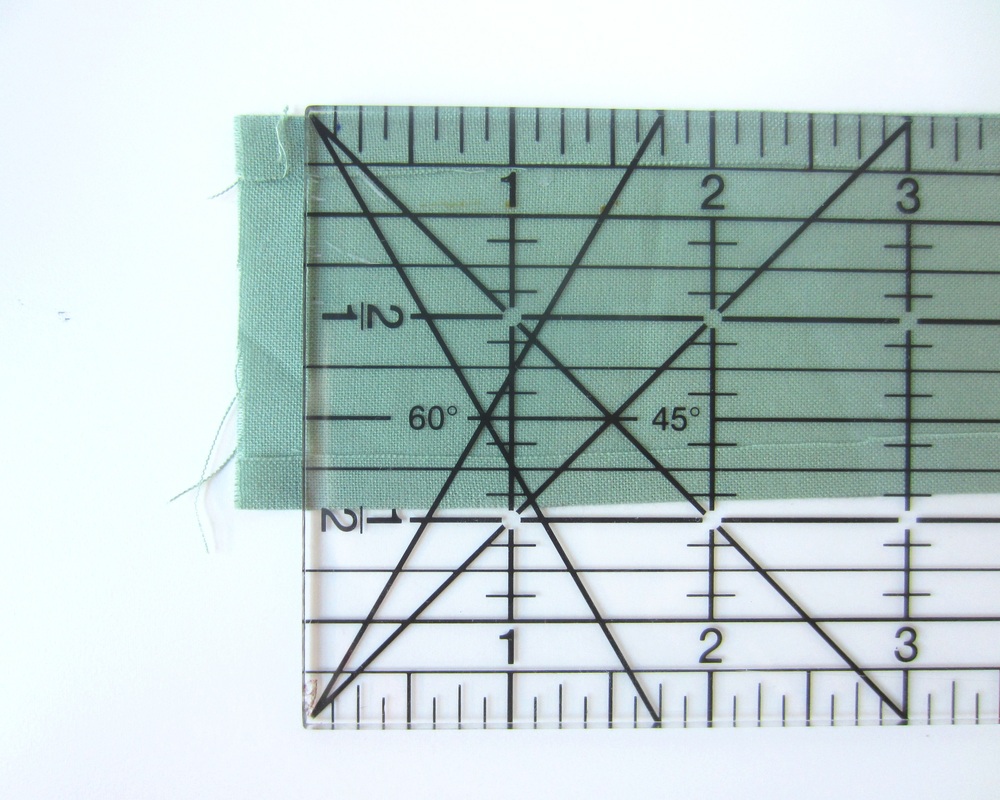
7. Cut a 2.5" strip from the contrasting fabric, long enough to wrap around the wrist of the mitt. Fold in 0.25" seams on both sides. | 
2. Cut out the mitt shape 1x on the main fabric (thumb facing left), 3x on the contrasting fabric, and 2x on the insulated lining (with the silver insulation facing different sides). 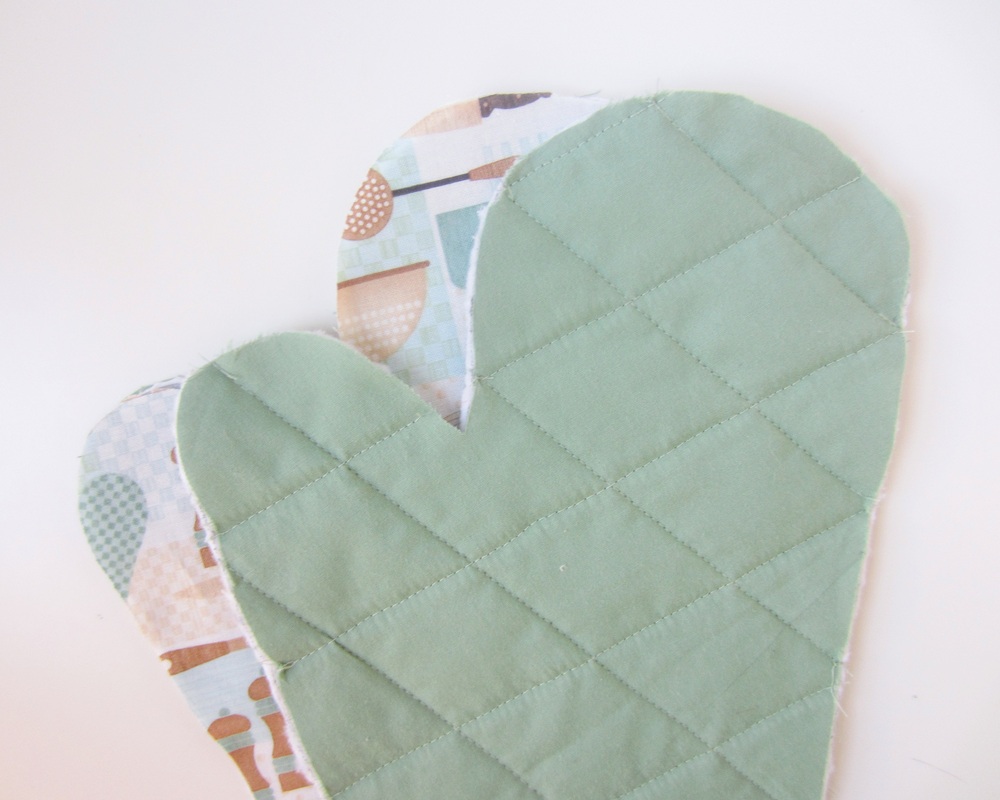
4. Place the remaining insulated lining between the contrasting fabric and main fabric. With the main fabric facing up, place the quilted mitt on top. 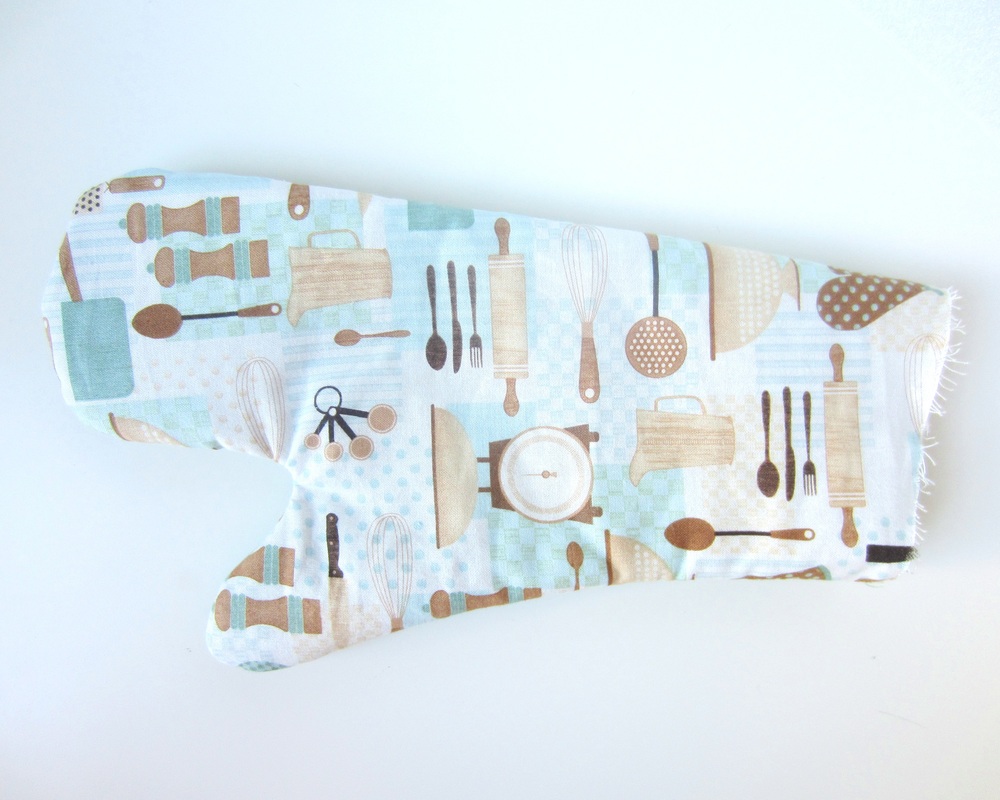
6. Turn mitt right side out. 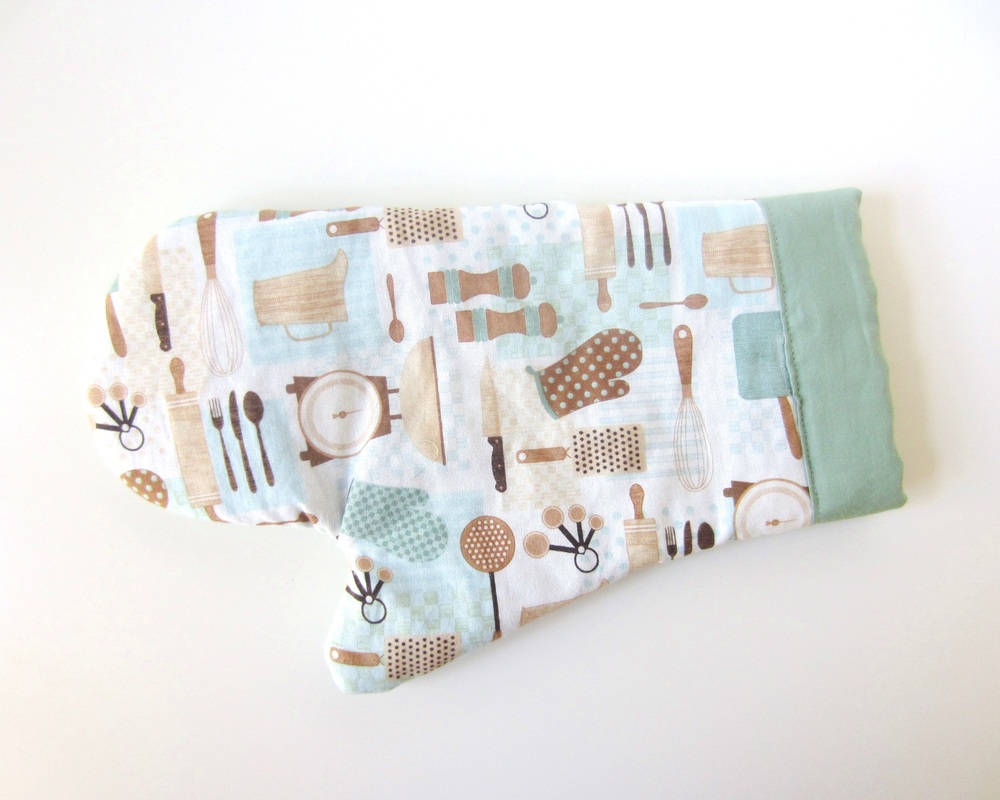
8. Fold in half and stitch onto the wrist of the mitt. Stitch the sides of the wrist together. |
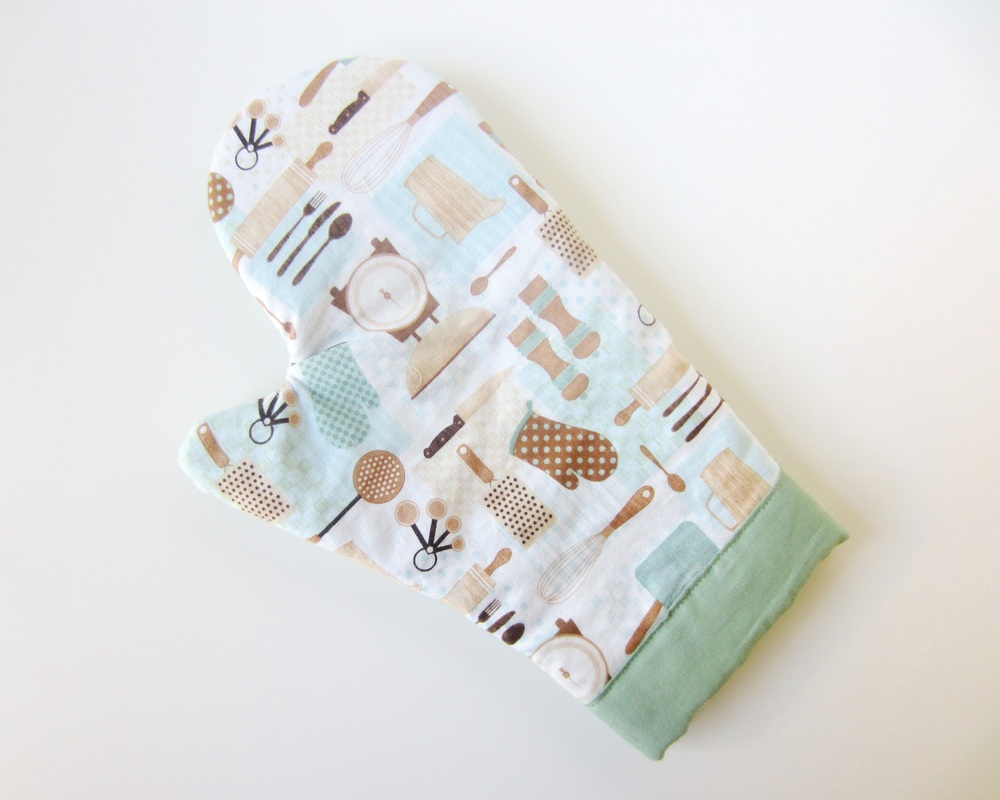
And You're Done!
Smile c:
~michelle
~michelle