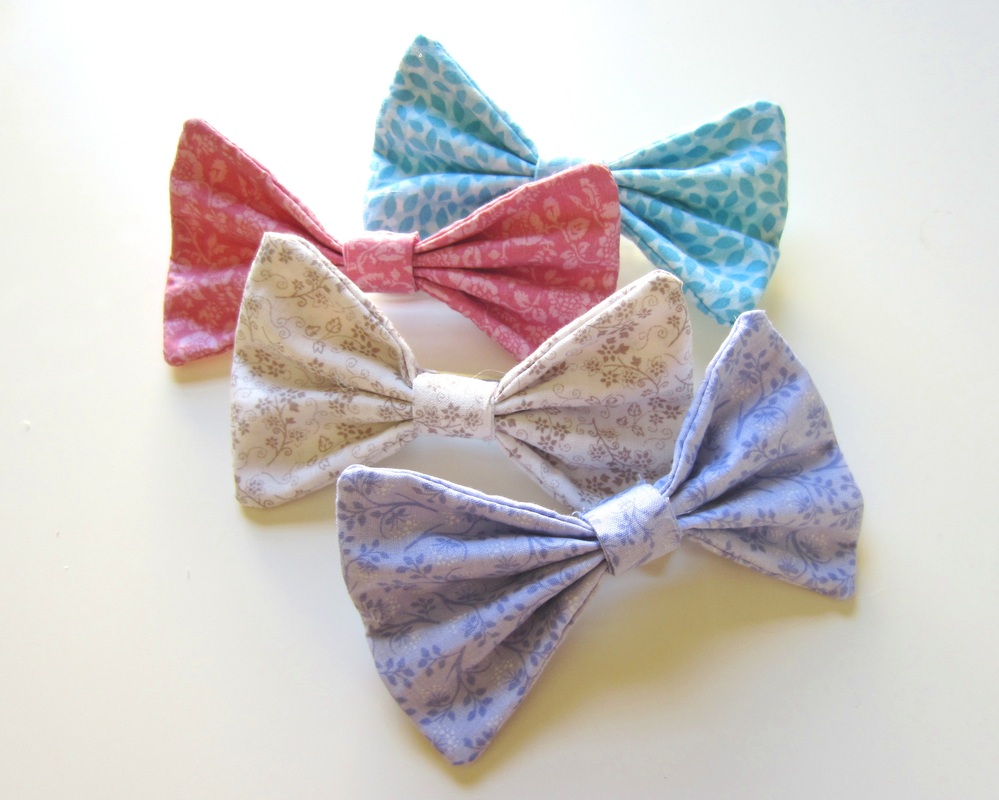
I love using hair bows. They're fun, cute, and give my outfits personality. As much as I adore the massive bow clips from American Apparel, the designs are rather limited, and quite pricey.
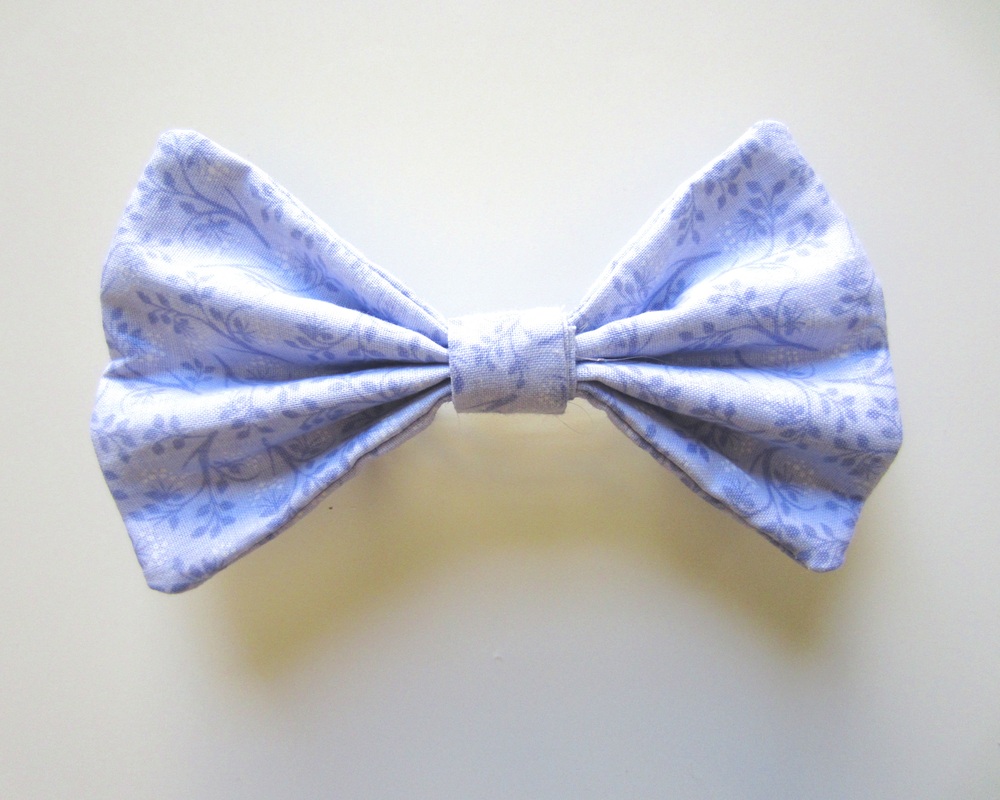
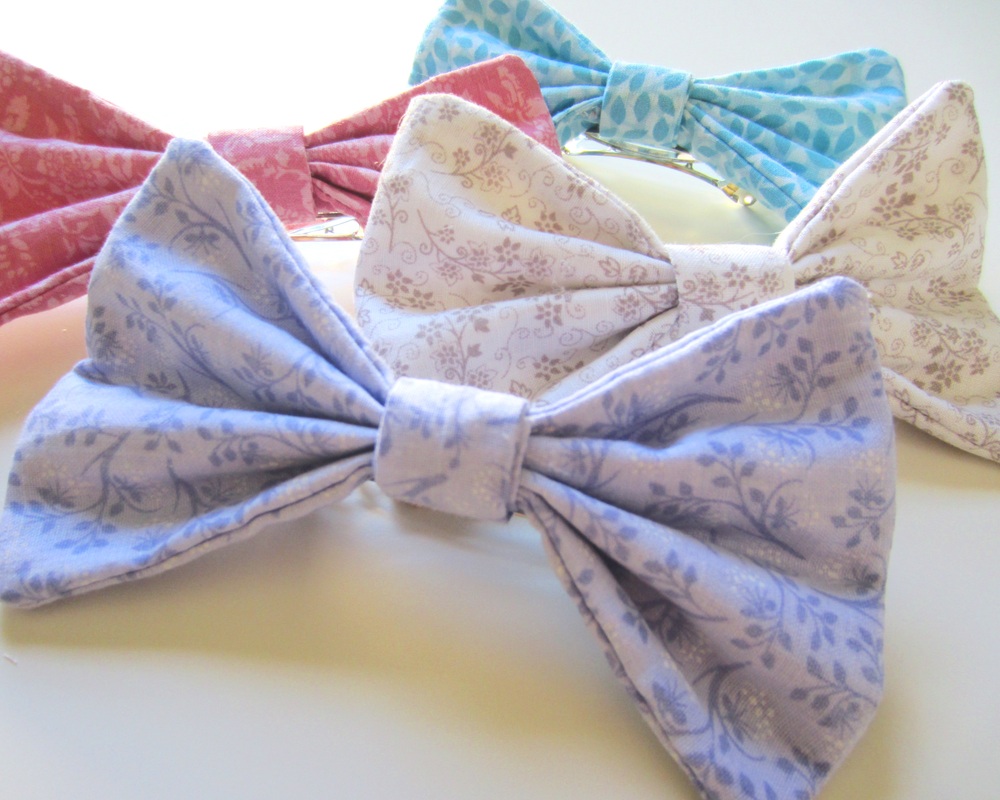
Fortunately, I can expand my hair bow collection with this quick DIY. Fabric quarters are perfect for this project - each bow only requires a small amount of fabric - so have fun choosing the patterns!
Fortunately, I can expand my hair bow collection with this quick DIY. Fabric quarters are perfect for this project - each bow only requires a small amount of fabric - so have fun choosing the patterns!
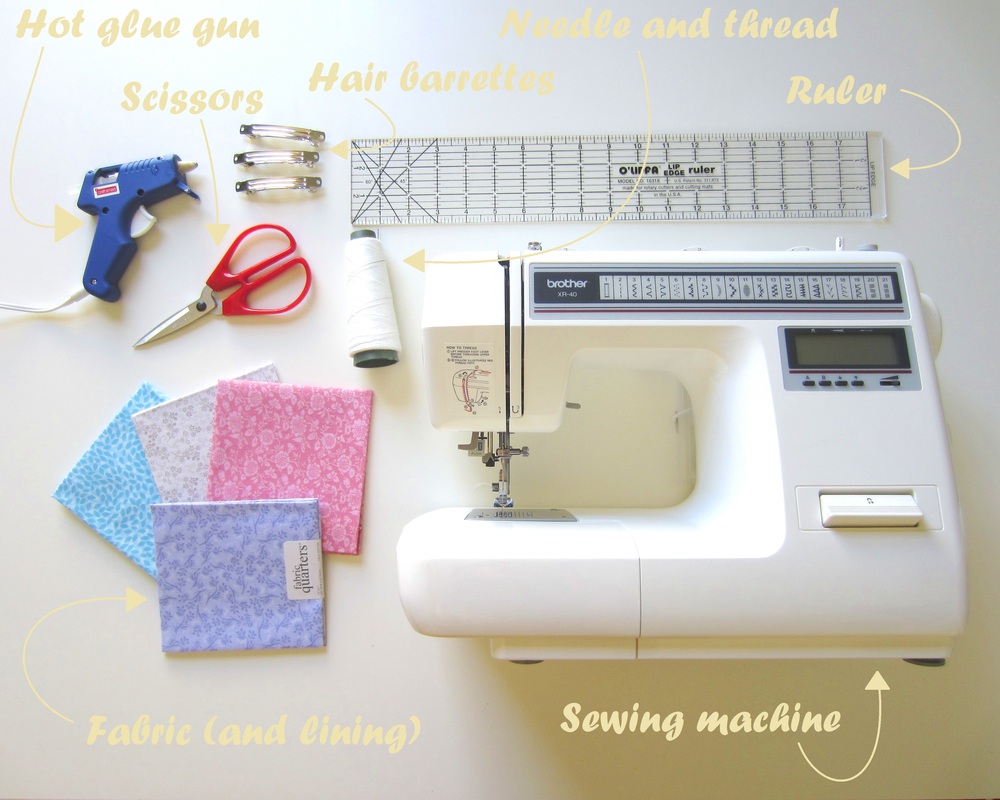
Materials:
Let's Get Started!
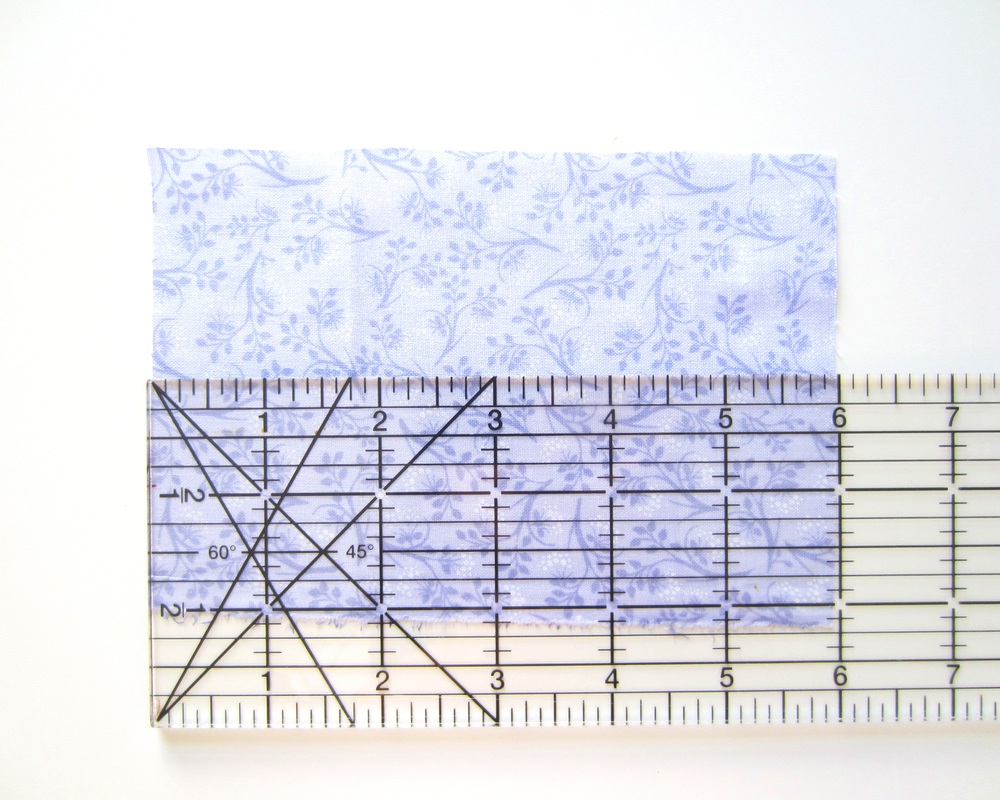
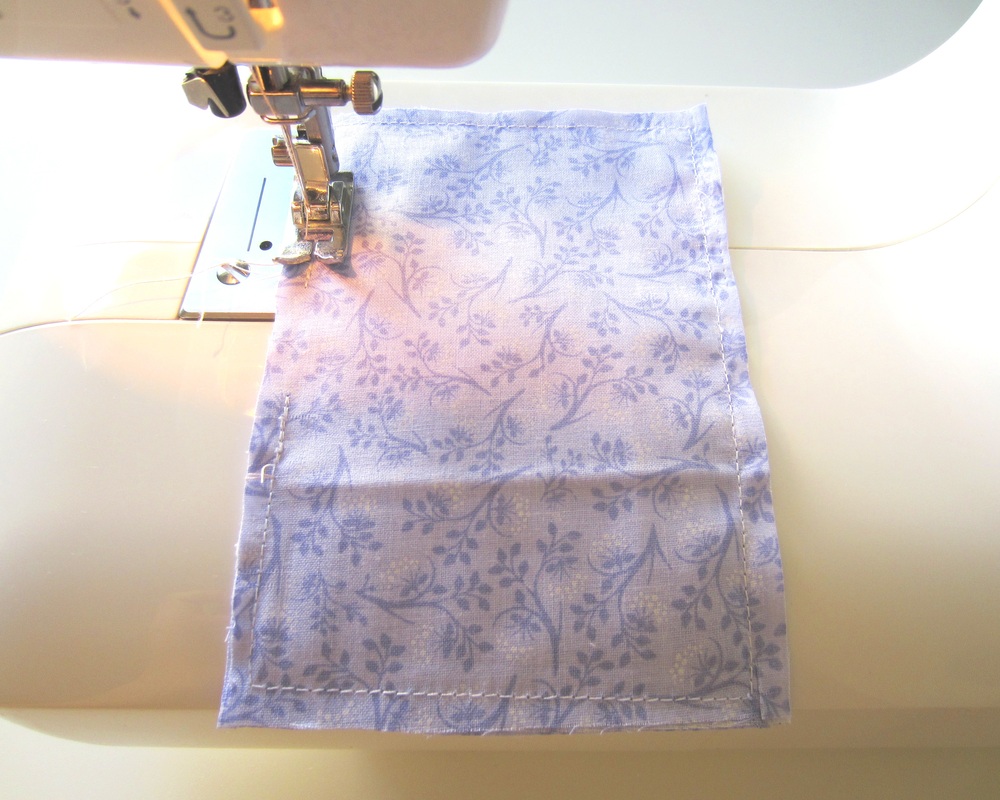
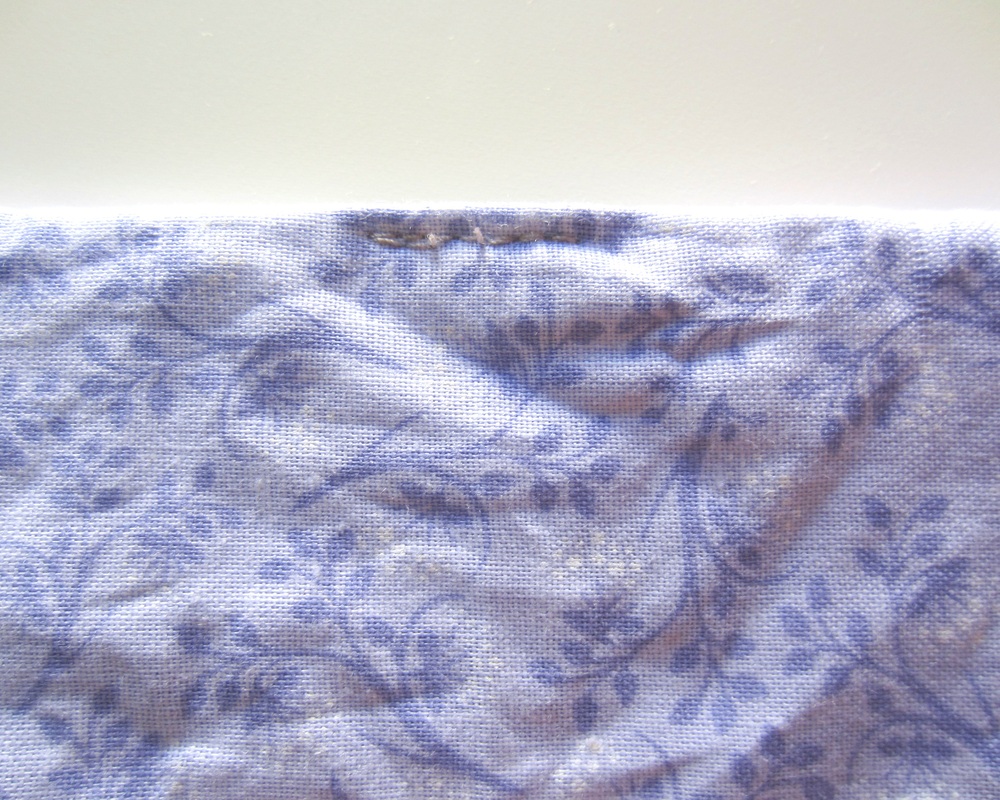
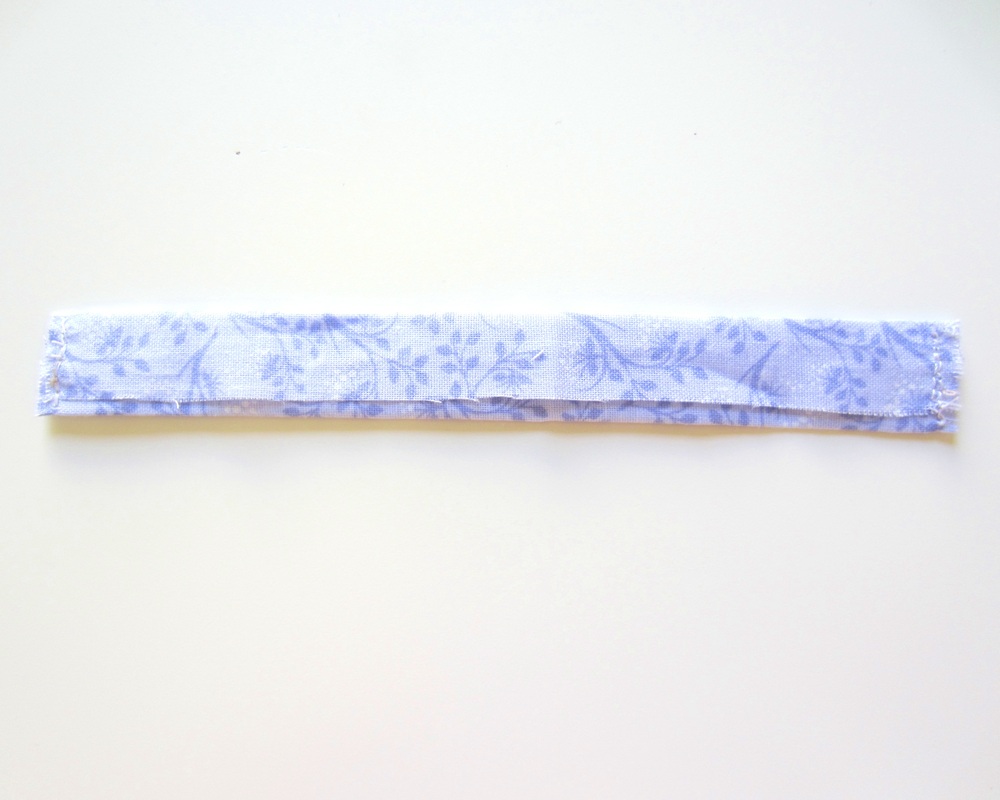
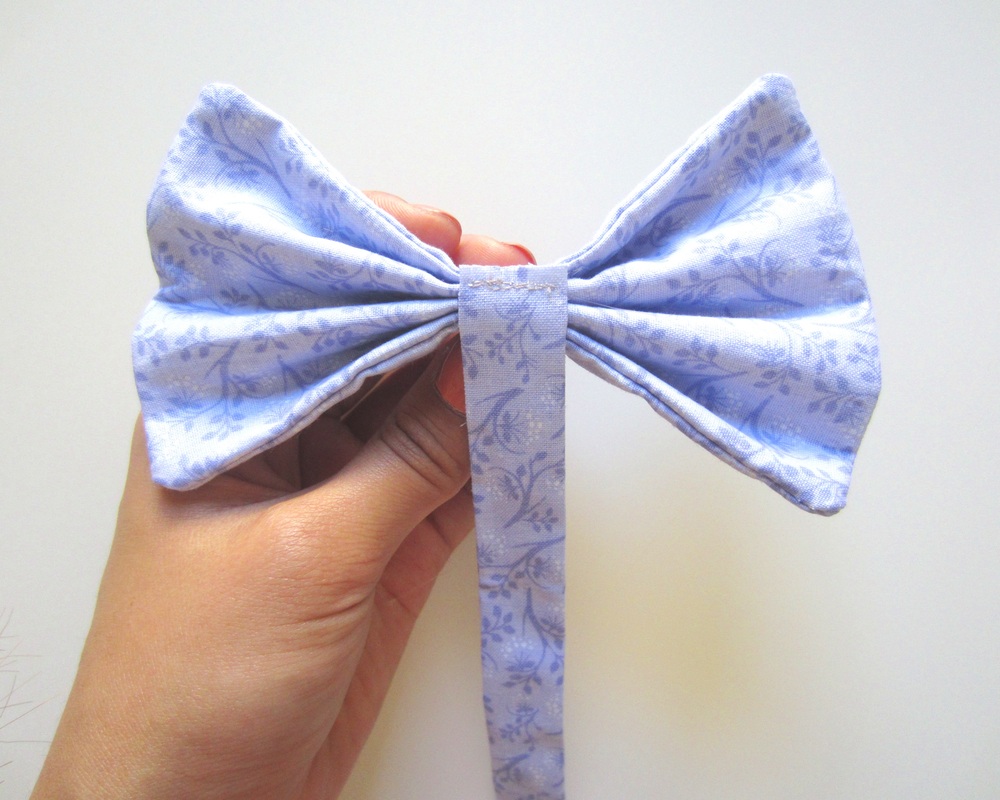
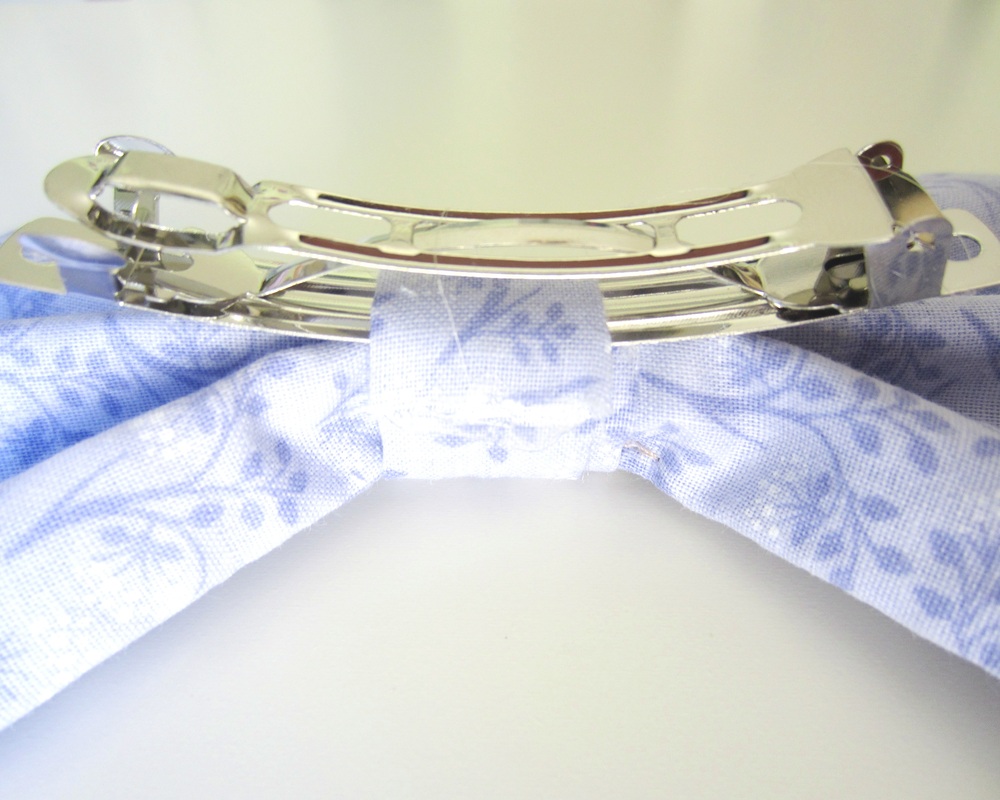
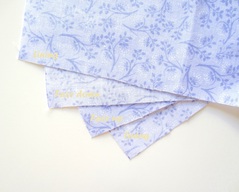
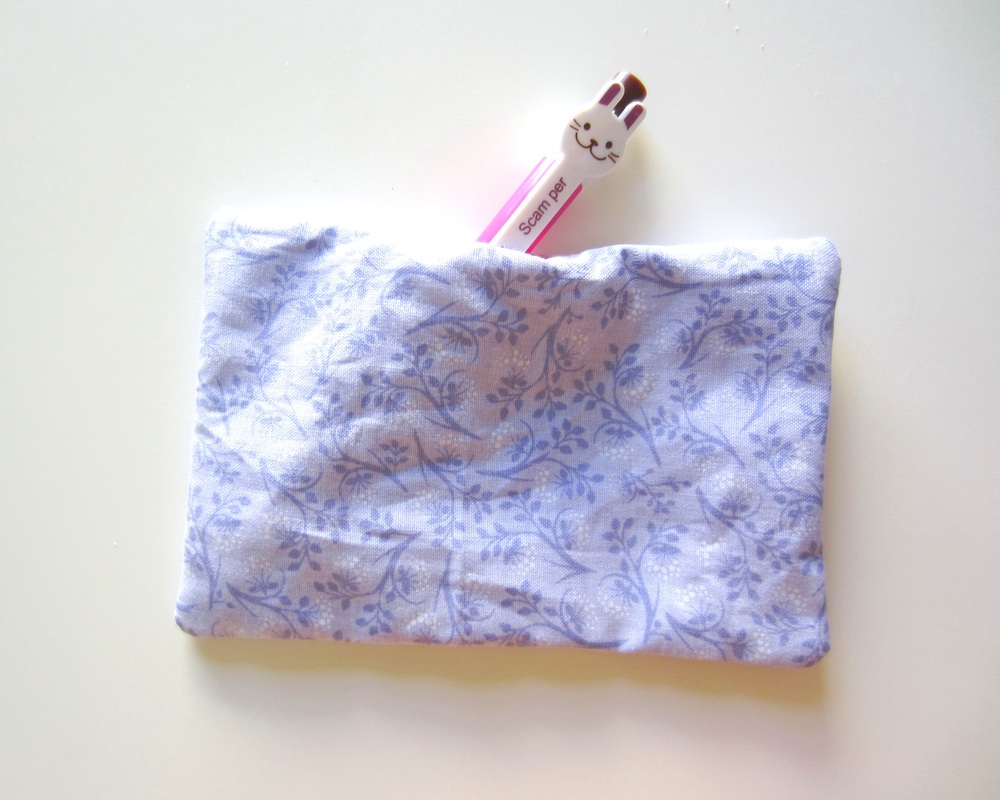
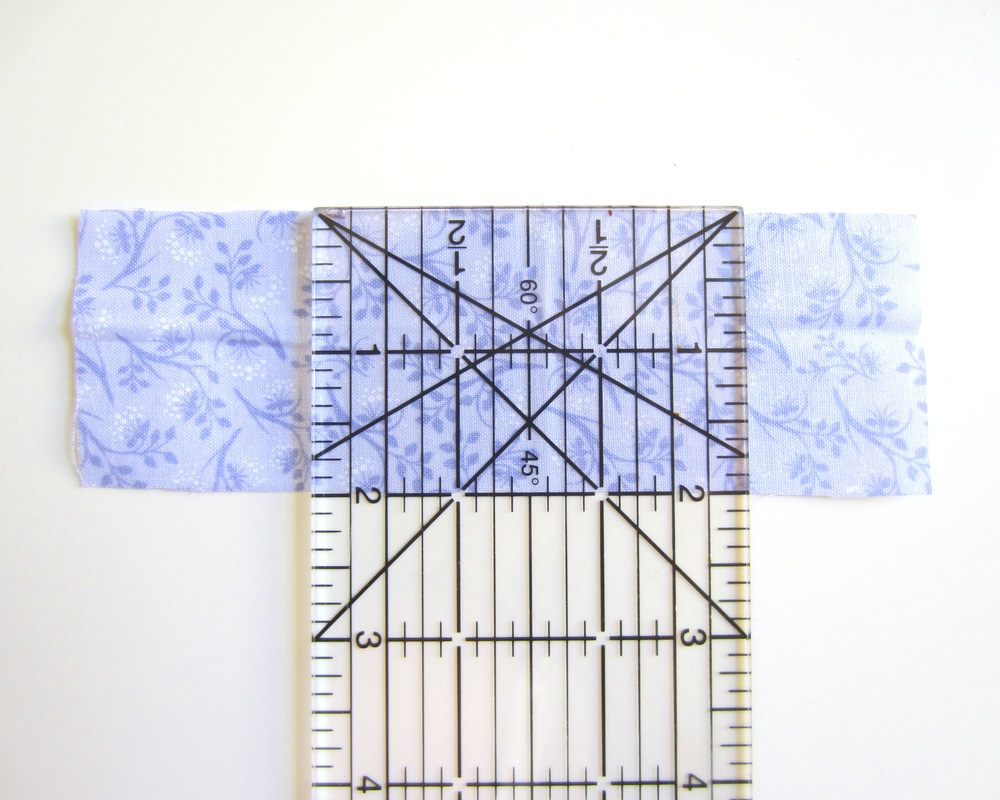
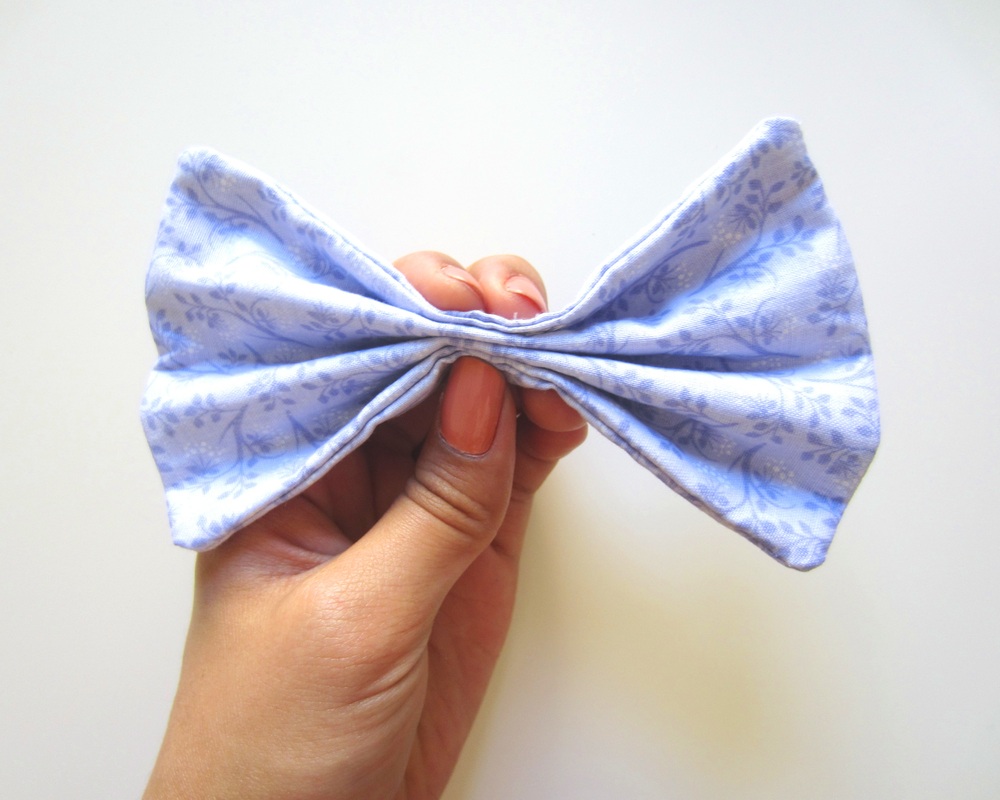
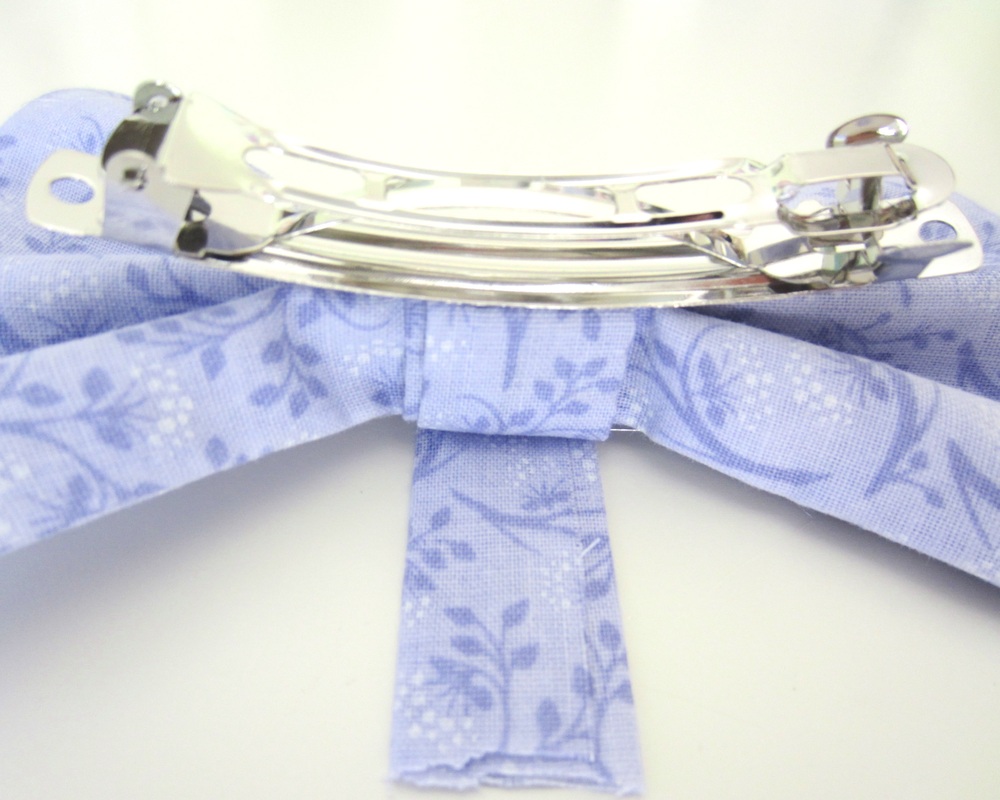
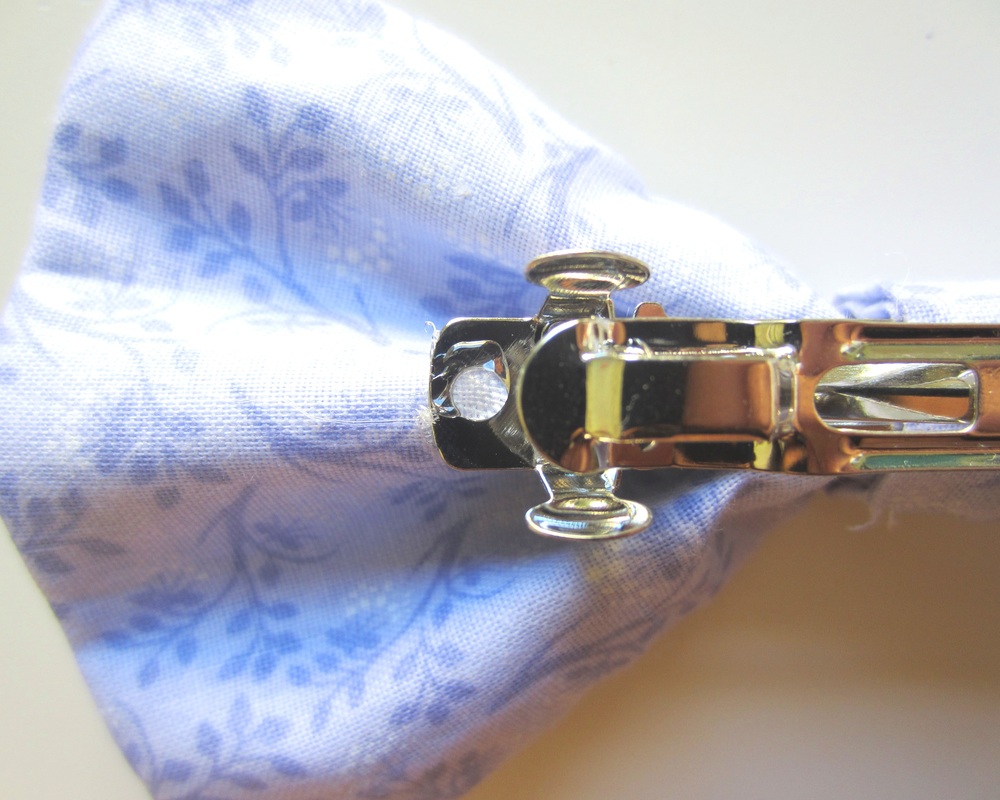
| 1. Cut out two 4" x 6" pieces from the main fabric and two from the lining fabric. 3. Stitch along the edge, leaving a gap about 1" long in the center of a long edge. 5. Sew the gap shut. 7. Fold into thirds lengthwise. Press and sew one end. 9. Use hot glue to attach the sewed end of the long strip to the front of the bow [the middle fold should come out in the back]. 11. Tuck the other end of the long strip through the barrette and glue to the center wraps. | 2. Layer the fabrics so that the correct side of the main fabric pieces are facing each other between the two lining pieces. 4. Through the gap, turn the rectangle inside out. I like to use a pen to help push the corners out. 6. Cut a 2" x 6" piece from the main fabric. 8. Accordion fold the larger rectangle into sixths. Begin with a center fold, then fold each half into thirds. 10. Wrap the long strip around the center. On the last wrap, glue the center of the barrette to the back of the bow. 12. Glue the center fold to the ends of the barrette on both sides. |
And You're Done!
To see how I wear my bows, check out my How to Wear Hair Bows tutorial. Happy crafting!
Smile c:
~michelle
Smile c:
~michelle
