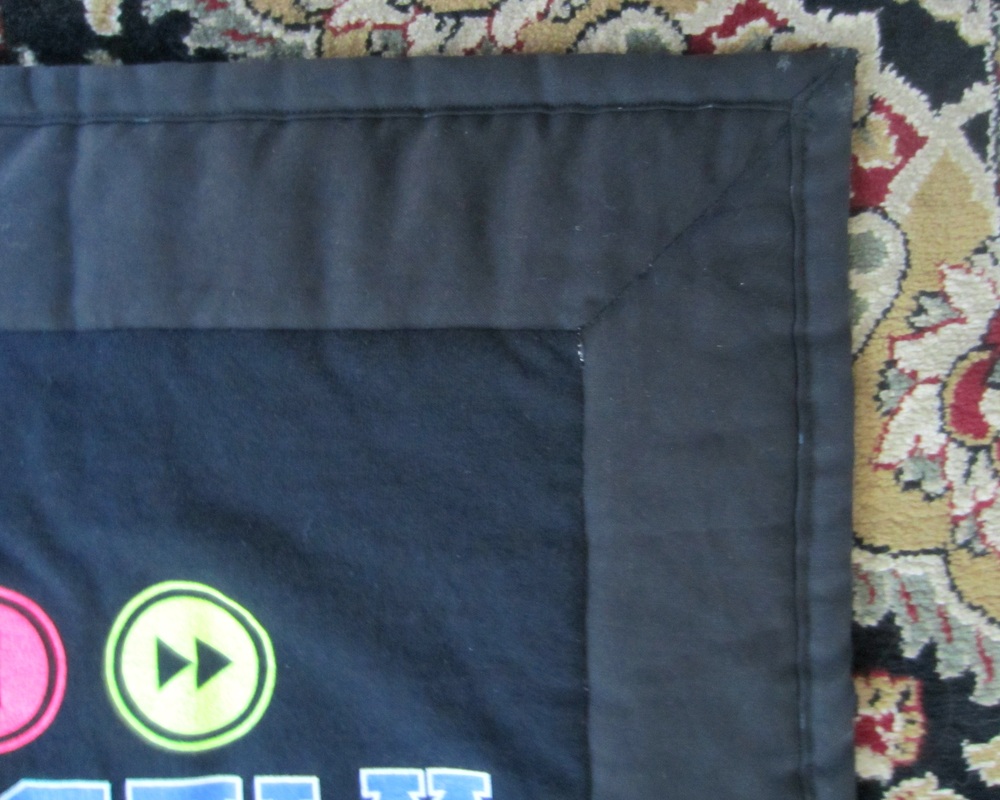
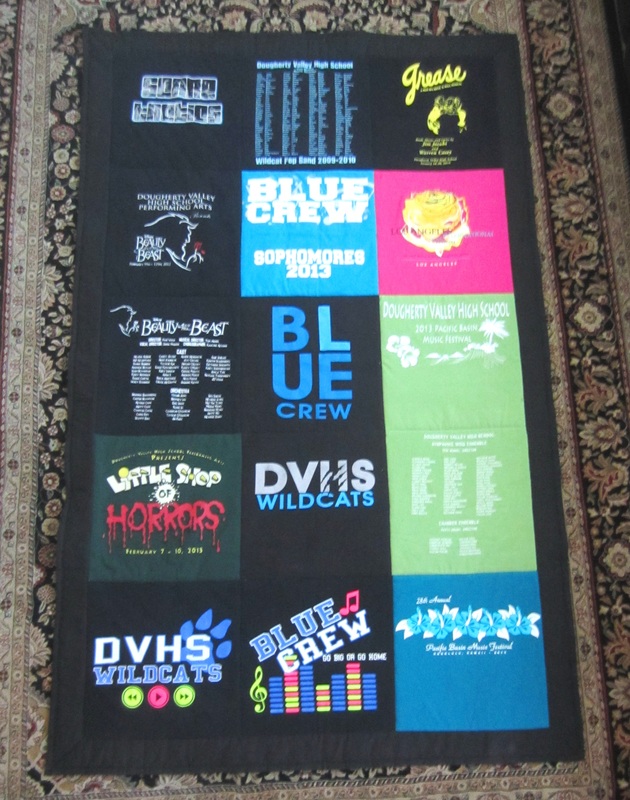
The last evening (day 4) was spent completing the binding. I had previously practiced binding in my pot holder DIY, but due to the immense size of the project, it took much longer than expected. My binding technique is also rather untraditional, but I like that the only folds I get in the binding are at the corners.
For the binding, I used two strips 2.5" x 75" and two strips 2.5" x 45". Each strip was folded in half, and then a 0.25" hem was folded and ironed in on both sides. The folded binding was placed at the corresponding edge of the quilt and stitched as close to the edge as possible. At each corner, the extra length was cut off and folded into a 45 degree angle to match the existing stitch in the border. The folds were then reinforced with several stitches back and forth along the edge.
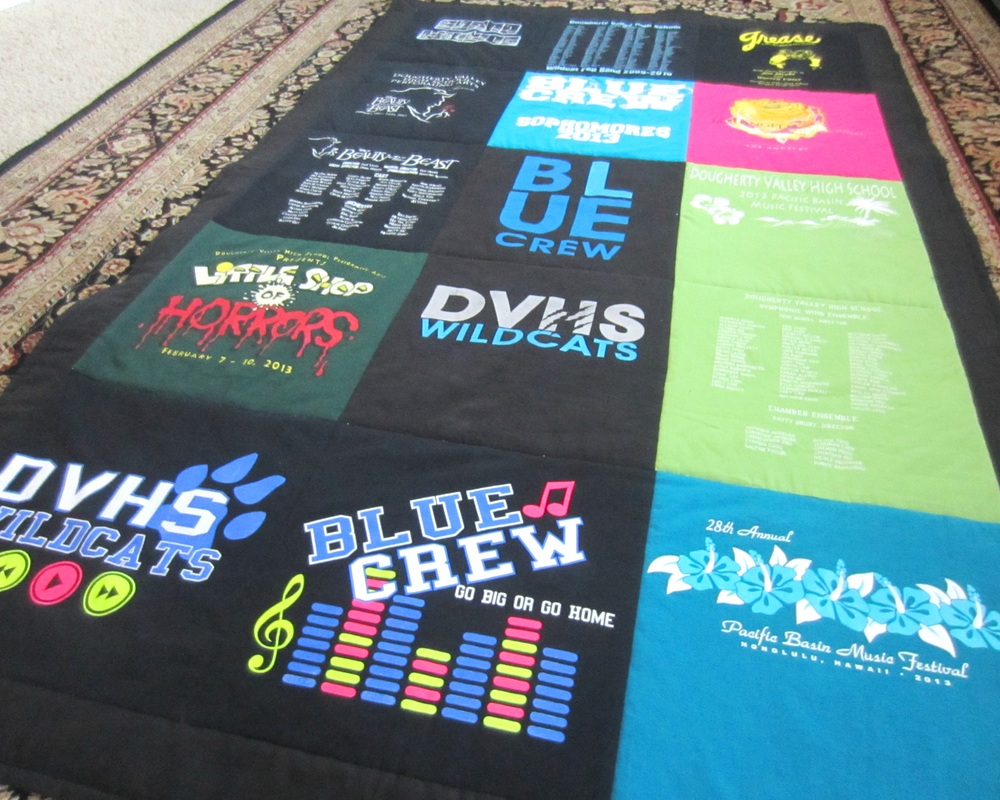
And It's Done!
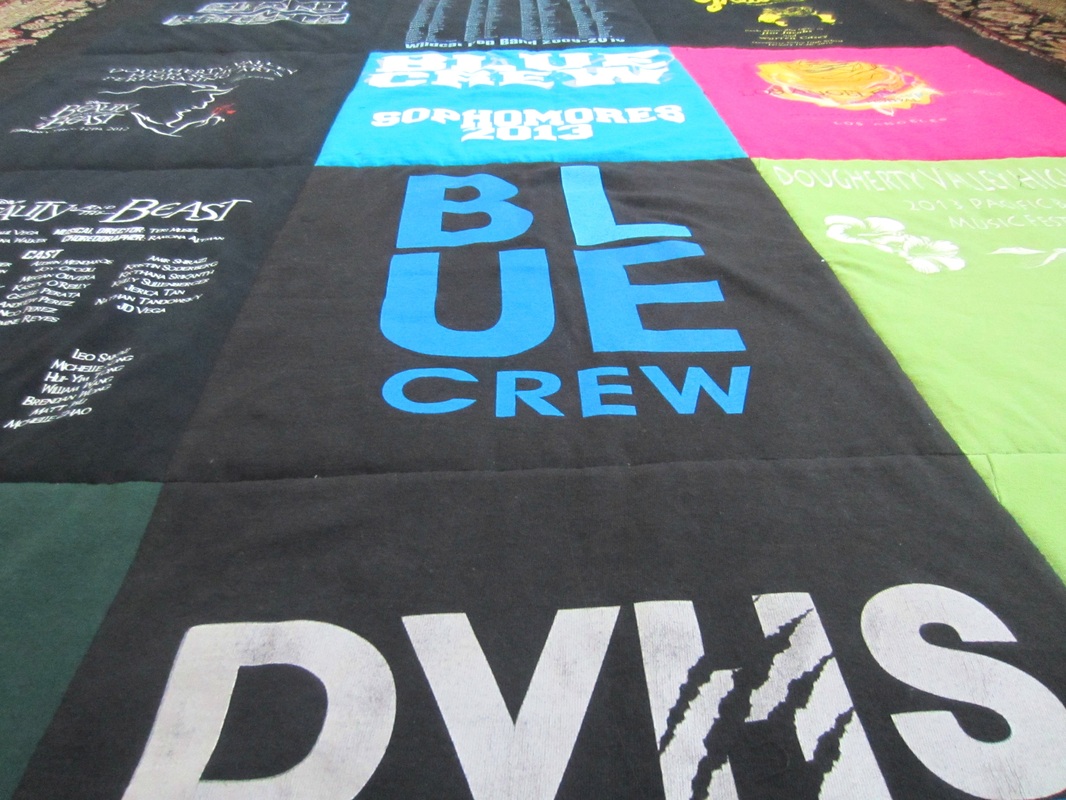
Overall, I am extremely happy with the way the quilt turned out. For my first time quilting, the process was a lot more time consuming than I predicted, but easier than expected. Once I found the will to begin, breaking it up into several days helped make it manageable and not as intimidating.
This quilt is a treasured one - it holds the best memories of my high school years. I did get quite nostalgic while working on the quilt, but I'm glad I was able to complete the quilt and wrap up my high school band memories before beginning some new ones with the Trojan Marching Band.
Smile c:
~michelle


