A Geek with a Dream
  • My Blog
  • DIY Projects
  • Food & Recipes
  • Home Decor
  • Wishlists
  • Inspiration

Wishlist: Oh Christmas Tree

12/18/2014

0 Comments

 
Whew! I tried to get around to holiday crafting, but it seems that finals seems to have gotten too intense for me to manage. But, I'm finally free of fall semester! 

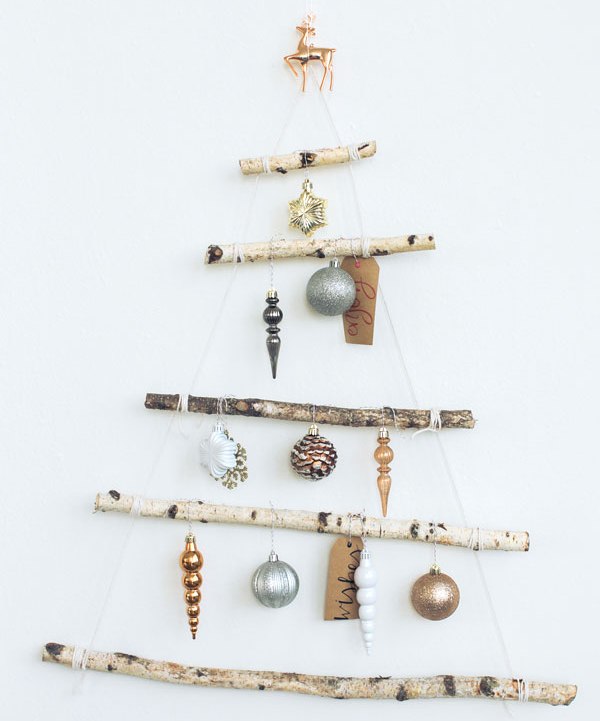
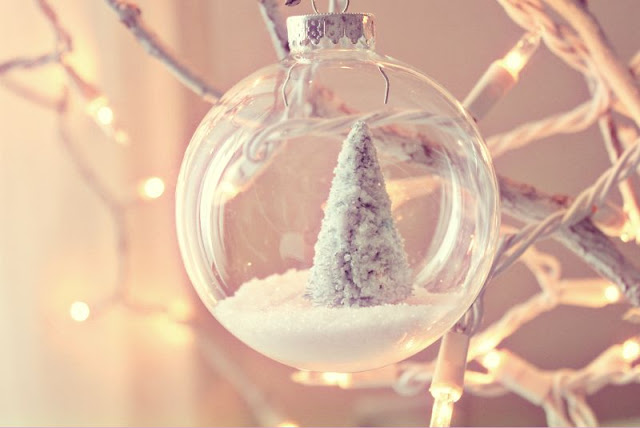
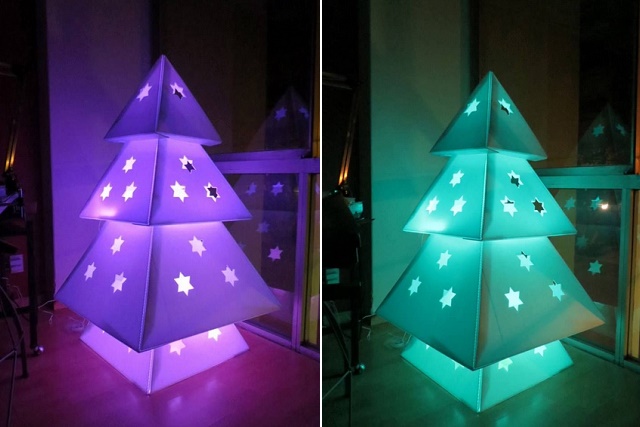
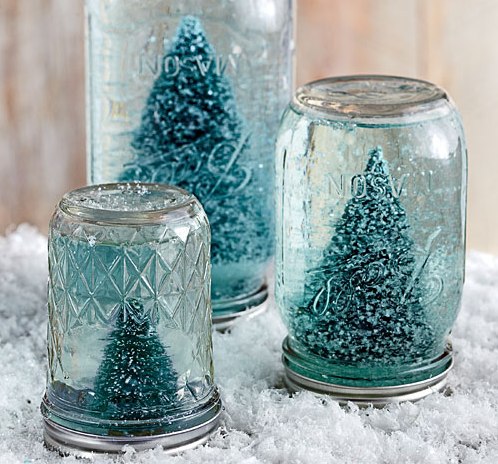
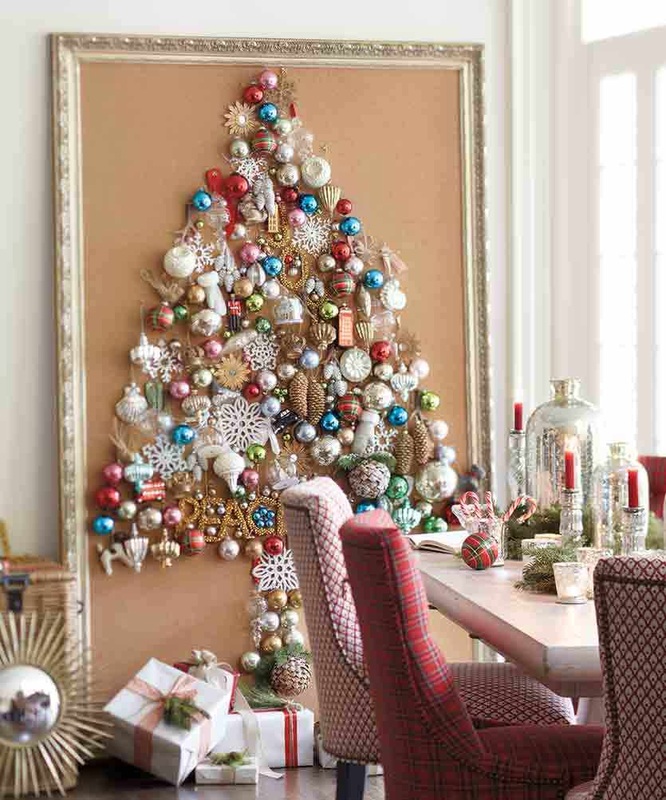
And what better way to celebrate the holiday season than with Christmas trees?
Picture
Birch Branch Christmas Tree
Picture
Winter Wonderland Ornament 
Picture
Cardboard Christmas Tree
Picture
Mason Jar Snow Globe
Picture
Ornament Display
Happy holidays!
Smile c:
~michelle
0 Comments

DIY: Fabric Covered Pumpkin

10/22/2014

0 Comments

 
Picture
Although Halloween is not my most favorite holiday of the year (it always seems to stand between me and my Christmas music & decorations), I always get a small pumpkin every year to decorate. To try something new, this year, I experimented with some fabric stickers I had laying around. I think it turned out super cute - I'm definitely keeping it past Halloween to serve as fall decor. 

Materials:

Picture

Let's Get Started!

Picture
1. Cut a strip of fabric sticker the width of a section between two ribs.
Picture
2. Smooth the sticker onto the section and trace the ribs onto the fabric.
Picture
3. Cut the fabric sticker and smooth onto the pumpkin.
Picture
4. Continue with the other pieces of fabric sticker around the pumpkin, every other section.

And You're Done!

Picture
Picture
Smile c:
~michelle
0 Comments

DIY: Pot Holders

8/10/2014

0 Comments

 
I can't believe I'm heading back to school in less than a week! These days, I've been frantically packing, and deciding what I need to bring, buy or make. To complete my kitchen set, I used the last bit of fabric from my DIY hostess apron and oven mitt to make some pot holders. 
Picture

Materials:

Picture

Let's Get Started!

Picture
1. Cut 8.5" x 8.5" squares out of the contrasting fabric and insulating fabric twice. Layer them with the insulating fabrics in the middle, facing out.
Picture
3. Cut 8.5" x 7" (this can vary depending on how long the front portion will be) squares from the insulating fabric, contrasting fabric, and main fabric. Layer them with the insulating fabric facing the main fabric.
Picture
5. Cut 2.5" x 9" and 2.5" x 36" strips from the contrasting fabric. Fold and iron a 0.25" seam on both sides and in half.
Picture
7. Place the unbinded end along the edge of the larger square. Stitch the two together, leaving a 0.25" seam all around. 
Picture
2. Stitch the layers together, leaving a 0.25" seam all around.


Picture
4. Stitch the layers together, leaving a 0.25" seam all around.


Picture
6. Taking the shorter strip, stitch the binding along the longer edge of the smaller rectangle.
Picture
8.  Stitch the longer binding along the edge of the pot holder, folding the edge in at the last corner.

And You're Done!

Picture
Picture
Smile c:
~michelle
0 Comments
<<Previous
Forward>>
    Follow on Bloglovin
    Picture

    Michelle Zhao

    A Geek with a Dream is my personal collection of inspiration. There are DIY project ideas, recipes, beauty and fashion tips, personal photographs, and random thoughts. Enjoy and always remember to smile c:

    Categories

    All
    Beauty
    Decor
    DIY
    Fashion
    Food
    Holidays
    Knitting
    Thoughts
    Traveling
    Wishlist

    Archives

    April 2015
    February 2015
    January 2015
    December 2014
    November 2014
    October 2014
    September 2014
    August 2014
    July 2014
    June 2014
    May 2014
    April 2014
    March 2014
    February 2014
    January 2014

Powered by Create your own unique website with customizable templates.