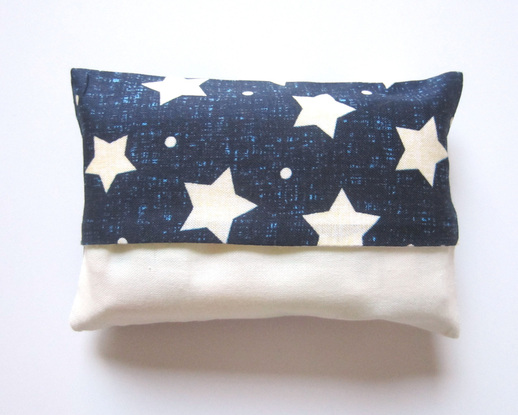
Since spring and allergies are here, I have to keep tissues on me at all times. I go through a small pack of tissue probably every week, so I decided to try my hand at making a cute holder so I can refill it.
The overlapping flaps help keep the tissues inside clean, but the holder is easy to refill. The measurements are based off a classic travel pack of Kleenex, but to refill, I fold a normal piece of tissue into sixths.
The overlapping flaps help keep the tissues inside clean, but the holder is easy to refill. The measurements are based off a classic travel pack of Kleenex, but to refill, I fold a normal piece of tissue into sixths.
Materials

Let's Get Started!
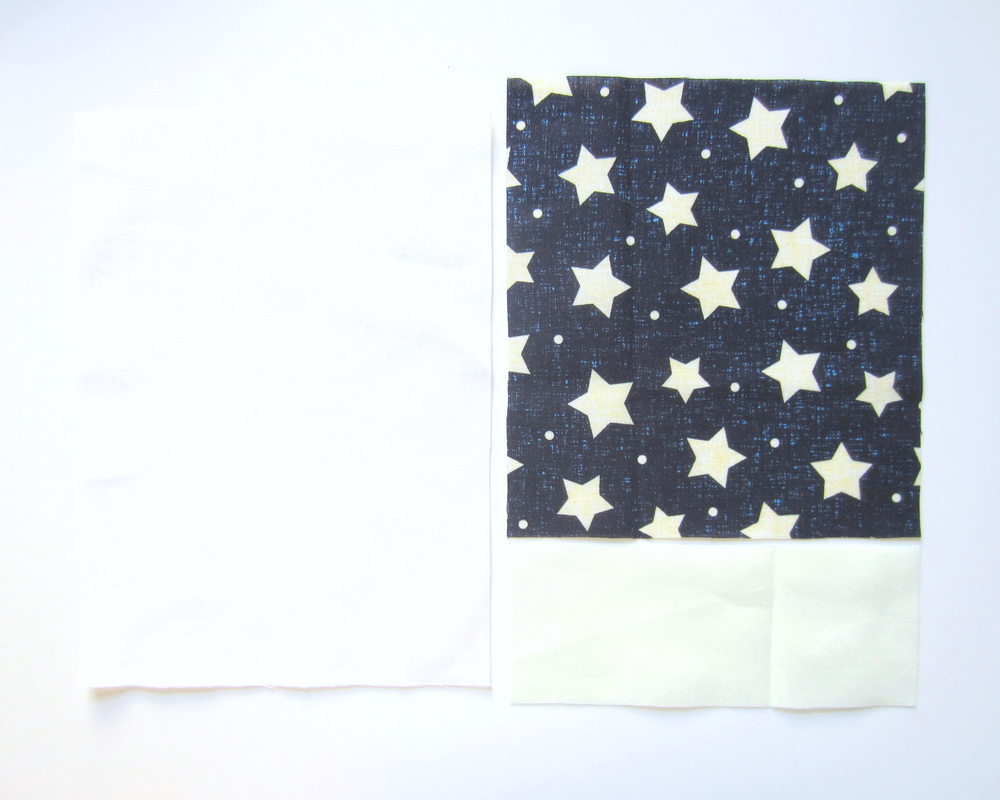 1. Cut a 6.25" x 5.75" piece from main [star] fabric, 2.25" x 5.75" from contrasting [yellow] fabric, and 8" x 5.75" from lining. 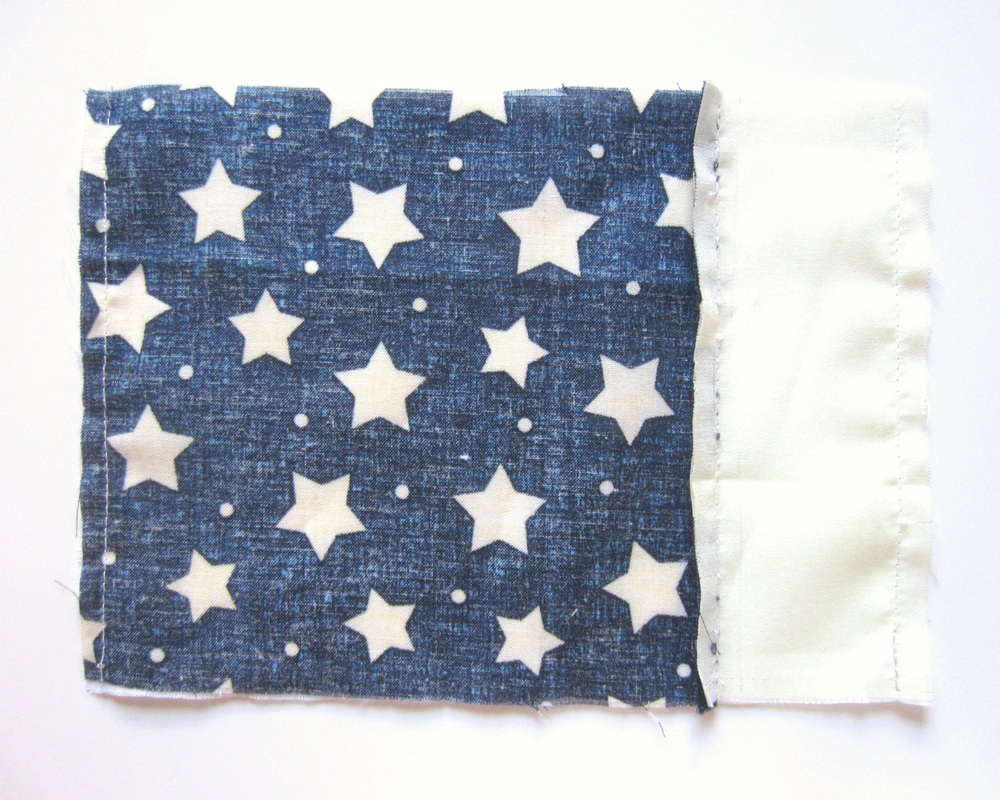 3. With correct side facing in, stitch the shorter edges with the lining. Leave 1/4" seam. 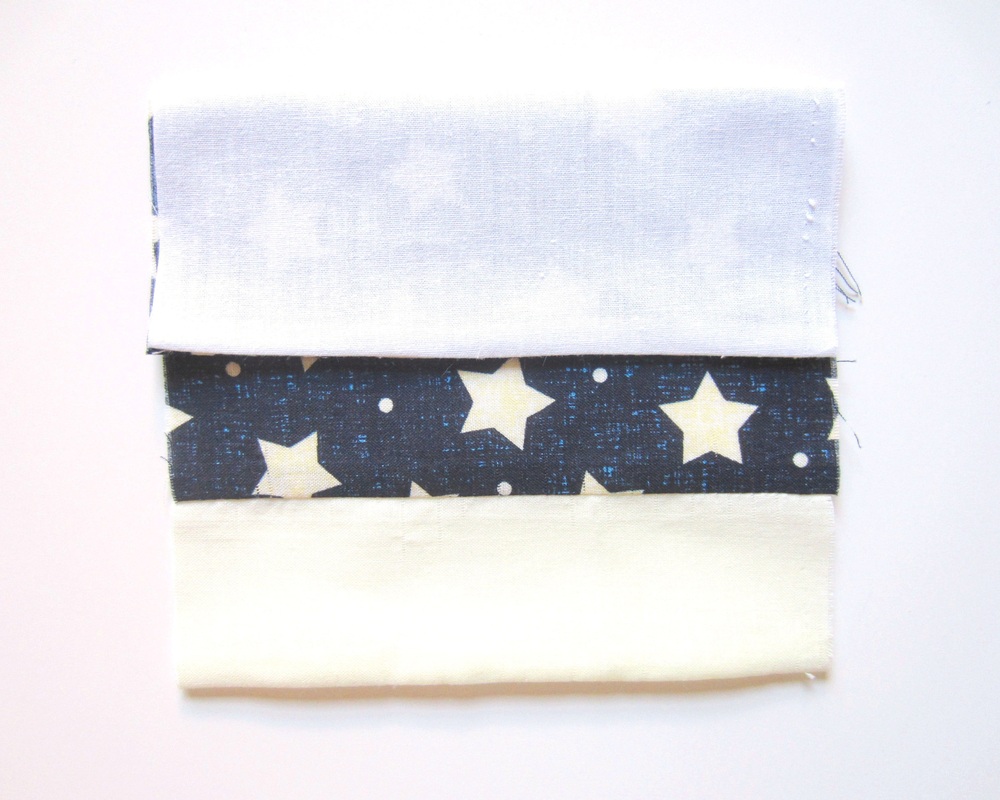 5. With contrasting fabric on the bottom, turn fabrics so that it is long vertically. Fold the top portion down 2.25" and iron flat.  7. With correct sides facing in, stitch sides. | 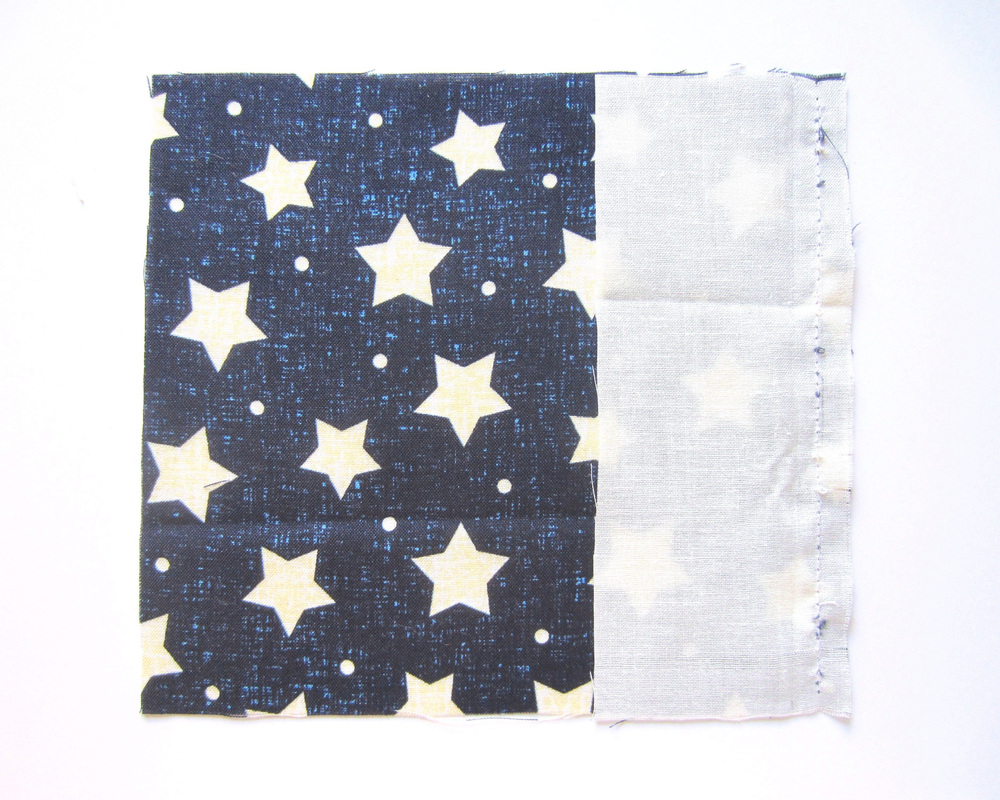 2. With correct sides facing each other, stitch one edge of main and contrasting fabric together [along the 5.75" edge]. Leave 1/4" seam. Open and iron flat. 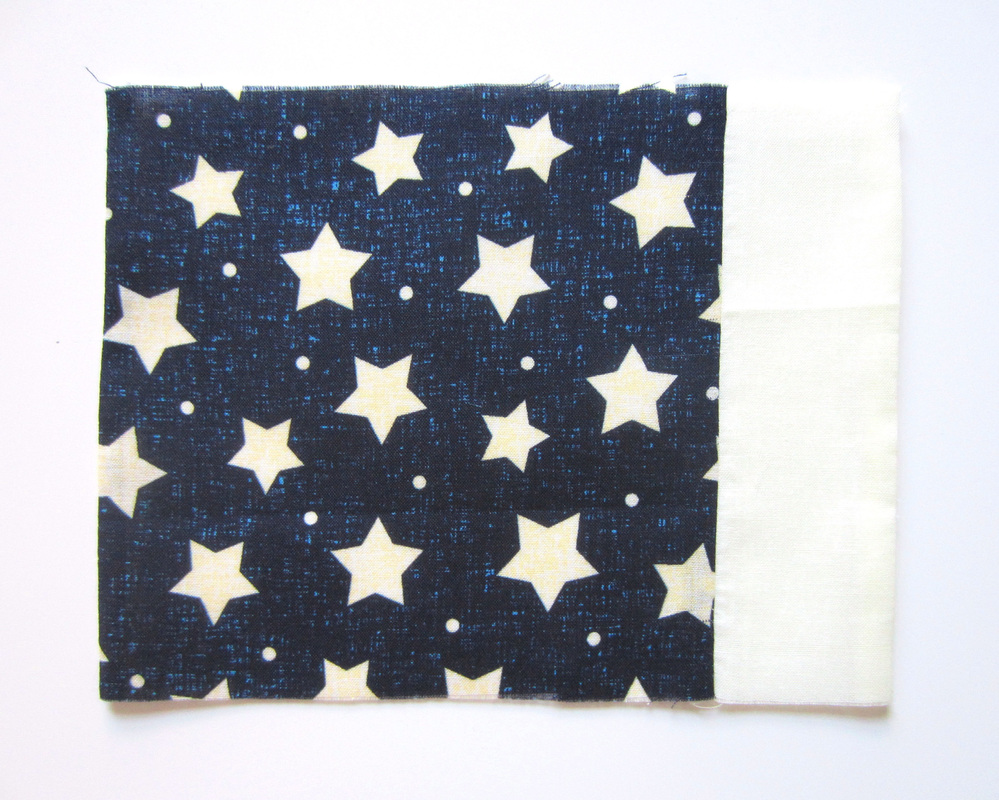 4. Turn out right way and iron flat. 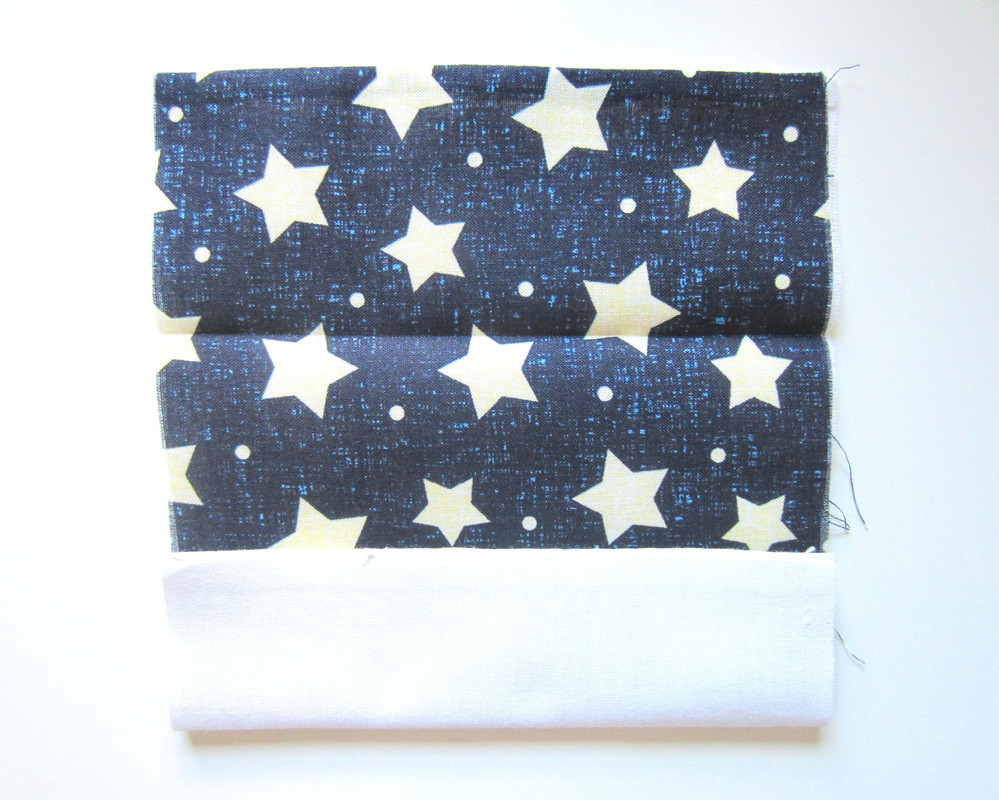 6. Fold the bottom portion up 1.75" and iron flat. With both portions folded, the tissue holder should measure 5.25" x 3.5". 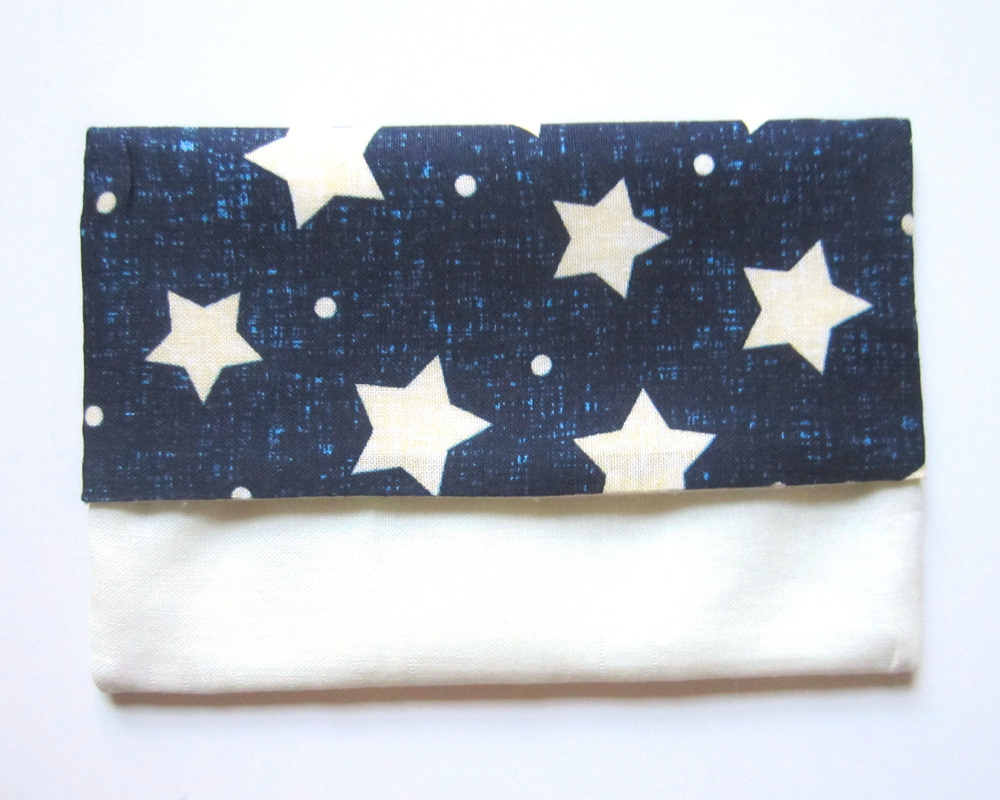 8. Turn out right way and iron flat. |
And You're Done!

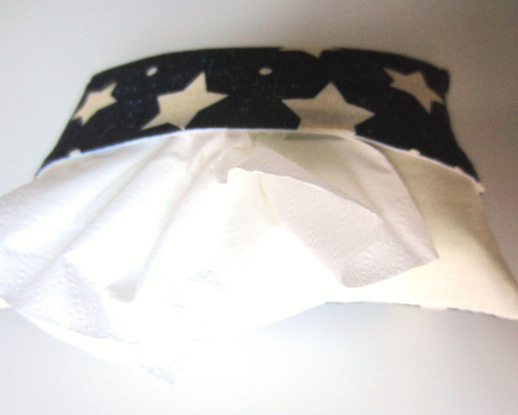
Toss it in a purse or backpack, and you'll be ready to conquer allergy season!
Smile c:
~michelle
Inspired by Tissue Cover Tutorial by A Spoonful of Sugar.
Smile c:
~michelle
Inspired by Tissue Cover Tutorial by A Spoonful of Sugar.