I am a stationary hoarder. Whenever I see a cute pen or notebook, I can't seem to stop myself from buying them. Fun stationary, however, often isn't very cheap. A small notebook can cost anywhere from a dollar or two to well over $10.
Like always, I turn to DIY projects to create a fun, and wallet-friendly alternative. The journal can also be tailored directly to personal preference, including size, type of paper, and decorations. Be creative and have fun!
Like always, I turn to DIY projects to create a fun, and wallet-friendly alternative. The journal can also be tailored directly to personal preference, including size, type of paper, and decorations. Be creative and have fun!
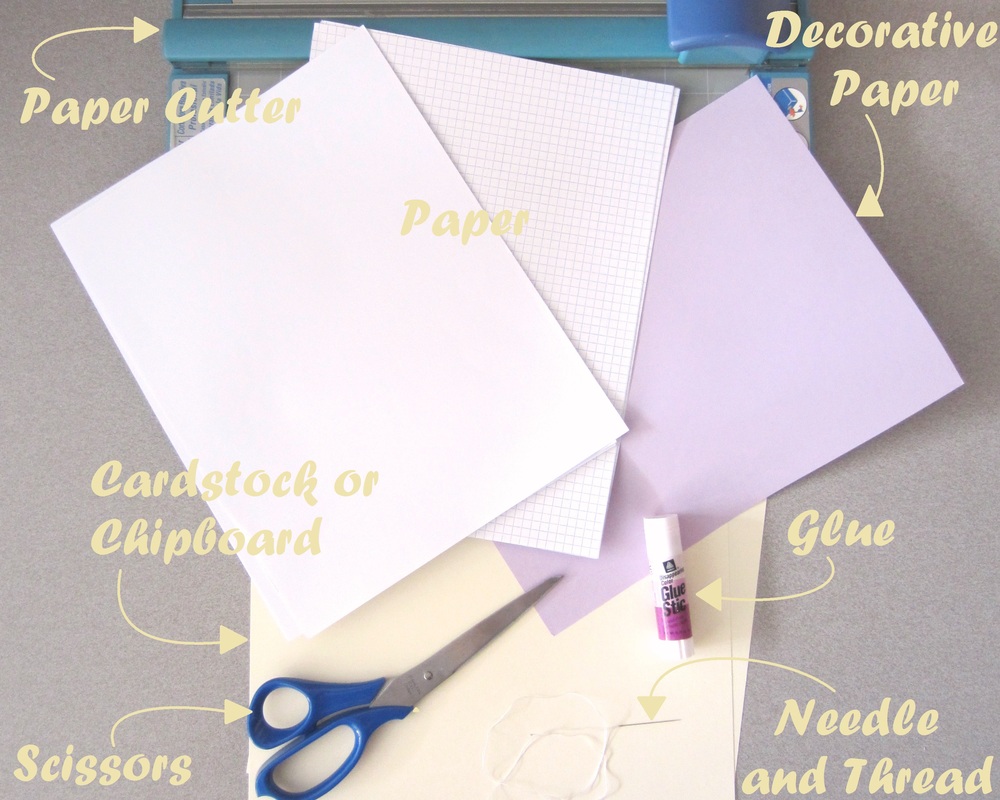
Materials
Let's Get Started!
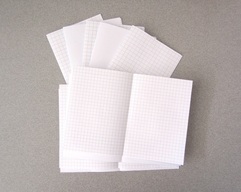 1. Cut journal pages from the paper. Each sheet should be the size of the open journal [twice the desired journal size]. Section the pages off into stacks of 4 pages, and fold in half. 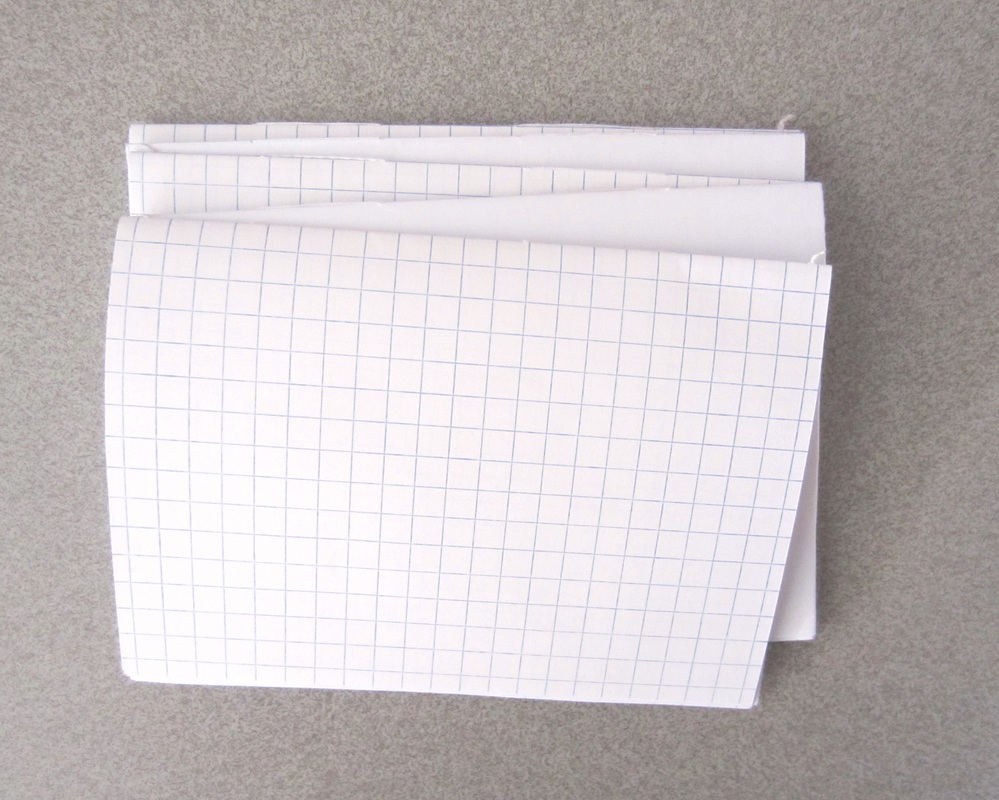 3. Grab another stack of 4, and sew the fold like before. Continue adding on stack of 4 until the stacks are connected on alternating ends. Be sure the thread is pulled tight after adding on each new stack. 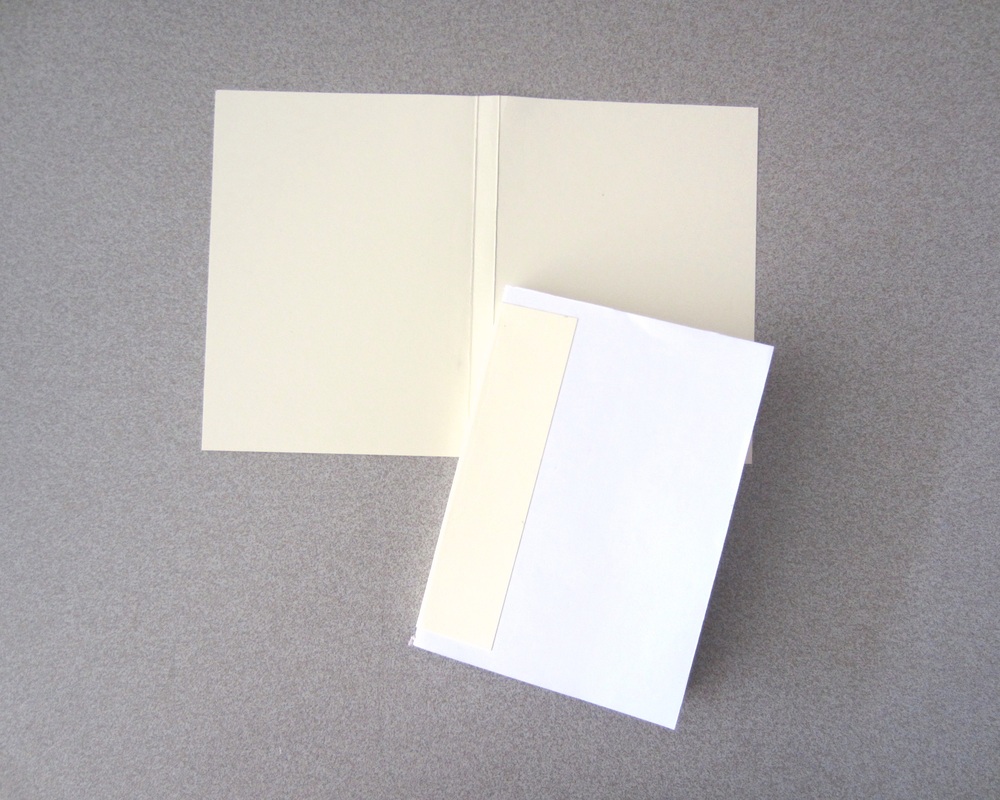 4. Cut out a piece of cardstock or chipboard that fits around the journal. I find that a millimeter or two on all four sides gives a bit more leniency and ensures that the pages don't stick out further than the cover. 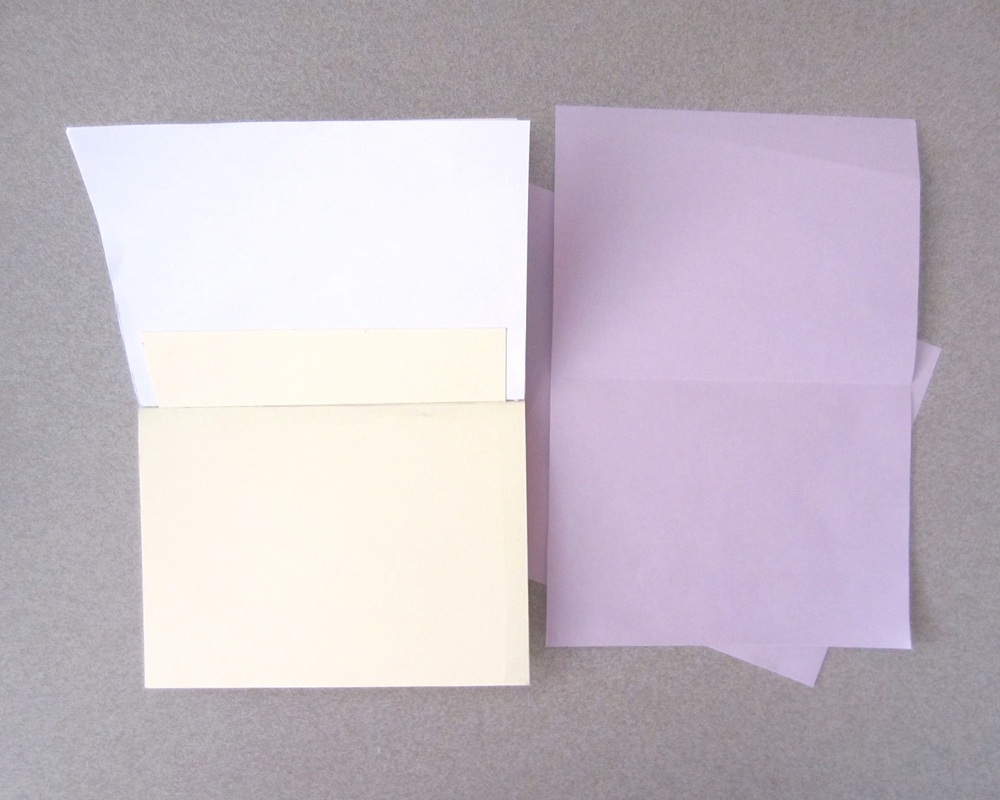 6. Cut out a sheet of decorative paper for the inside of the covers. It can be sized to fit perfectly, or slightly smaller to leave a small rim along the edges. | 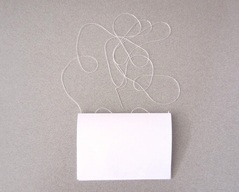 2. Taking the first stack of 4, begin sewing the center at the fold. Remember to start sewing at one end from the outside to the inside, and end with the thread going out of the folded stacks.  4. Measure out a piece of cardstock [a piece of canvas also works nicely as it is stretchy] slightly shorter than the journal height. Tightly glue it along the spine, folding over to the first and last page of the journal. If desired, add a thin ribbon as a bookmark under the cardstock that extends out of one end. 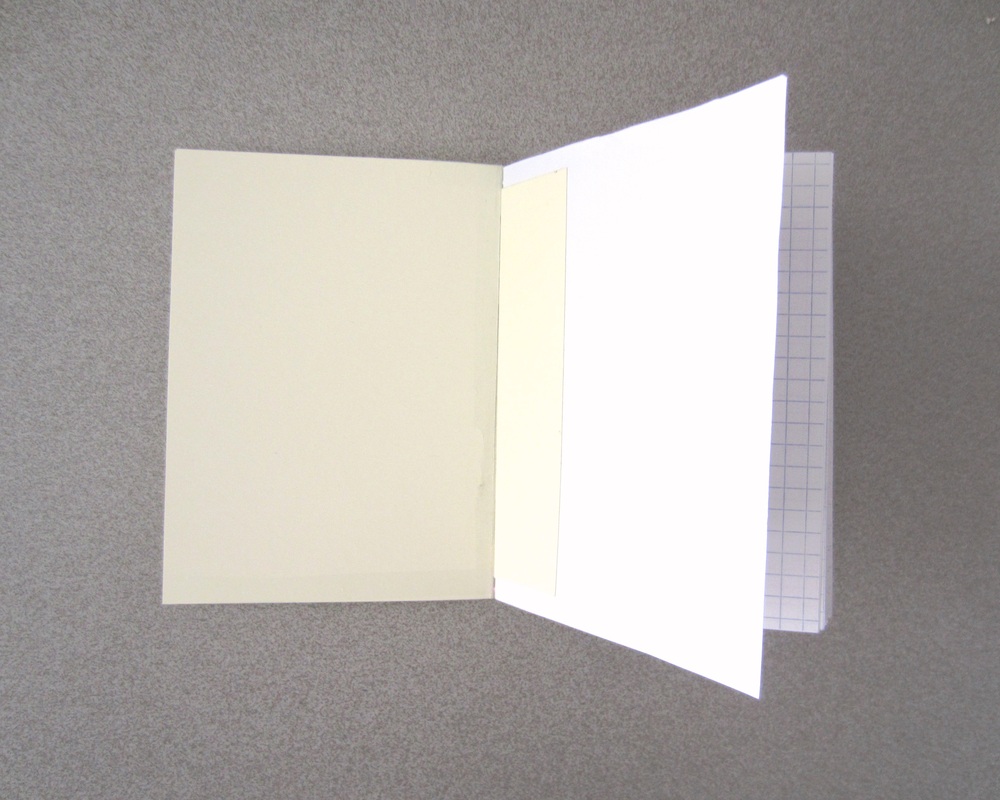 5. Glue the spine to the cardstock. 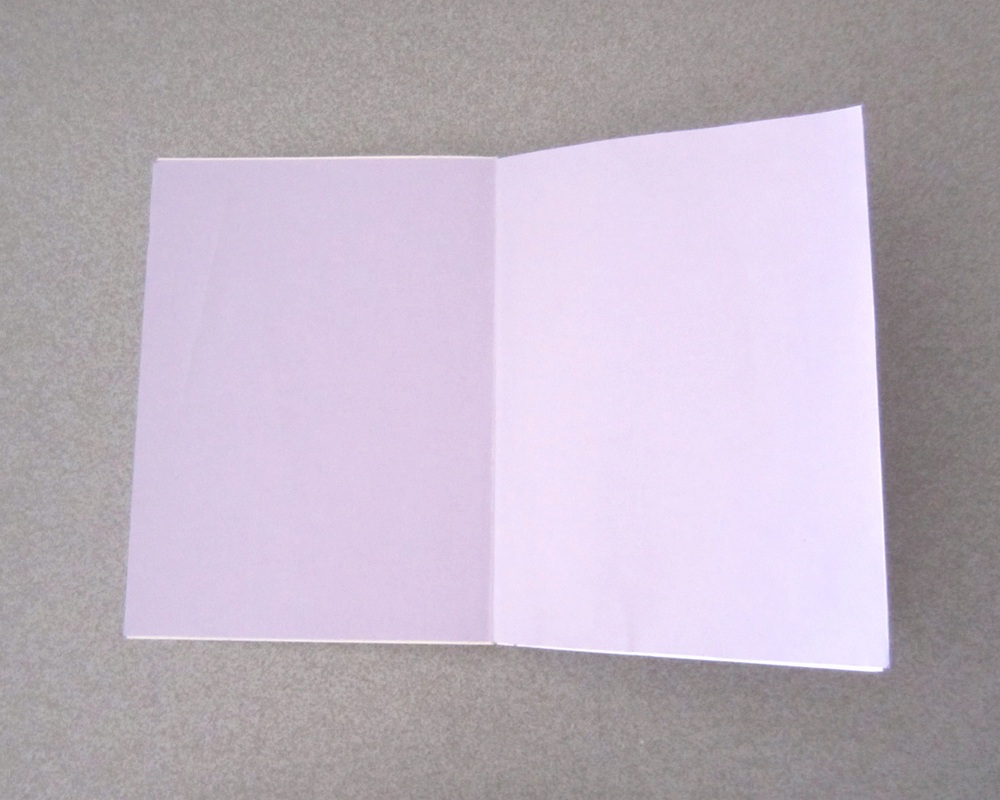 7. Glue the decorative paper to each cover and corresponding page. Trim away any excess paper. |
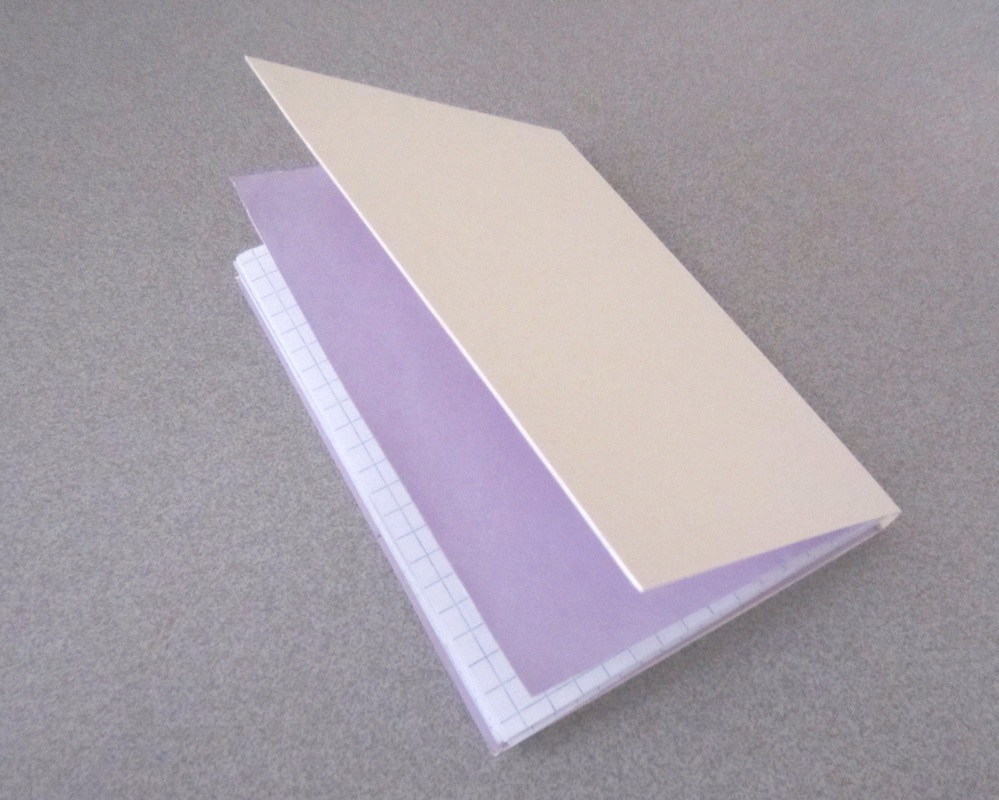
And You're Done!
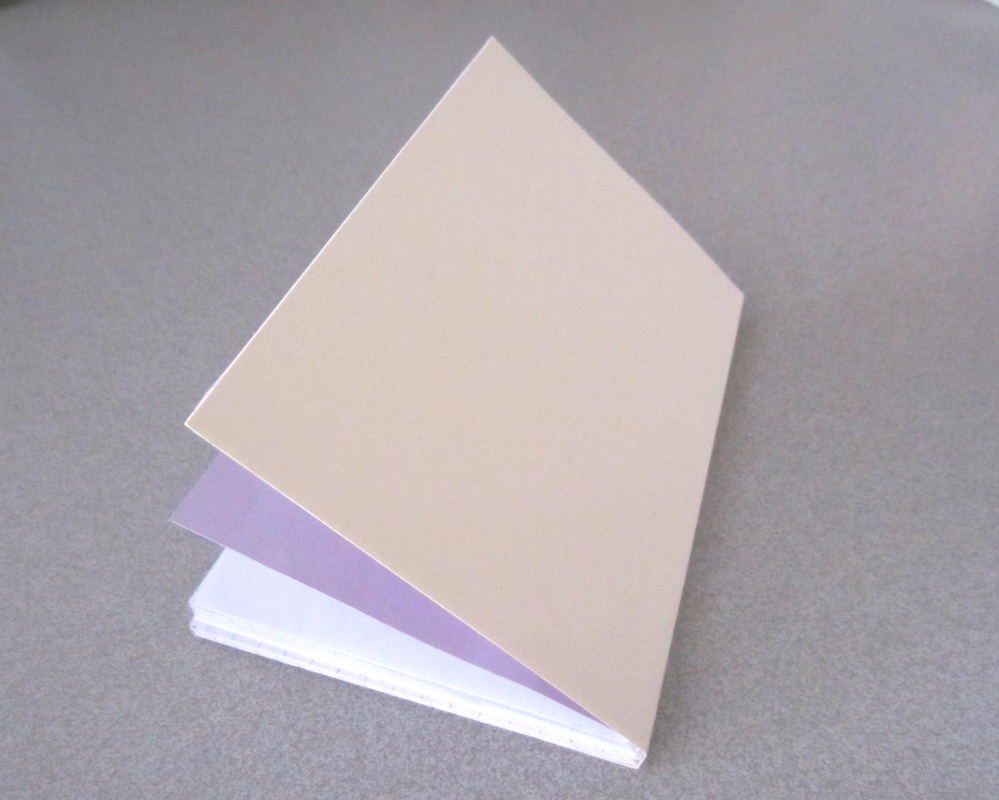
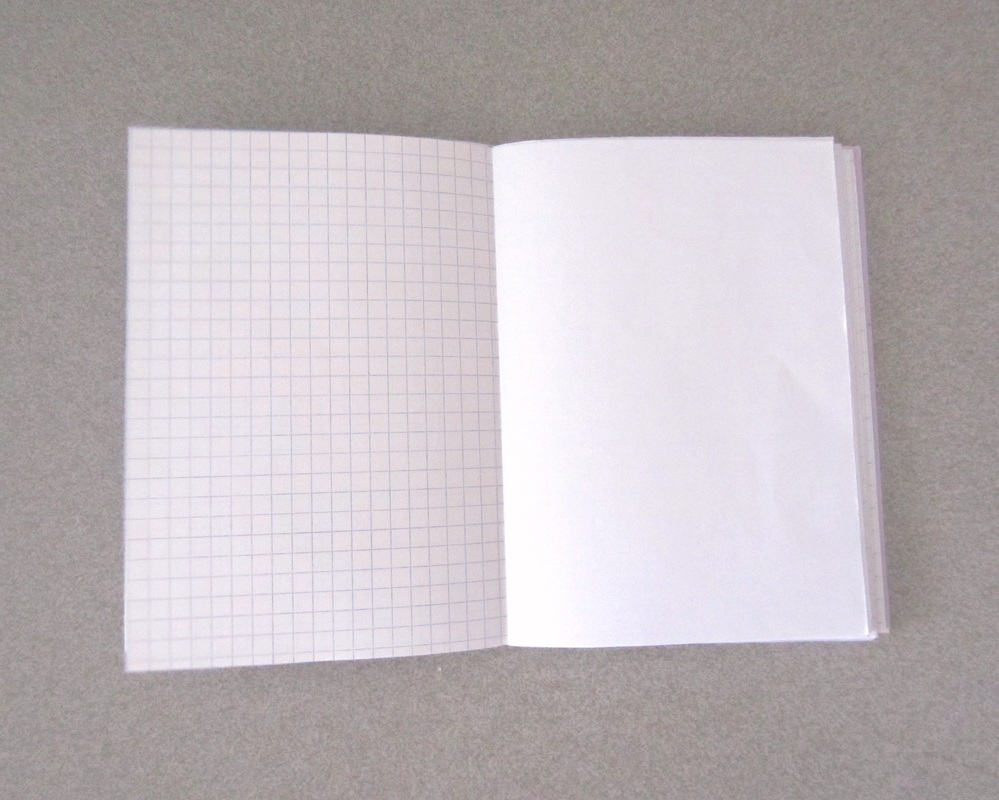
This simple journal DIY is quick and inexpensive, perfect for a weekend project or a gift! Decorate and personalize it so you'll have a cherished journal to store any thoughts or ideas throughout the day.
Smile c:
~michelle
Smile c:
~michelle