As spring approaches, I love changing up my wardrobe with new pieces. But as a college student, my budget only goes so far - that's where DIY comes in handy.
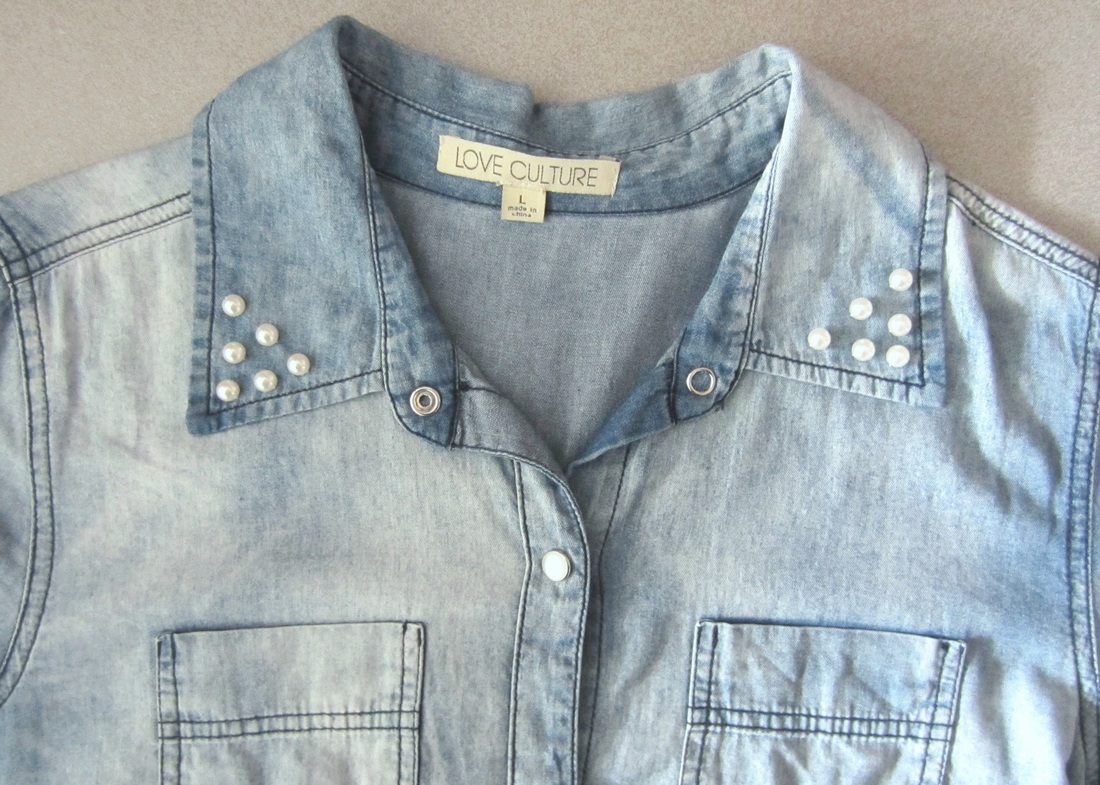
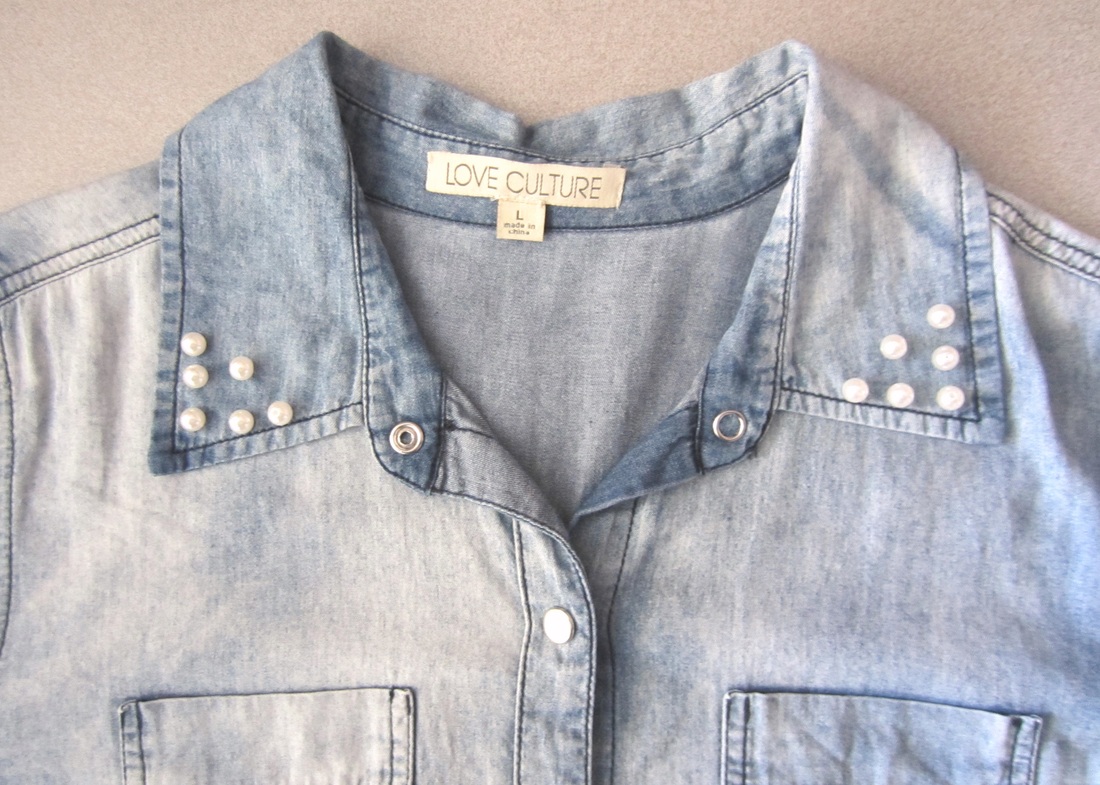
I have a simple chambray shirt that's been sitting in my closet for a while. In the fall, it worked very nicely with knit sweaters and boots, but as spring comes, I wanted to change it up a bit. Since the shirt has white pearly buttons, I used small pearls to decorate the collar and give the shirt a simple, but cute touch.
I have a simple chambray shirt that's been sitting in my closet for a while. In the fall, it worked very nicely with knit sweaters and boots, but as spring comes, I wanted to change it up a bit. Since the shirt has white pearly buttons, I used small pearls to decorate the collar and give the shirt a simple, but cute touch.
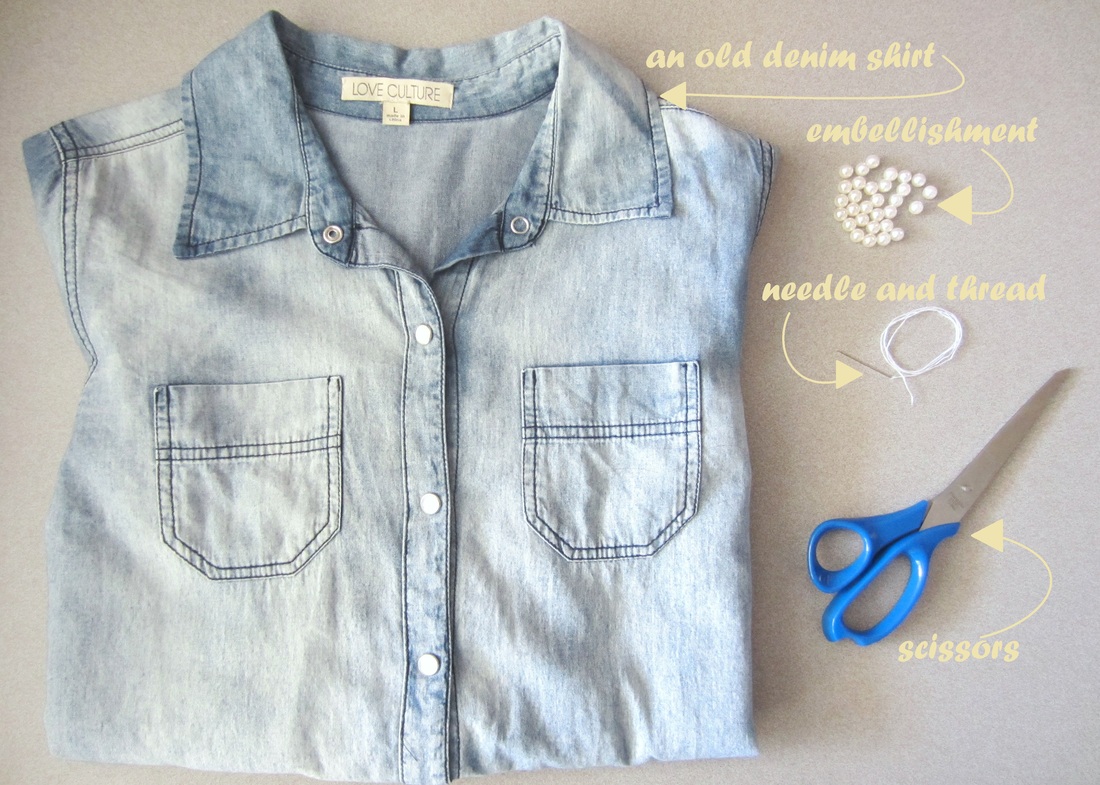
Materials:
Let's get started!
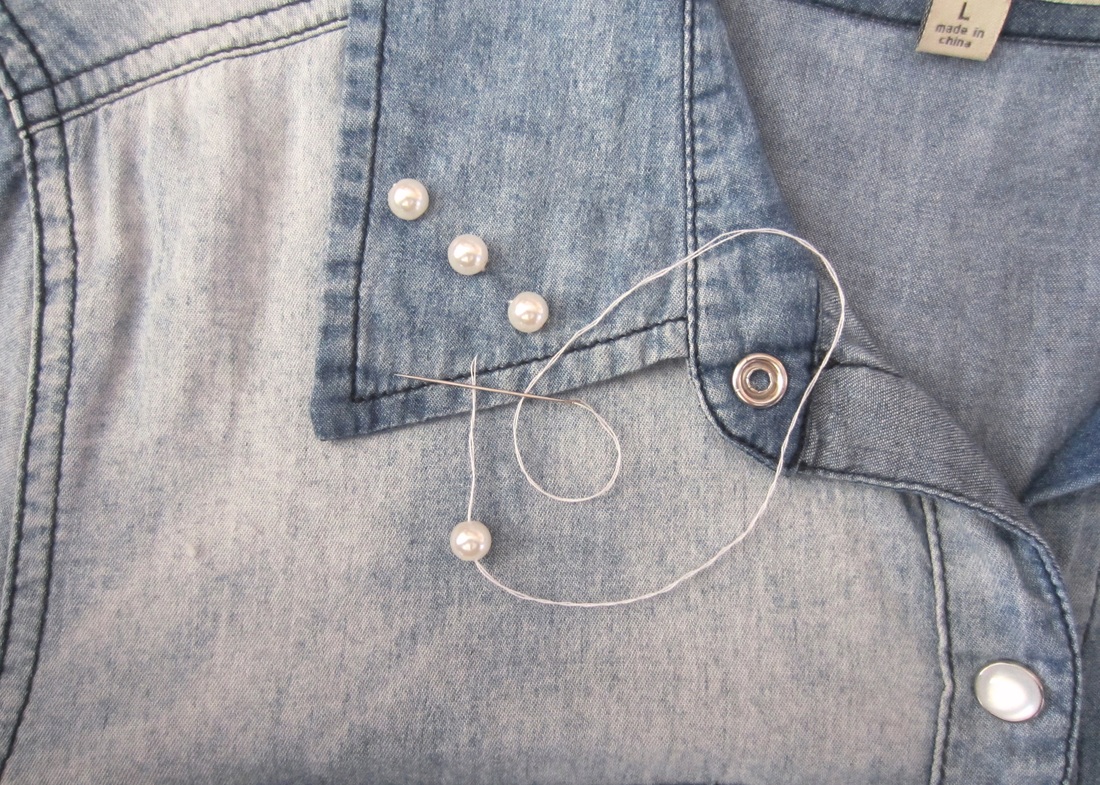
| 1. Place the embellishments where you like them. I used three rows of pearls, but depending on what you use [pearls, studs, lace, etc] and the embellishment's size, you can add as many as you like. My pearls form a triangular shape, but you can also fill the entire front of the collar or line the edges of the collar. | 2. Sew the embellishments in. I know some DIYers like to use fabric glue, but for small items like pearls, its very easy to accidentally detach a pearl or two - sewing it will ensure that your embellishment stays despite wash and wear. |
And you're done!
Adding an embellishment is a quick and easy way to turn an old shirt into something new and cute! DIY gives you the freedom to add whatever you choose, giving you the chance to personalize your favorite piece of clothing. I hope you enjoyed DIYing with me!
Smile c:
~michelle
Chambray shirt from Love Culture.
Photograph taken by Ariel Sobel.
Smile c:
~michelle
Chambray shirt from Love Culture.
Photograph taken by Ariel Sobel.
