| 
|
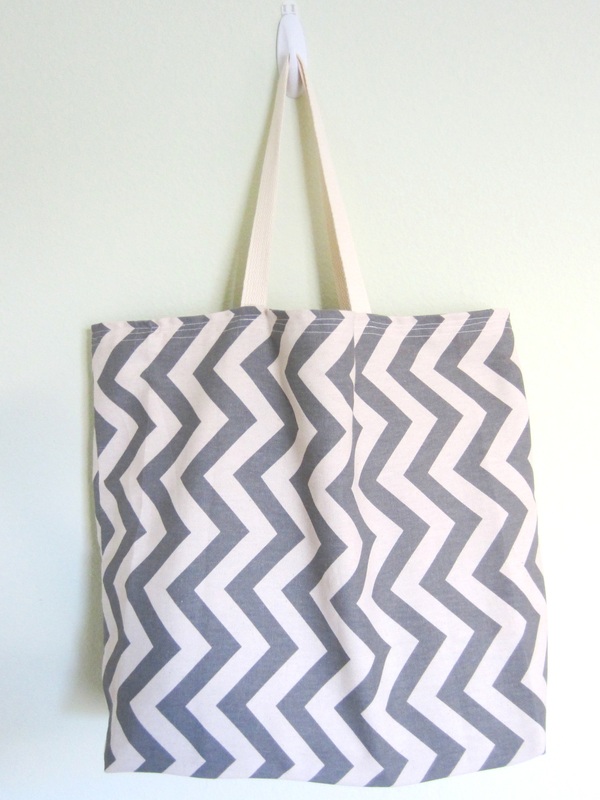
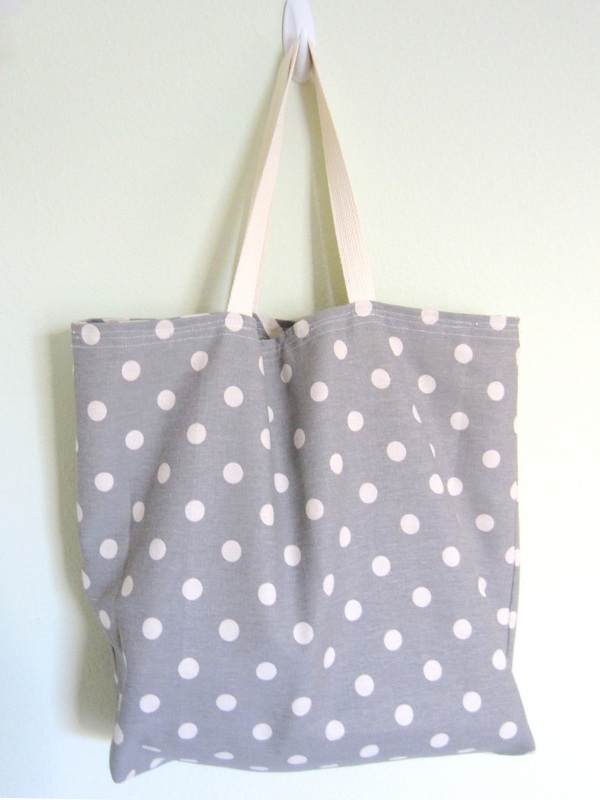
This is probably one of my most favorite sewing projects. It's very straight-forward and it took me about 3 hours to make two of these tote bags. Also, if the fabrics used are very similar, it becomes reversible! I couldn't ask for a better beach tote for upcoming summer trips.
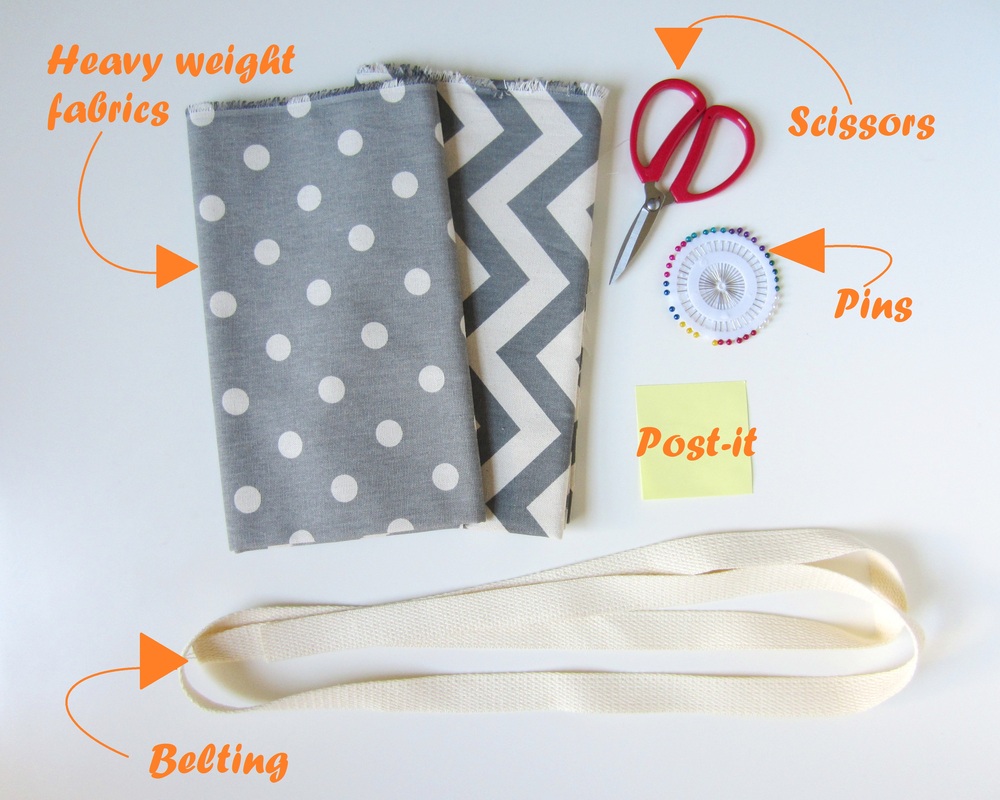
This sewing project will require a sewing machine and sturdy thread. Since the bag most likely will hold quite a bit of weight and take some abuse, I would suggest stitching everything twice, and backstitch at both ends of every seam. The post-it serves as a square template about 3" x 3". The size of the fabrics can easily be altered to adjust to the desired bag size, but the square template will also need to change accordingly, as it serves as the width of the bottom of the bag.
This sewing project will require a sewing machine and sturdy thread. Since the bag most likely will hold quite a bit of weight and take some abuse, I would suggest stitching everything twice, and backstitch at both ends of every seam. The post-it serves as a square template about 3" x 3". The size of the fabrics can easily be altered to adjust to the desired bag size, but the square template will also need to change accordingly, as it serves as the width of the bottom of the bag.
Materials:
Let's Get Started!
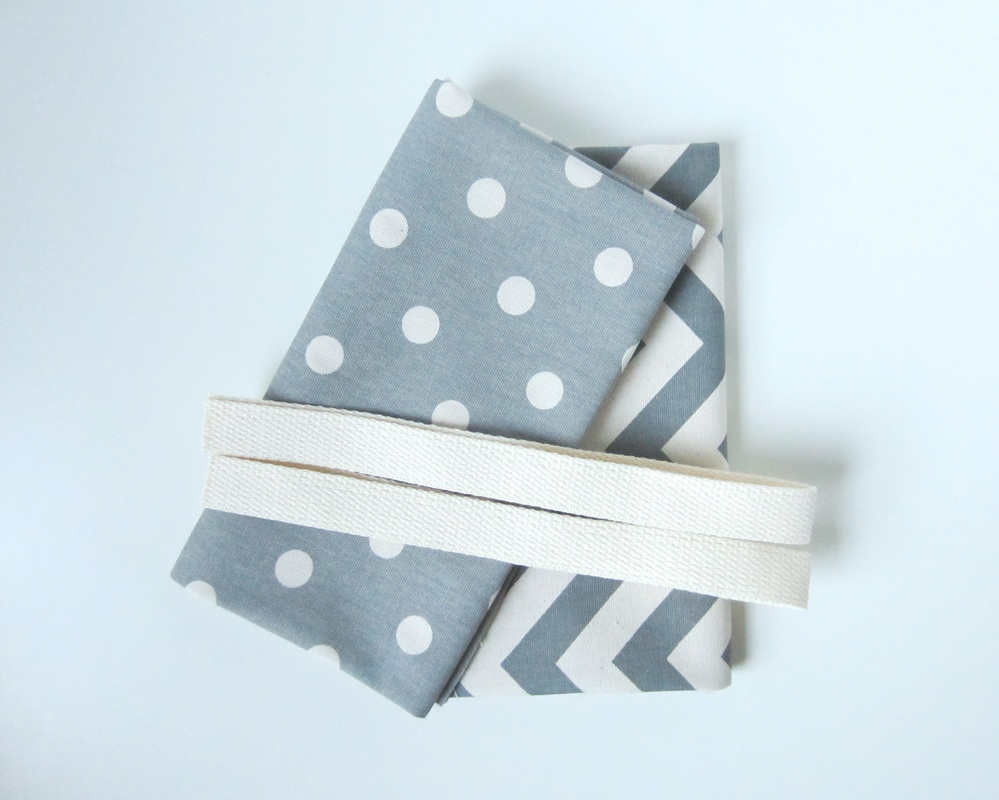
1. Cut the fabrics to 40" x 22". Cut two 22" lengths of belting. 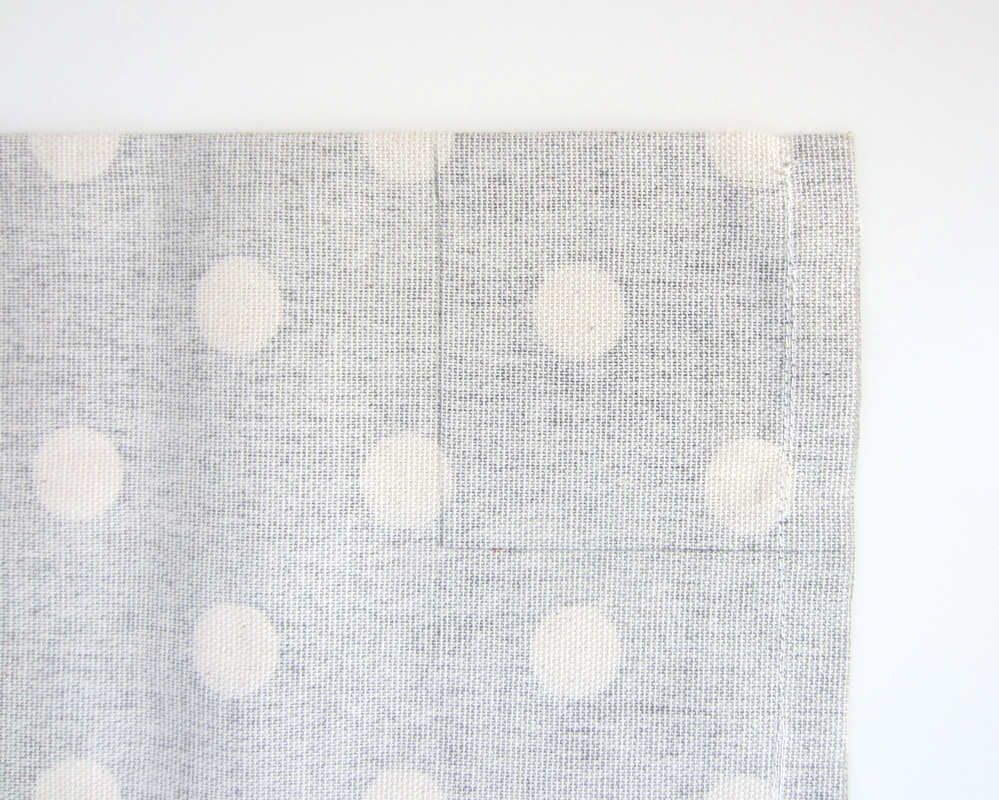
3. At each folded corner on both sides, trace the post-it to form a square along the edge (including the seam). 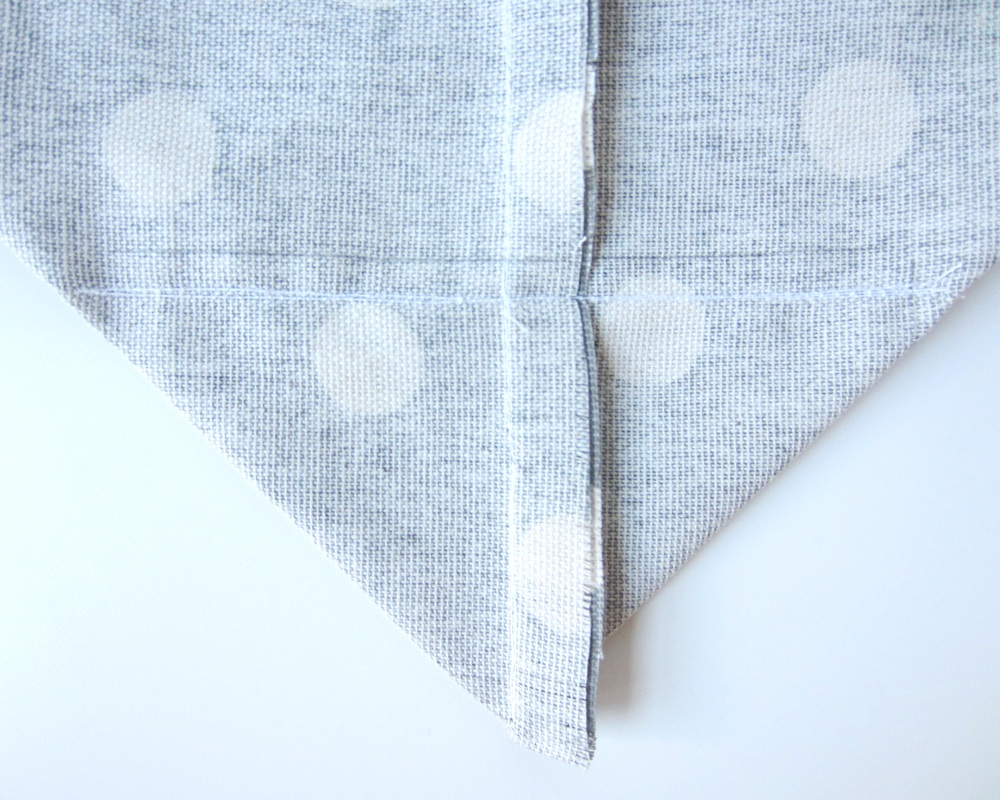
5. Stitch 0.25" away from the drawn line. 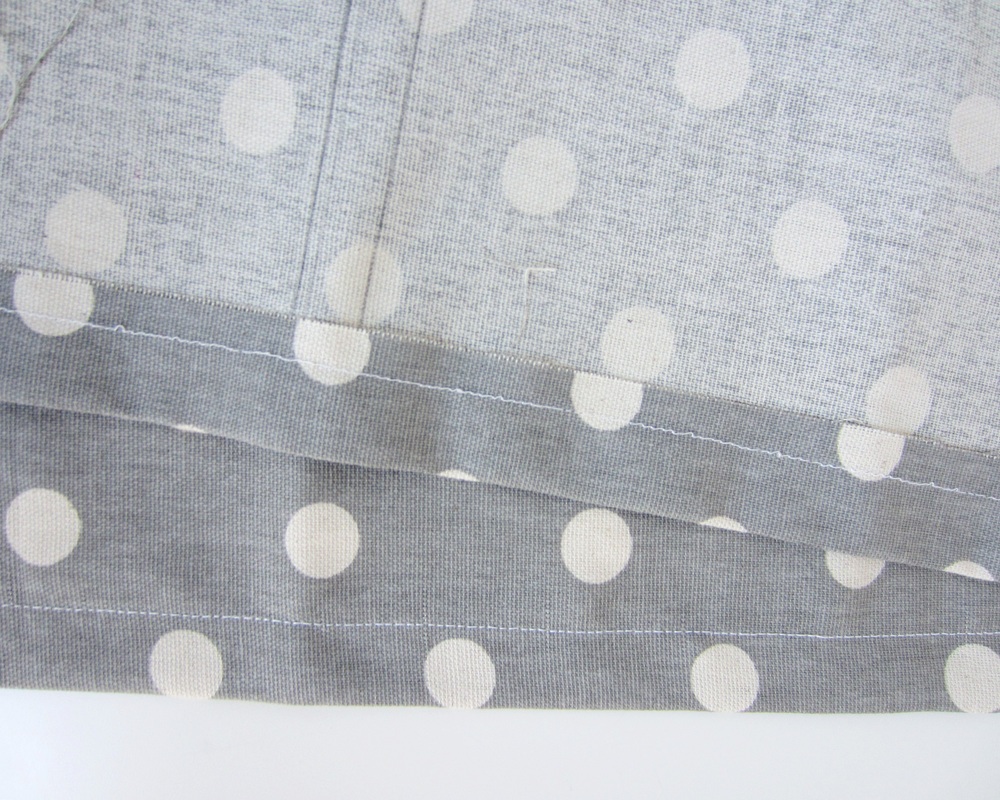
7. Flip the opened edge down 1" and iron flat. Align the side of the foot to the raw edge and stitch the folded flap. 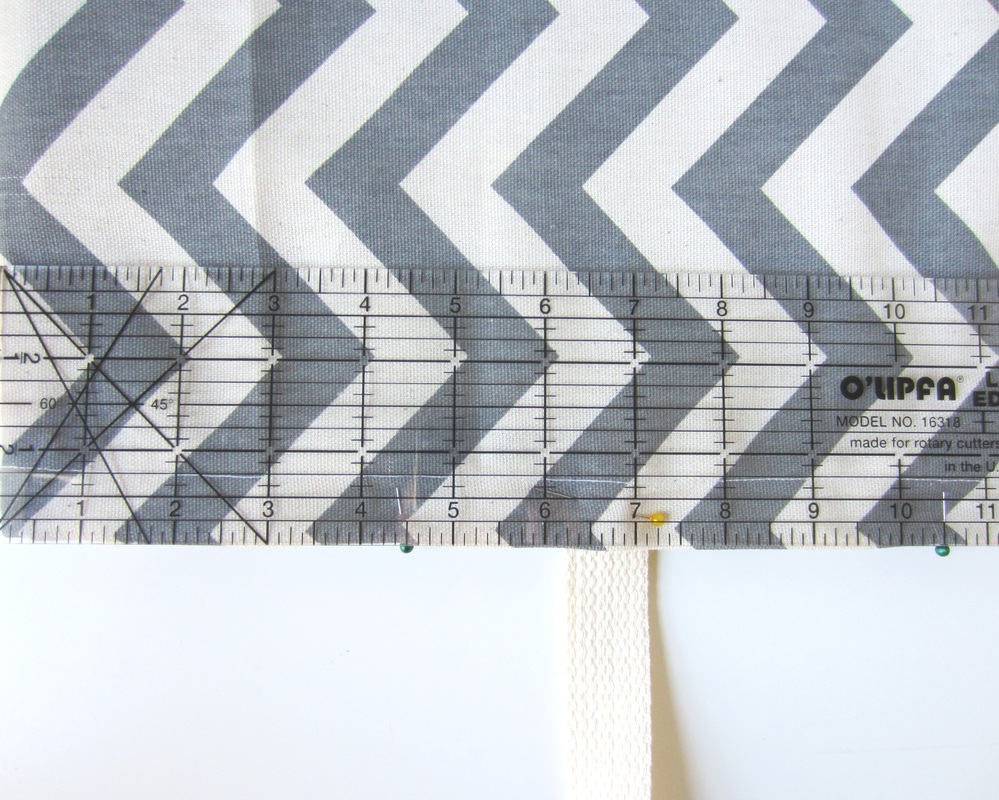
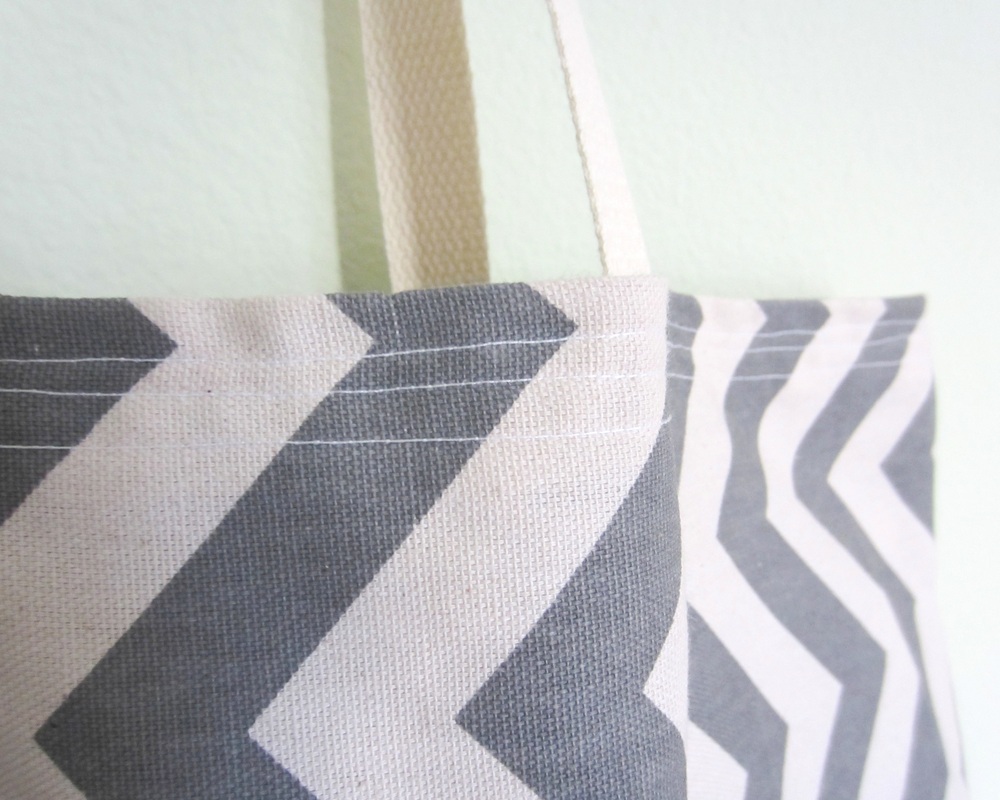
9. Line up the edges and pin together. Add the handles at 6.25" from the edge, 1" deep, and pin into place. | 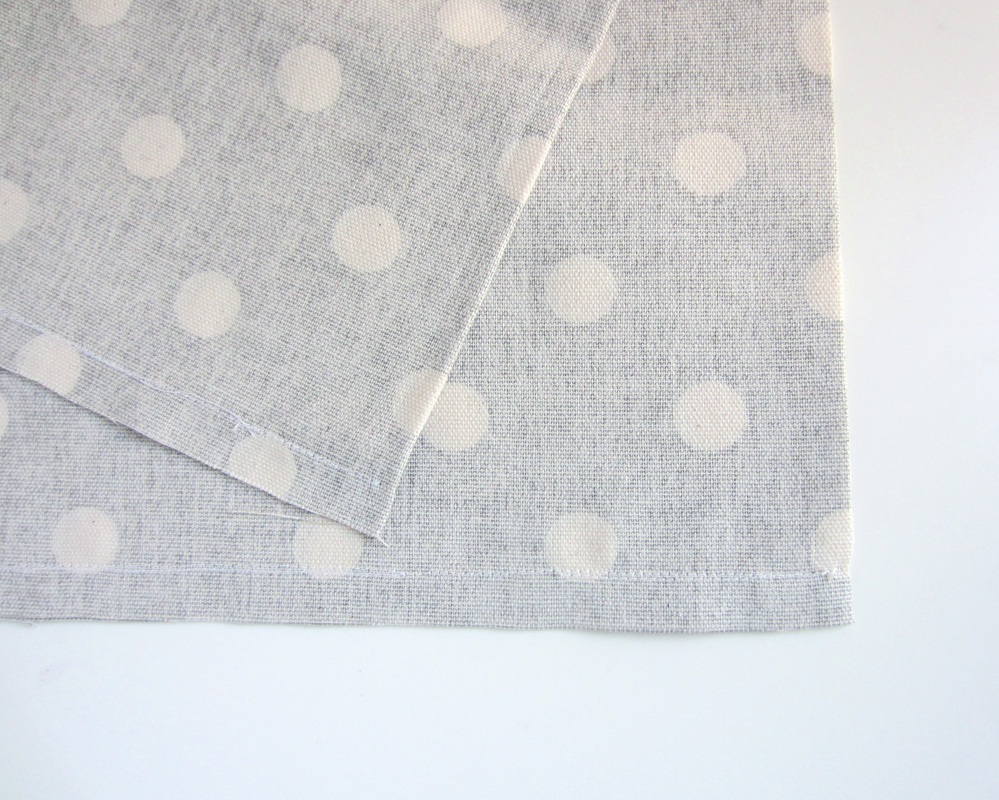
2. Folding the fabrics in half lengthwise, stitch the side edges together, leaving a 0.5" seam. The two 20" x 22" folded pieces should remain open at the top. 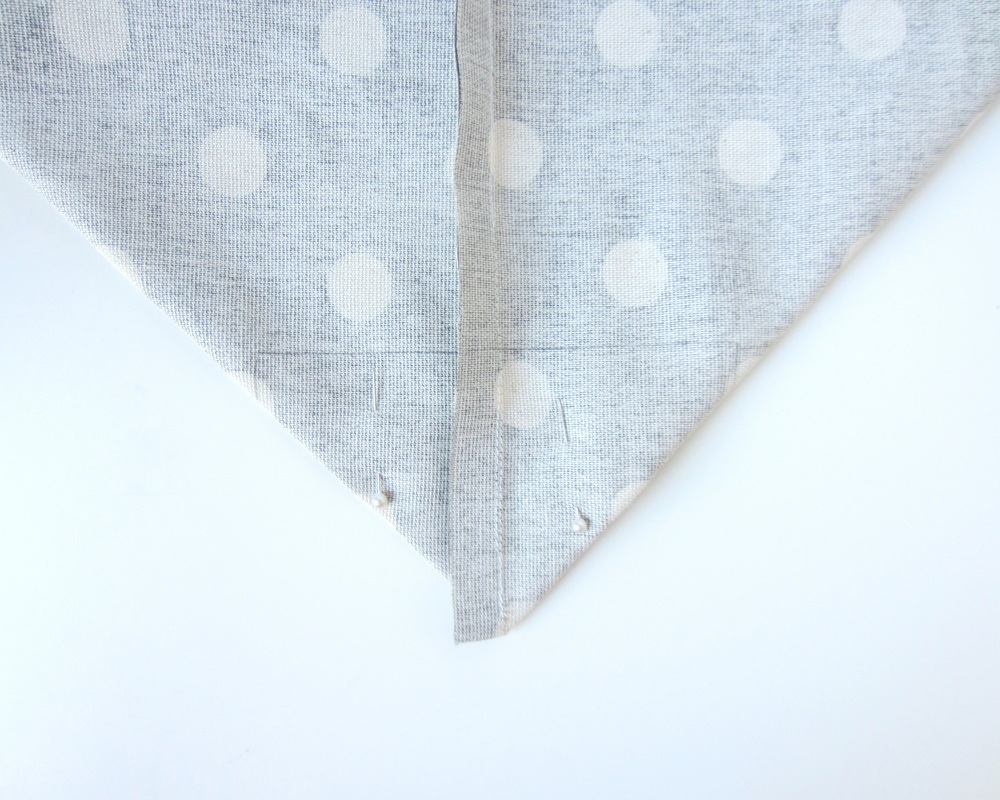
4. Pull outwards holding the corners of the traced square, folding the edge into a triangle. Pin flat. 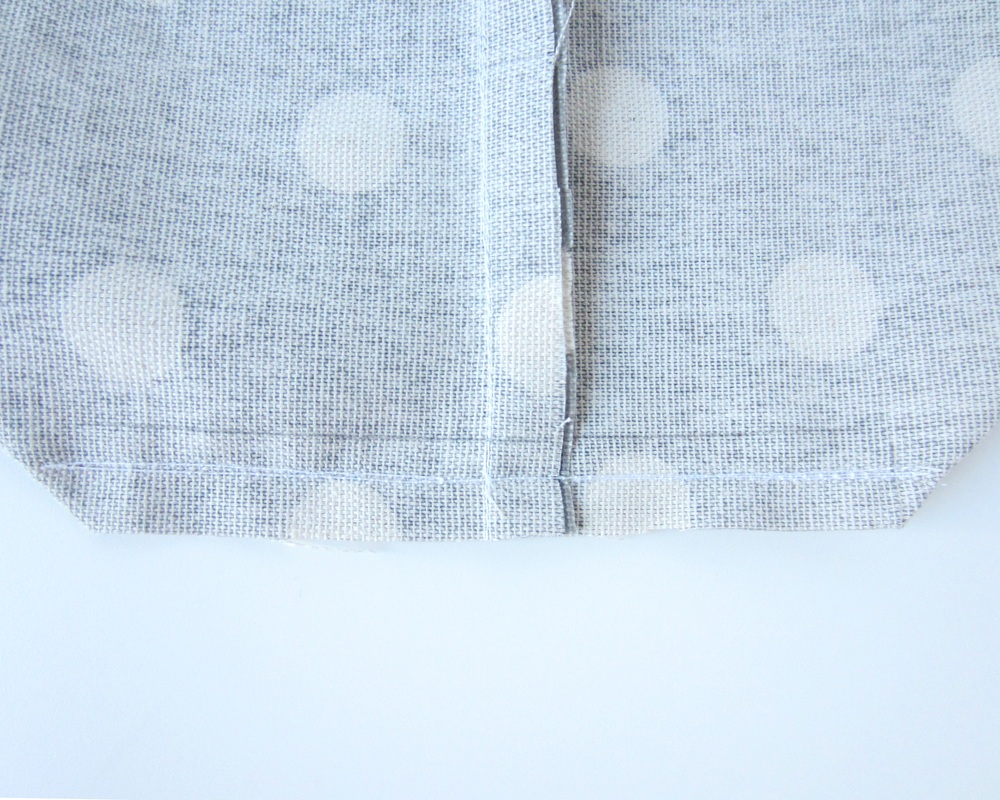
6. Cut away the excess fabric, leaving about a 0.5" seam. 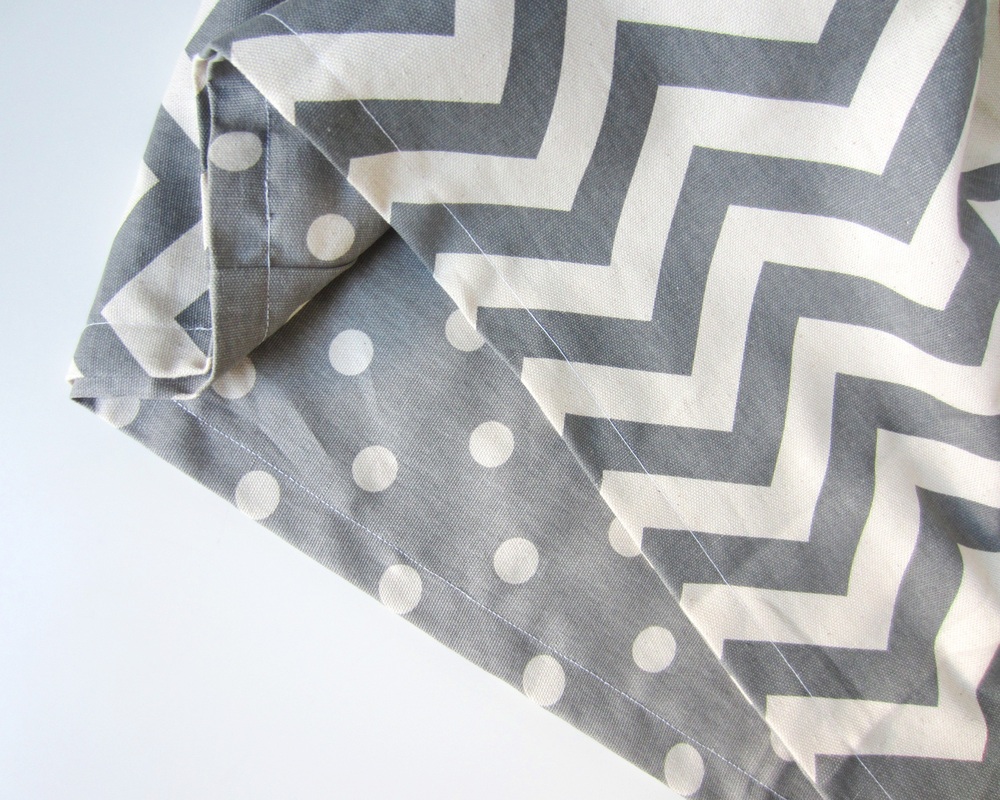
8. Repeat with the other piece of fabric. Turn the outer fabric right side out, and insert the inner fabric into the outer fabric. 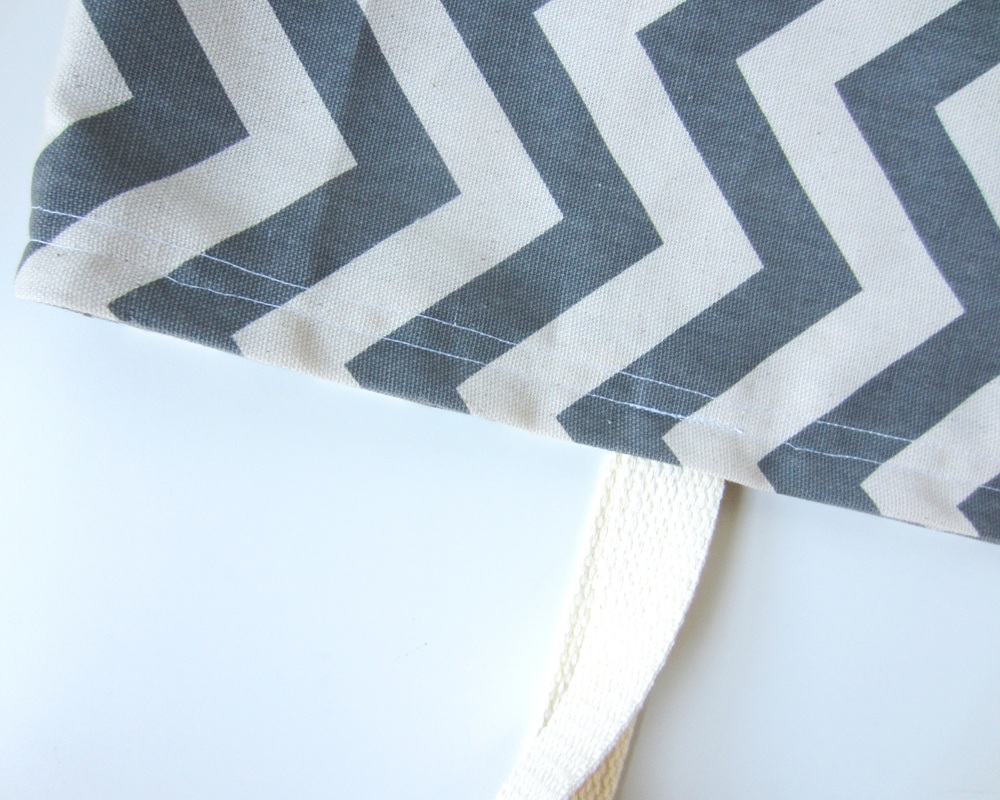
10. Stitch the inner fabric, belting, and outer fabric together 0.5" from the edge. Be sure to go back and forth a few times along the belting to reinforce the seam. Stitch another seam 0.25" from the edge. |
And You're Done!

On a side note, I just purchased a new sewing machine and I'm so excited for it to come in! Sewing larger projects like these are going to be so much easier!
Smile c:
~michelle
Smile c:
~michelle